%20-%20Copy%20copy.png?width=143&height=69&name=Black%20logo%20(002)%20-%20Copy%20copy.png)
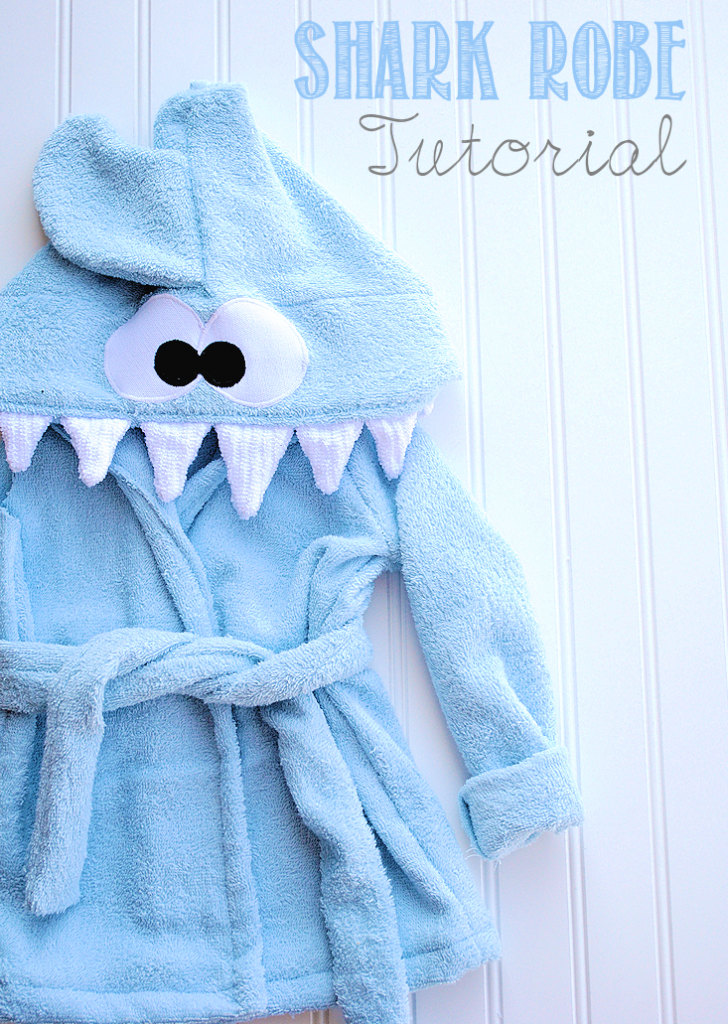

This is Amber from Crazy Little Projects here to show you a fun terry cloth robe pattern tutorial today. It's a baby hooded shark robe!
This is a project that I've had in my brain for a long time and finally made time for it. I've never made a terry cloth baby robe before, so it was a little tricky to figure out, but I think he turned out pretty cute.
READ MORE: What is Terry Cloth? (Materials, Colors & Projects)
I'm going to warn you that this project is slightly more difficult than many of the sewing tutorials that I do. It's probably just an intermediate sewing level, but it's harder than the hooded towels. I don't want anyone freaking out halfway through.
Also, you could make this terry cloth robe into anything-doesn't have to be a shark. I have lots of hooded towels patterns and any of them could be made into this robe, so go crazy. See all the hooded towel options here.
To make this robe, I used Terry Cloth from Shannon Fabrics. To see their Terry Cloth collection, click here.
Terry Cloth Shark Robe Pattern & Tutorial
Tutorial:
Supplies Needed:
- 1 yard of terry cloth (you probably will use less than the full yard) I used Baby Blue
- Small amounts of white and black fabric (you can use Terry in white and black)
- Small amounts of white
- Small amounts of Heat n Bond
- Shark (Pattern Pieces)
- Robe Cutting Guide
- Shark (Pattern Pieces)
- Face Pattern Pieces
**This pattern fits 0-12 months**
Instructions:
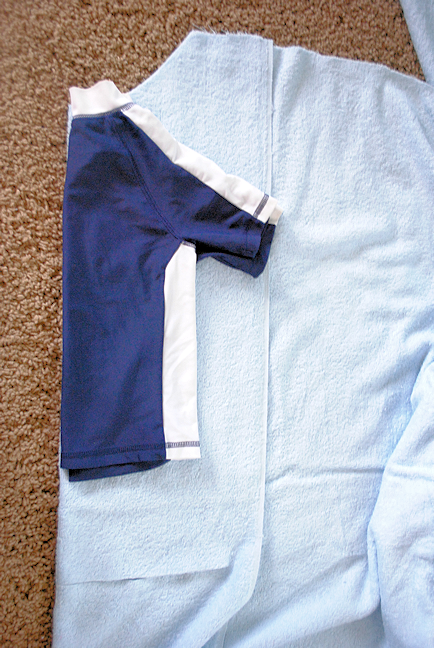
Cut out your pieces using the cutting guide above. I know someone is going to ask-so, let's talk about how to make this a different size (I am showing you how to make a 0-12 month size). If you want to change the size, lay a shirt in the size you want your robe to be on top of your fabric on the fold. Use this as a guide to cut out a back piece, being generous in the allowances on the side. As in, add a few inches to the edges of the shirt when cutting and at least 6-10 inches in the length. Then use your back piece to figure out your front two pieces. Make them basically the same, just a couple of inches wider so they can overlap in the front. You can also size up the sleeves and belt and hood as needed.
Now that we've got it cut out, let's get started. First thing's first, let's get the shark head made. I am not going to go into full, step by step detail here. Instead I am going to refer you to my Shark Hooded Towel tutorial because you are going to make this head exactly the same. Use our piece from the cutting guide that is 16" x 14" and when using my hooded towel tutorial refer to that piece when I talk about using the hand towel. Do exactly what I say in that tutorial until you have created your head. Set your cute little head aside. With your back piece on the bottom, place your front pieces on top of it and pin it at the shoulders and down the sides.
READ MORE: 7 Must-Try Terry Cloth Sewing Tips
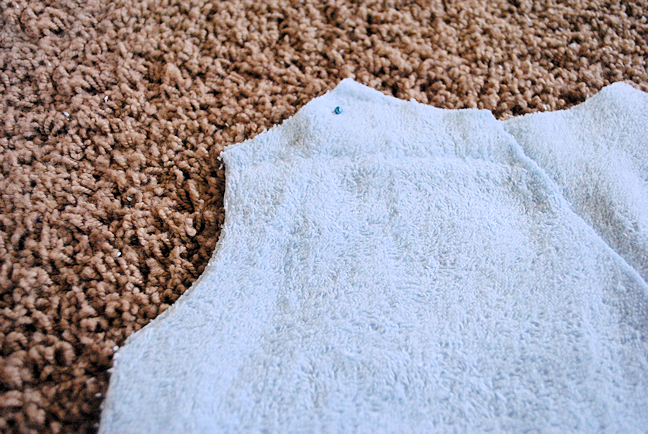
Sew down each side of the robe and across the two shoulders. Now let's attach the head. With the right side of the head facing the right side of the robe, begin pinning the head in place starting at the center of the neck and working your way out to each side (One note-if the head is significantly larger than your neck hole, go back and resew along the back of the hood to make it more narrow. Take it in an inch or two as needed.).
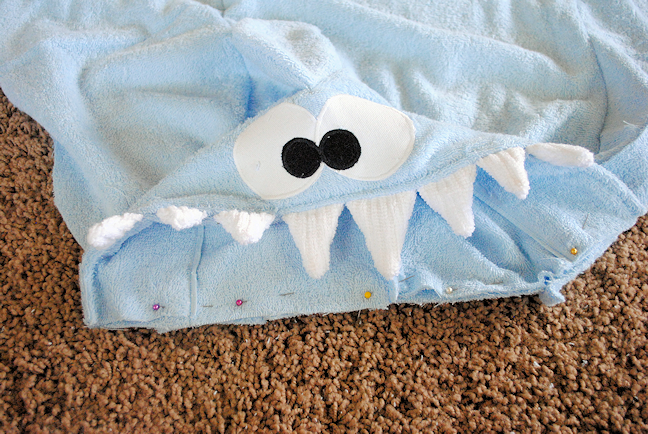
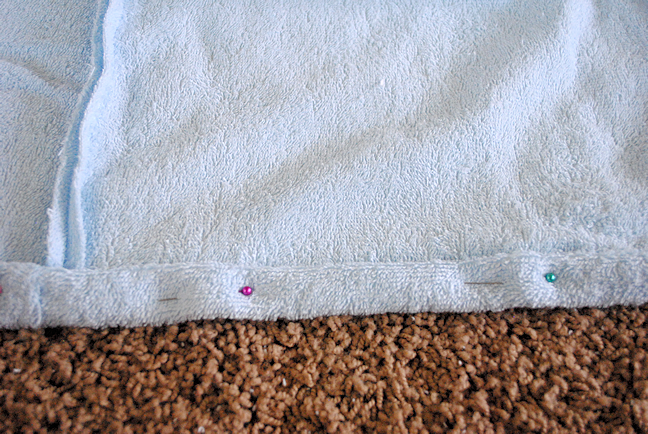
Now, let's hem the bottom of the terry cloth bath robe all the way across.
READ MORE: The 5 Best Terry Cloth Wholesalers (Reviews/Ratings)
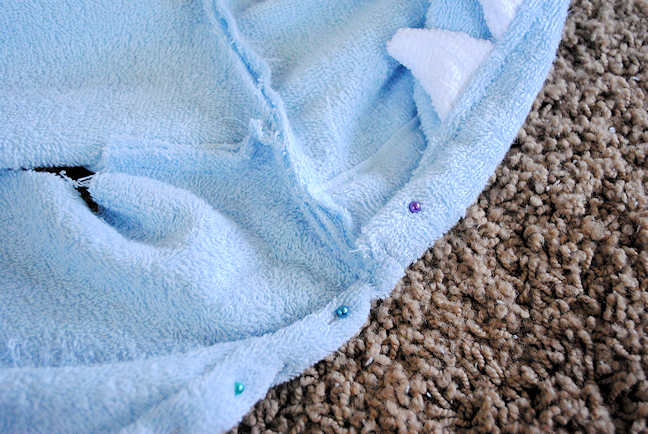
And up the each side. I hemmed just the bottom edges of the hood to make it a smooth transition from hood to side seams.
Now all that is left is the sleeves. Take each sleeve and, beginning at the top of the sleeve opening, pin it in place all the way around (of course making sure that right sides are together.) Once it is pinned sew all the way around the arm opening and then sew down the arm of the sleeve to sew it together.
READ MORE: Terry Cloth vs. Microfiber Fabric: A Side-By-Side Comparison
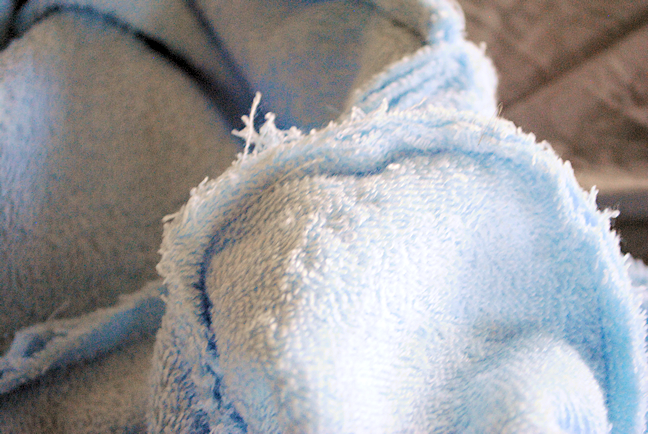
Hem the ends of the sleeve. I think they look cute rolled on the bottom. One last thing-if you were not using a serger to sew this, you might want to finish all of your raw edges with a nice zig zag stitch. That will give it a cleaner look.
Don't you think he turned out cute? What animal would you like to see me make next?
Be sure to visit me at my blog and follow me on facebook and pinterest!


.jpeg?width=640&name=Image%20(5).jpeg)


.jpg?width=640&name=P1400457-Edit%20(1).jpg)


Leave a Comment