A special "thank you" to Cynthia Kirkland (@athel_artistry) for this guest blog post! She's a seamstress for Disney Live Entertainment and Disney Cruise Line, and after winning the 2018 Her Universe Fashion Show, she also designed a Marvel clothing line sold worldwide for Her Universe and Hot Topic. When not working full-time, she enjoys creating elaborate costumes for comic conventions and Star Wars Celebration. Follow her on Instagram, here.
Hi, I'm Cynthia, and before we begin, I would like to mention that when choosing fur for personal projects, Shannon Fabrics has the best color and style selection of affordable faux furs I have found. The color and pile blends look and feel so luxurious, and I am never disappointed by the quality.
See Related: Harry Potter Durmstrang Dress Cosplay Sewing Tutorial (& Video)
Here I share my tips on how to sew and blend faux fur seams, especially when it comes to cosplay.
Fabrics and notions I suggest for sewing and blending faux fur seams
- A razor blade or small snips
- A pet comb
- Basic thread
- Shannon Fabrics faux fur
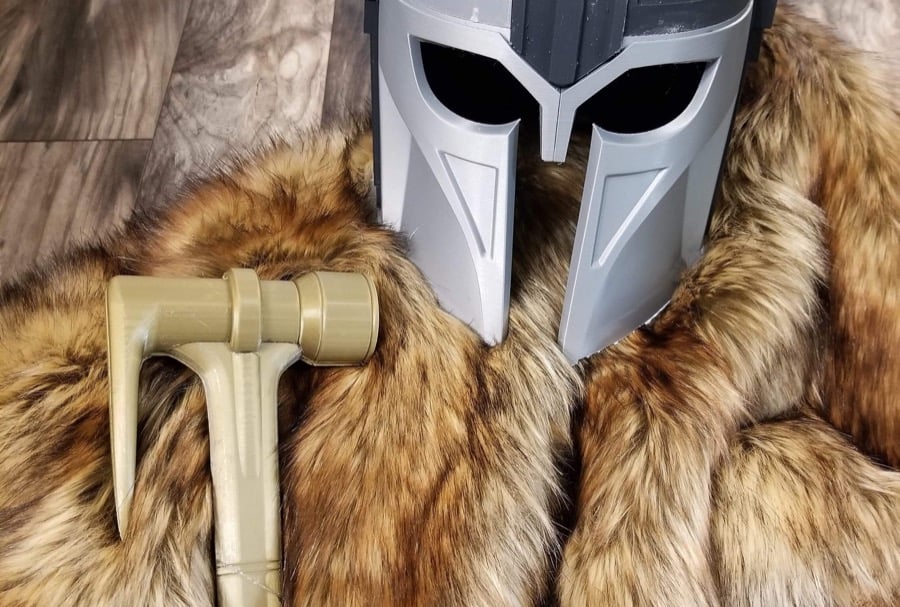
My current costume project is The Armorer from The Mandalorian. Her centurion-influenced design includes a fur capelet, so I chose the Golden Wolf Fur Gold Brown.
How to sew and blend faux fur seams
For this tutorial, more than teaching how to drape a simple capelet, we are focusing on the detail-oriented steps used to seamlessly and professionally blend fur seams. This technique applies to any fur with a pile longer than 0.5” (1.25cm).
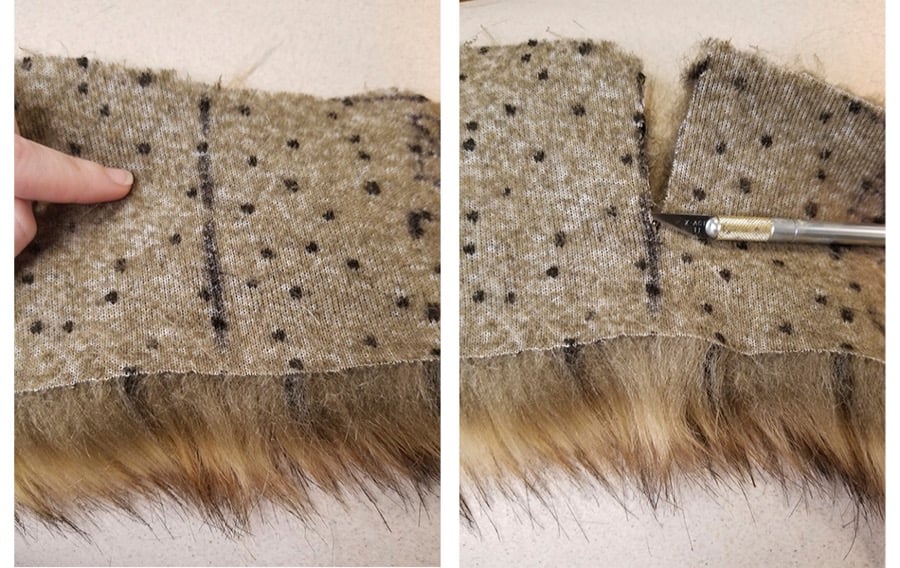
For the initial patterning, I need to insert a seam into these small shoulder pieces (these small pieces will hide the shoulder straps and later attach to the 3D-printed armor currently in progress). Whenever cutting fur, it is best to utilize a razor or small scissors to cut or trim from the wrong side of the fur to avoid cutting the pile and creating unsightly, lopped-off edges.
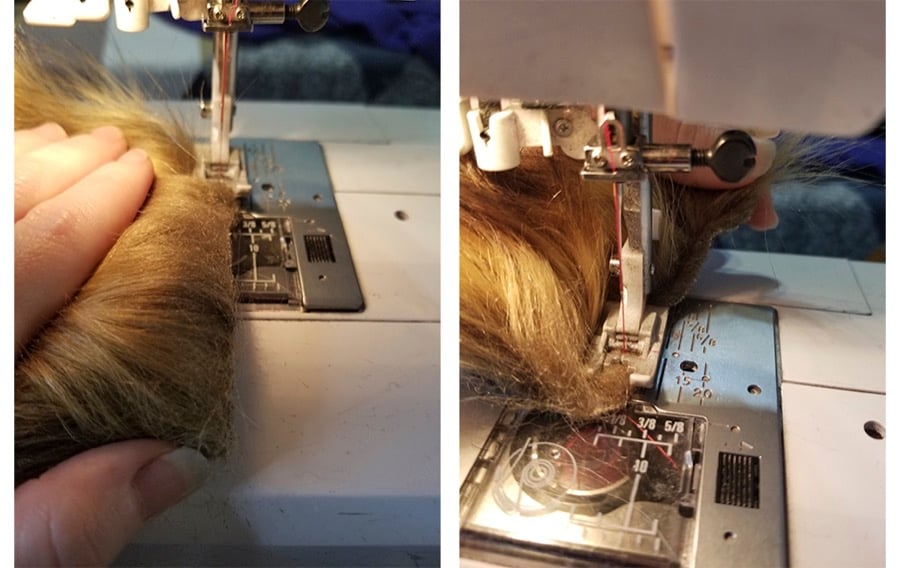
Next, we are going to prep all of our fur edges for sewing and clean finishing. Note if you would like to leave an edge raw or unfinished, skip this step in your process (all four sides of my fur piece will be clean finished). For a 0.5” (1.25cm) seam allowance, do a simple basting stitch 0.25” (0.65cm) from the raw edge. As you sew, brush the fur pile away from your stitch/seam allowance and towards the center of your fabric piece.
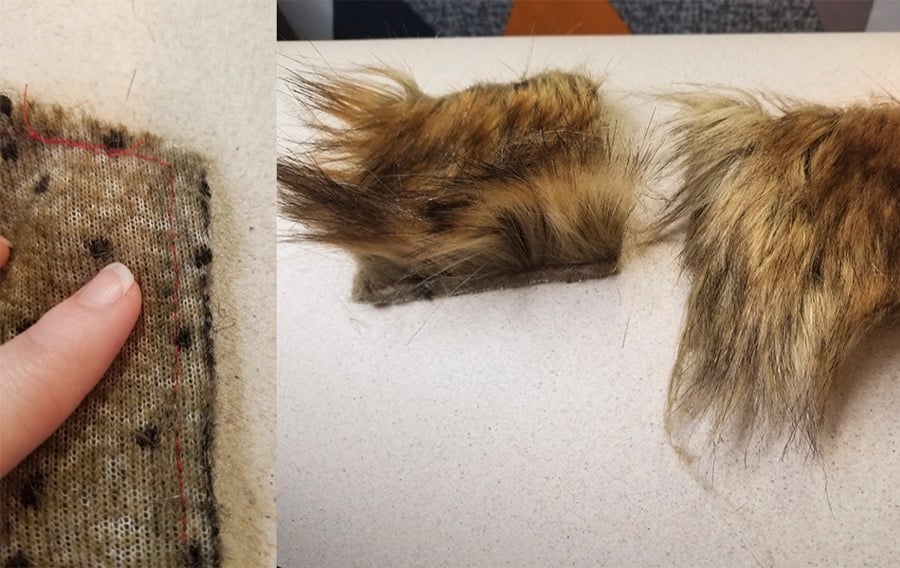
You can see how the simple basting stitch helps to manipulate the directional lay of the long, full fur pile. This simple step will make it easier for us to sew and cleanly blend our fur seams.
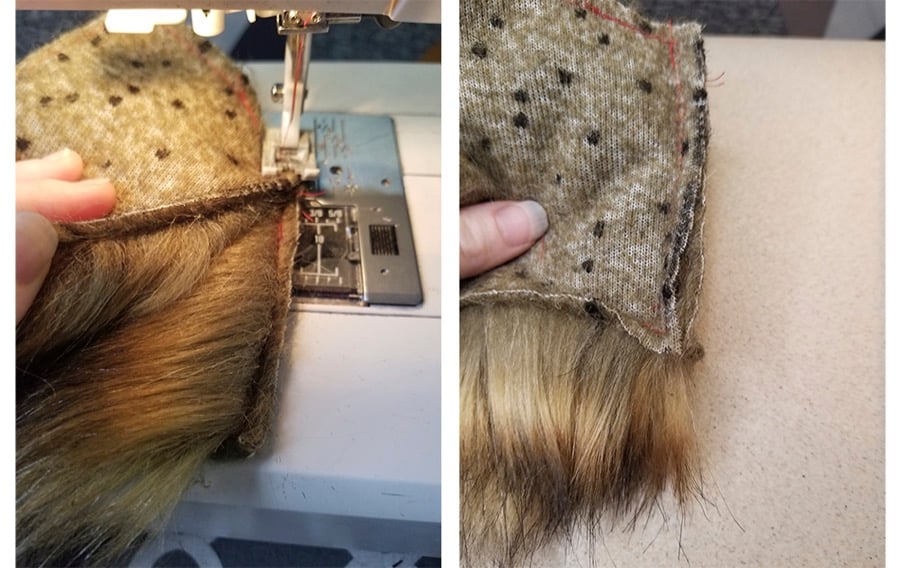
Now match your pattern pieces, and stitch as normal. You can visually see how the basting stitch pushes the pile away from the seam and make the sewing process so much easier.
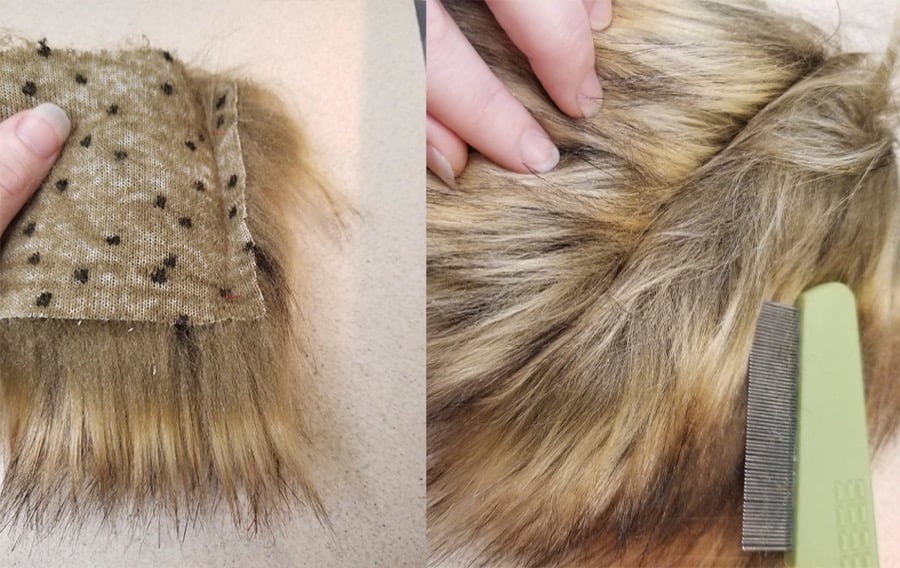
Here is an example without using the basting stitch. The fur pile is less easy to control and a lot of your fur pile is caught in the seam allowance. It will be more difficult to blend seams and take longer to brush out your seams, if you choose.
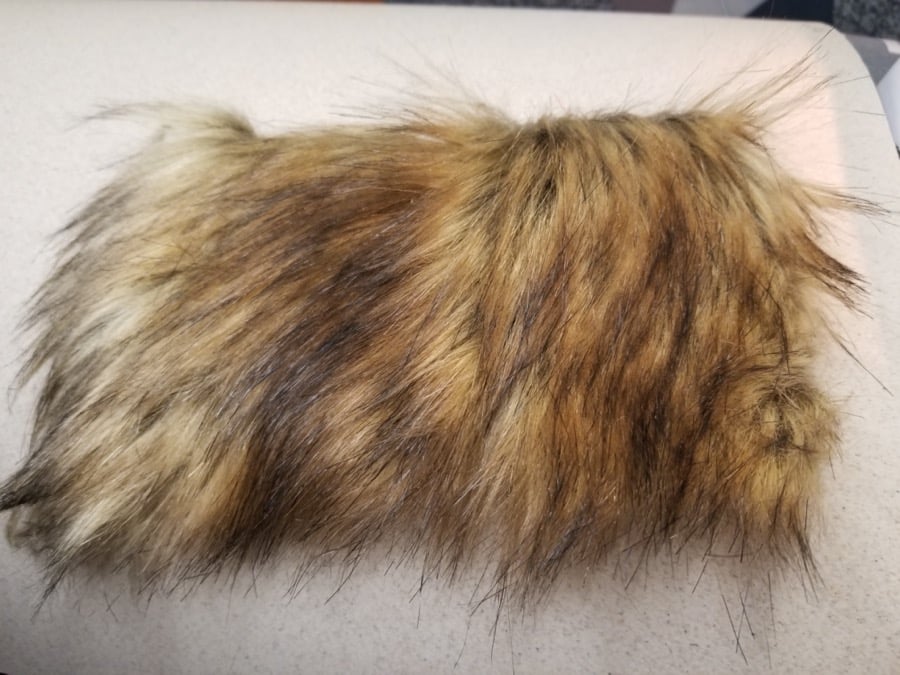
Back to our basted piece, you can see how with a simple baste the seam already disappears.
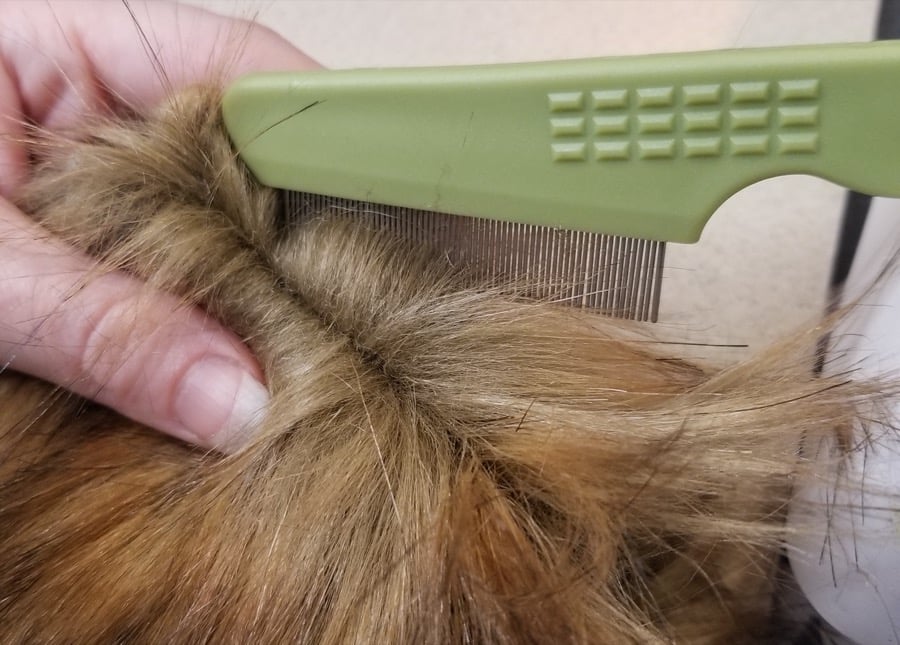
As a finishing detail, you can take a pet comb to brush out any fur that may have accidentally been caught in your seam during the sewing process.
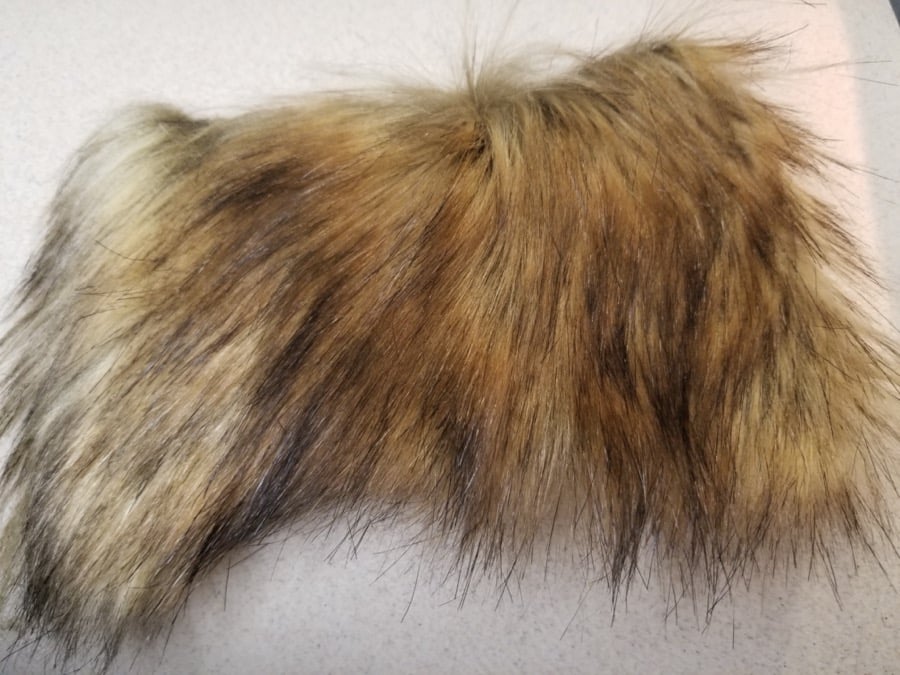
Here is the final product of the basted and brushed fur! Can you spot the seam?
—Cynthia Kirkland
If you have any questions about faux fur, Cuddle® minky plush fabrics or any of our Cuddle® Kits, feel free to contact our friendly, no-pressure customer service team at 866-624-5252.
Ready to start creating with faux fur or Cuddle® minky fabric? Use our store locator to find a selection of our fabric online or near you.

%20-%20Copy%20copy.png?width=143&height=69&name=Black%20logo%20(002)%20-%20Copy%20copy.png)


-Dec-11-2025-10-58-46-1415-PM.png?width=640&name=Untitled%20design%20(3)-Dec-11-2025-10-58-46-1415-PM.png)


Leave a Comment