 Hello, fellow Cuddle™ fabric fans! This is Sarah from Bombshell Bling (formerly Craft Quickies). I hope you enjoyed my Cheetah Costumes last month! Today I am excited to share a sewing tutorial for a baby sleep sack. It is the first pattern that I ever created, and I am including it as a PDF file for you for free!! Woohoo!
So, what is a baby sleep sack? It's a wearable blanket, of course! You aren't supposed to lay blankets on top of babies due to suffocation risks, so these wearable blankets keep baby snug and warm, but safe as well! Genius. And since every baby needs one, regardless of gender, this quick and easy project is perfect for baby shower attendees to give as gifts!
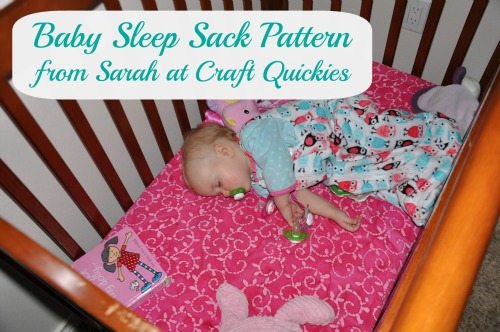
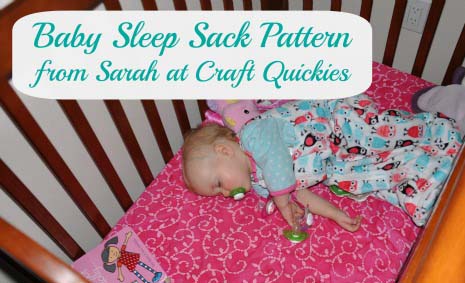
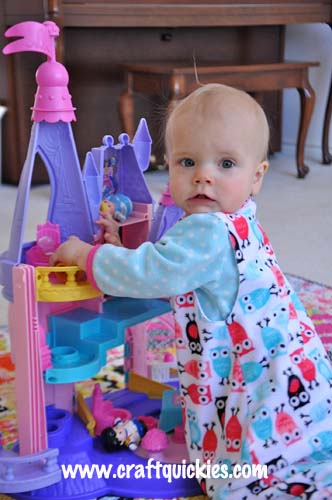
When my son was born, a friend made me a brown fleece sleep sack with large owls on it. It was very cute, and it served us well, but when I found out my second baby was going to be a little girl it flitted through my mind that I should make her a more feminine sleep sack. But then I didn't. And didn't. And before I knew it her first birthday was creeping up and she was still in her brother's brown owl sleep sack. So I got my booty in gear and made her a bright, girly owl sleep sack for her first birthday. I love the girly colors, and I love stroking the soft fabric when I am feeding her before bed. I am a texture junkie.
The fabulous Cuddle fabric that I chose for this sleep sack is Robert Kaufman Night Owls. I love it.
Now let's get down to business!
Here is what you will need in order to make your sleep sack:
* Baby Sleep Sack PDF Pattern
* Cuddle Fabric (I'm not sure exactly how much I used, but one yard should be plenty.)
* coordinating thread
* a coordinating color of zipper (I believe I used a 20 inch zipper.)
* sewing machine, pins, scissors, etc.
This tutorial is crazy simple, other than the zipper, which is only slightly tricky, so let's get going!
* Start with the pattern. Have you ever used a PDF pattern before? It's super easy, and I'm excited to share my first original one with you! Simply print out the pattern on regular paper, cut it out and tape it together. Viola! A pattern! Nifty, eh?
To create this pattern I used the old sack, then I made it longer and I expanded the neck hole and the armholes quite a bit. I always wished they were bigger on our old sack, so this was the magical moment to make changes.
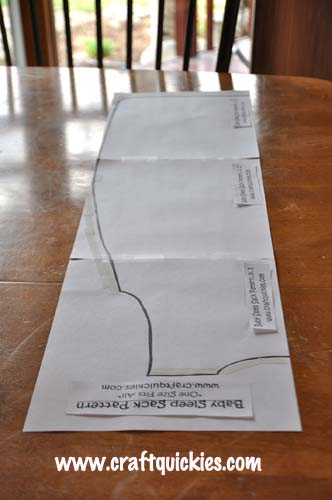
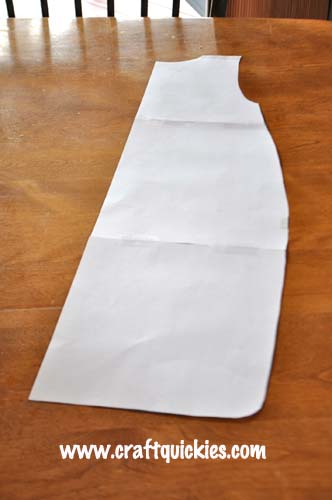
* Next you are going to cut your fabric. I discovered that cutting Cuddle fabric is a tad messy. It makes a little bit of a mess initially, but then it doesn't fray after that. Strange. But worth it!
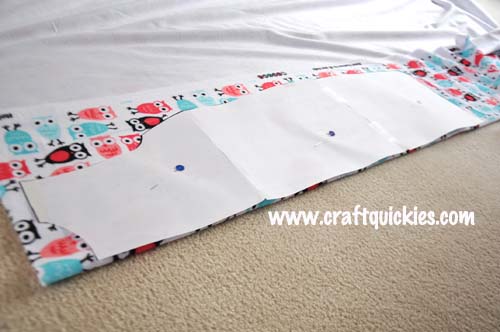
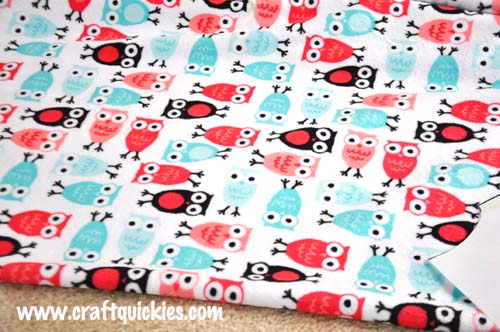 Fold your fabric in half and lay out the pattern as shown. The straight side of your pattern is along the fold of the fabric. Now cut out the pattern piece twice.
* Next you will seal the armholes and neck hole of your sleep sack by sewing a zig zag stitch along the cut edges. No need to bother hemming it unless you really want to. I believe in simplifying my life whenever possible.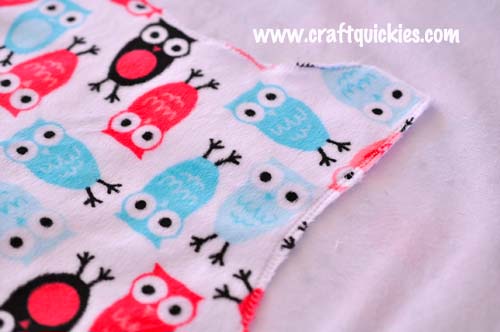
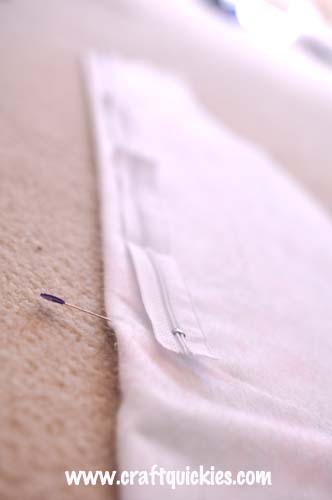
* Time to deal with the zipper. This is my least favorite part. I folded the fabric and laid my zipper on top of my front piece and cut the length of it. Then I pinned it along the opening, as shown in the picture, and sewed it onto my fabric using my zipper foot.
Ok, those directions were sort of lame. Sorry. But you can see your machine's manual for details on your zipper foot, and zippers always have instructions on their packaging as well.
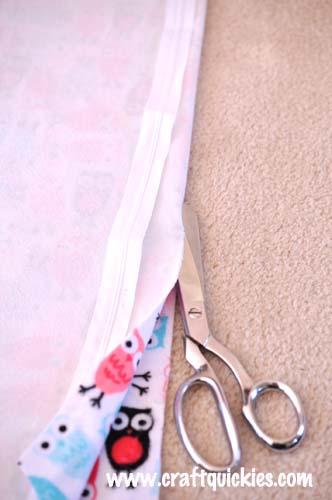
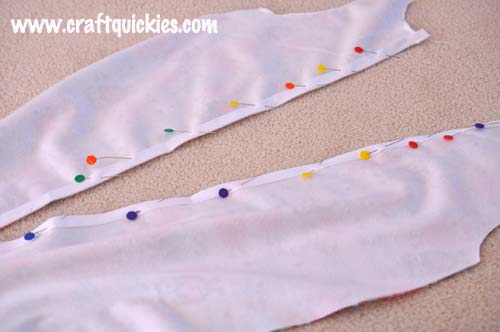
* Now zip your zipper closed, lay your two pieces on top of one another right sides together, pin, and stitch around the sides of the sack and on the shoulders.
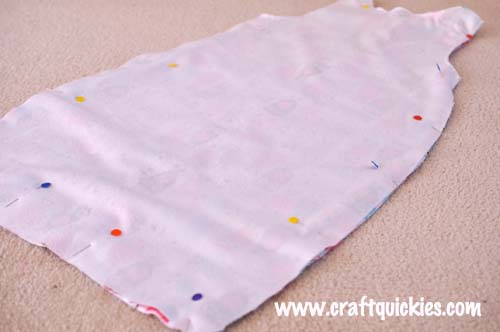
* You are DONE! Easy peasy, right?! Now go put it on your little one and cuddle away!
 Isn't she angelic??
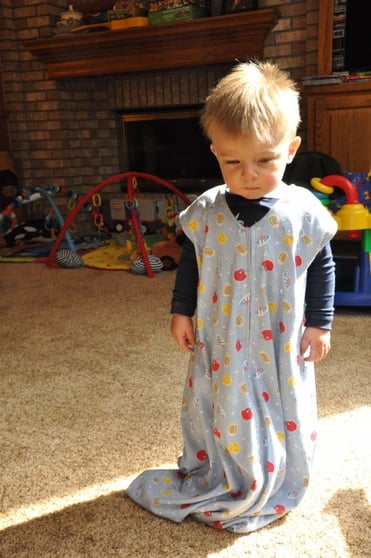
My 18 month old nephew still wears his sleep sack. We call it his "Man Gown" and tease my sister about it. Check out this picture I got of him wearing it. So ashamed......so ashamed..... Heehee!
 If you enjoyed this tutorial then I hope you will visit my site and check out some other posts that are great for the chilly fall/winter months! Here are a few that you may enjoy:

%20-%20Copy%20copy.png?width=143&height=69&name=Black%20logo%20(002)%20-%20Copy%20copy.png)
 Chicken & Wild Rice Soup
 Quick & Easy Baby Hat
 Creamy Crouton Chicken
 Button Christmas Tree Shirts for Kiddos


-Dec-11-2025-10-58-46-1415-PM.png?width=640&name=Untitled%20design%20(3)-Dec-11-2025-10-58-46-1415-PM.png)

.jpg?width=640&name=P1400457-Edit%20(1).jpg)


.jpg?width=640&name=self%20binding%20blanket%20c3%20caramel%20Image%20from%20iOS%20(5).jpg)


-3.jpg?width=640&name=Image%20from%20iOS%20(3)-3.jpg)


Leave a Comment