%20-%20Copy%20copy.png?width=143&height=69&name=Black%20logo%20(002)%20-%20Copy%20copy.png)
Do you love ‘in the hoop’ machine embroidery and Cuddle® fabrics? We do, too!
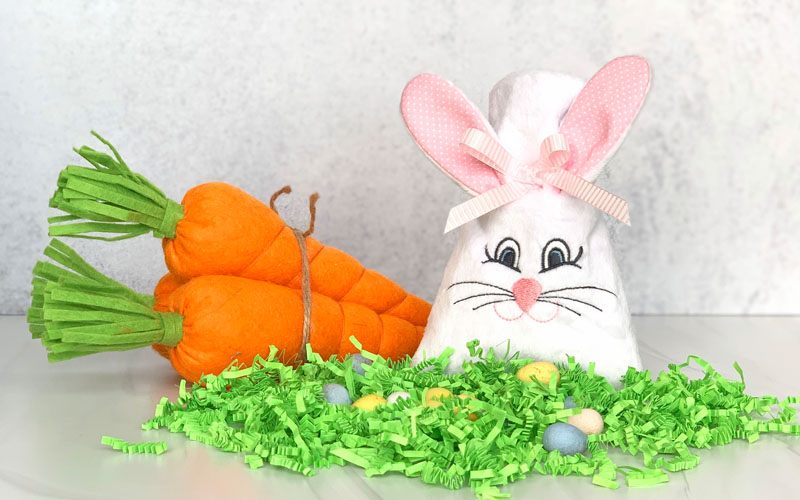
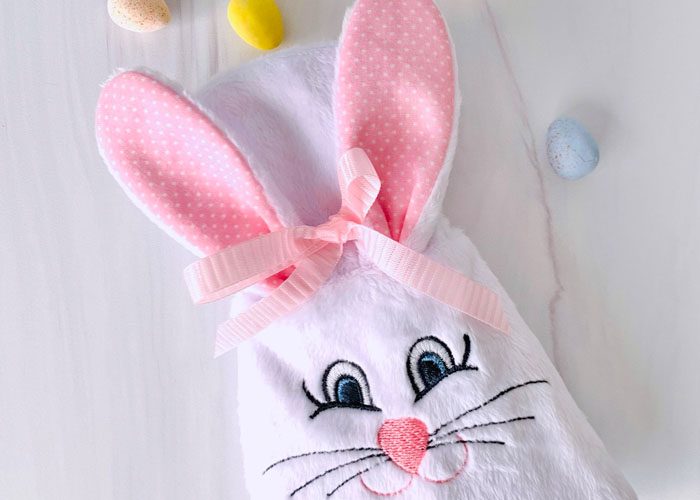
Here we've mixed the two to create a fun Bunny Treat Sack for Easter. This mock drawstring sack is made completely in the hoop and can hold candy and small treats. This adorable project was created by Reen of The Embroidery Garden.
See Related: Fluffy Cuddle® Bunnies and More! In the hoop Easter Stuffies
If you are not familiar with the term in the hoop (ITH), it's a process in machine embroidery that allows you to create dimensional items that are completed solely within the hoop of the machine.
Projects are achieved by a series of placement and stitch lines and having the machine stop between steps for you to place, trim or fold fabric pieces to ultimately create the item. After stitching and trimming, most ITH designs are turned to the right side through a small opening.
Pairing an ITH design with Cuddle® is easy. There are a few things you want to keep in mind and some tips to know when working with Cuddle® and machine embroidery.
This design comes with detailed step-by-step instructions and is available from Embroidery Garden (click here!).
I chose to make the design using Cuddle® 3 in Snow. It has a short pile and was perfect for this project, and the bunny would also look adorable in other colors like pink, blue, yellow, etc.
There are a few additional products and tools to have on hand when working with Cuddle®. In addition to what is listed in the instructions, I also used the following items when stitching this project.
Tools for Making an In the Hoop Bunny Treat Sack in Cuddle® Minky Fabric
- SF101 - This is a lightweight fusible interfacing that should be ironed to the backside of the piece that the face is stitched on. It will prevent the Cuddle® from stretching during the embroidery.
- Cutaway stabilizer
- Polyester embroidery thread and ball point needle
- A plastic film topper made for machine embroidery. This will keep the embroidery stitches of the face from sinking into the pile.
- Flat flower head pins
- Serrated scissors make cutting Cuddle® extremely easy and accurate
- Stiletto
How to Make an In the Hoop Bunny Treat Sack in Cuddle® Minky Fabric
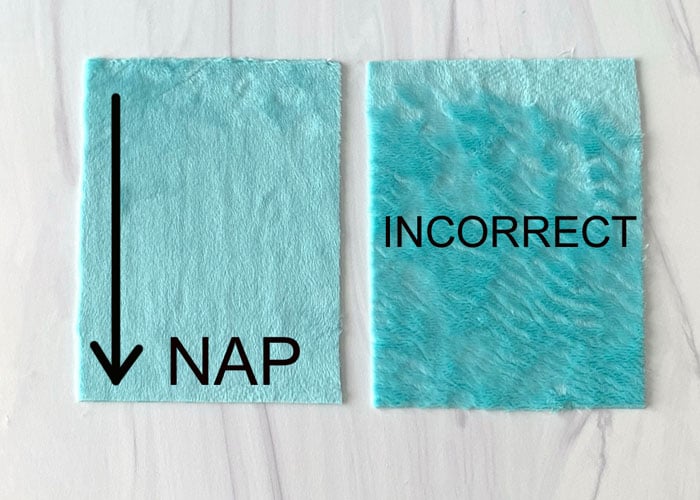
Cut all the required pieces for the project per the instructions. Keep in mind Cuddle® has a nap. You want the nap for all the pieces to be going in the same downward direction when you brush your hand down the fabric.
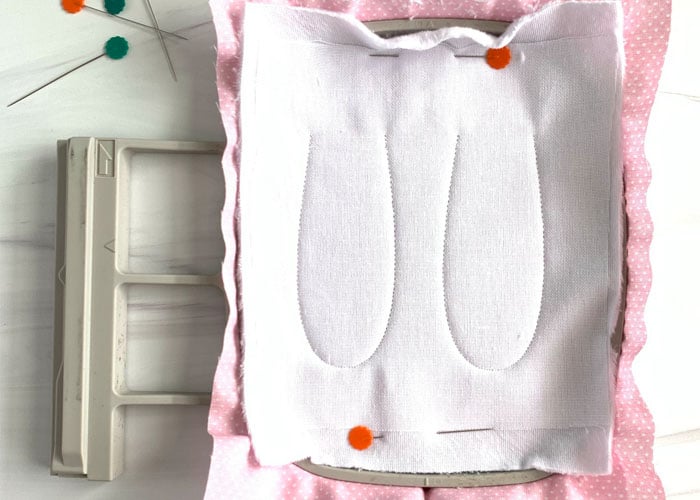
For this project, the ears are stitched first. The inner ear fabric is hooped with the right side up and the Cuddle® is placed right side down and pinned in place.
Pinning prevents it from slipping. Once the ears are stitched, they are removed from the hoop, trimmed and turned to the right side. Set them aside to be used later in the design.
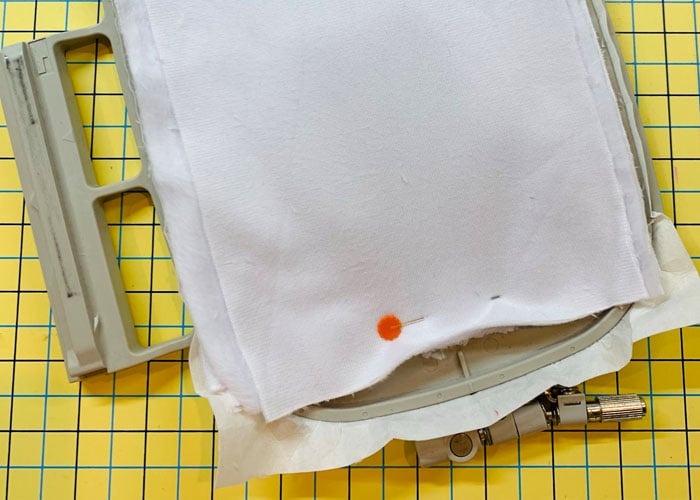
Hoop the cutaway stabilizer and load the sack file on the machine. Follow the instructions playing close attention to the direction you place the Cuddle® pieces. Keep in mind if a piece is placed, stitched and will be folded over that the nap will be going downward. It may require you to turn the piece to the opposite edge when placing it to ensure the nap direction will be correct. Pin the fabric in place to prevent any slippage as you work through the steps being careful not to have pins in the stitch field.
At a point in the instructions, you will place the ears you stitched first. They will be sewn down in the process of making the sack. Before stitching the face, place the plastic film topper over the area where the face will sew. Pin it in place to keep it from shifting.
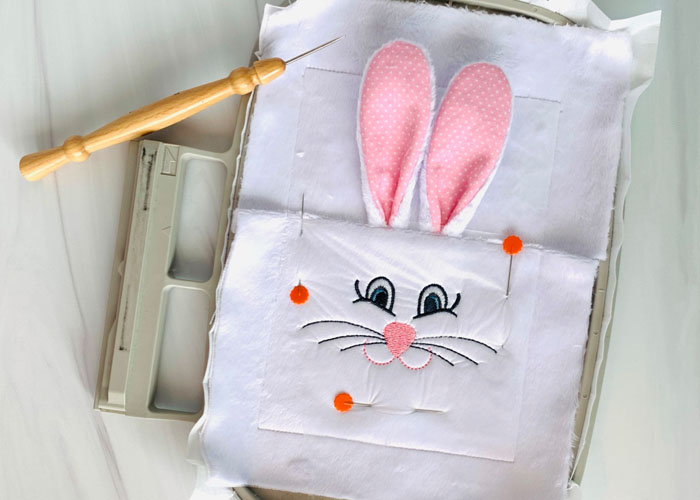
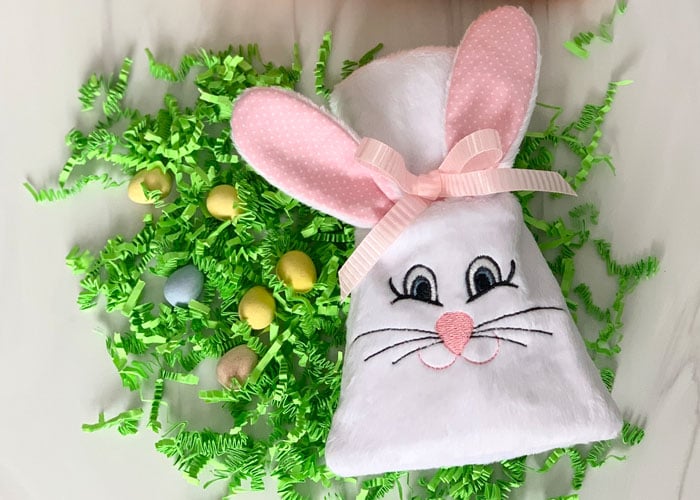
After the face has stitched you can carefully tear the topper away close to the embroidery. Look how nice the embroidery looks on the Cuddle®.

Continue on with the instructions. When placing the last piece right side down over the front side of the hoop, pin it in place well. While the last step stitches a stiletto is handy to help ease the areas with a little bulk under the foot of the machine.
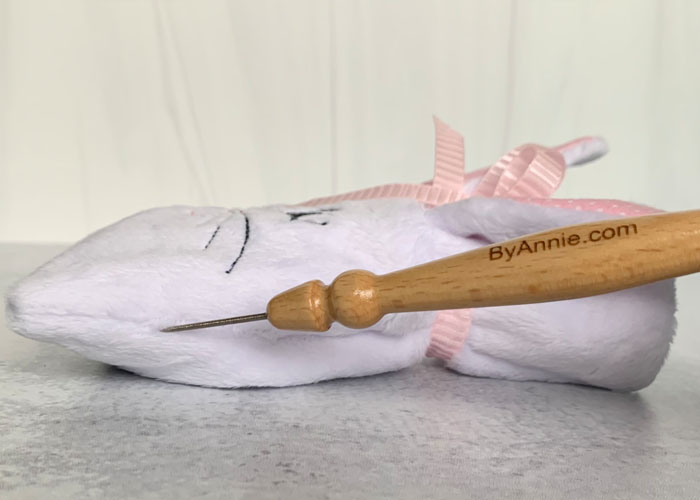
The design is removed from the hoop, trimmed and turned to the right side following the instructions.
After the bunny is finished, you can use the stiletto to gently lift any fibers that may have become stitched in the seams.
Once you have worked with Cuddle® in ITH designs and realize how easy it is, you will be using it for all your projects, applique pieces, accents and more.
You can follow Embroidery Garden on Facebook and Instagram @embroiderygarden to see more projects I have stitched using Cuddle® fabrics.
-Reen
If you have any questions about Cuddle® minky plush fabrics or any of our Cuddle® Kits, feel free to contact our friendly, no-pressure customer service team at 866-624-5252.
Ready to start creating with Cuddle® minky fabric? Use our store locator to find a selection of Cuddle® minky fabric online or near you.


.jpeg?width=640&name=Image%20(5).jpeg)


.jpg?width=640&name=pinkdresses1%20(2).jpg)


-1.jpg?width=640&name=Image%20from%20iOS%20(9)-1.jpg)


-1.jpg?width=640&name=Image%20from%20iOS%20(3)-1.jpg)


Leave a Comment