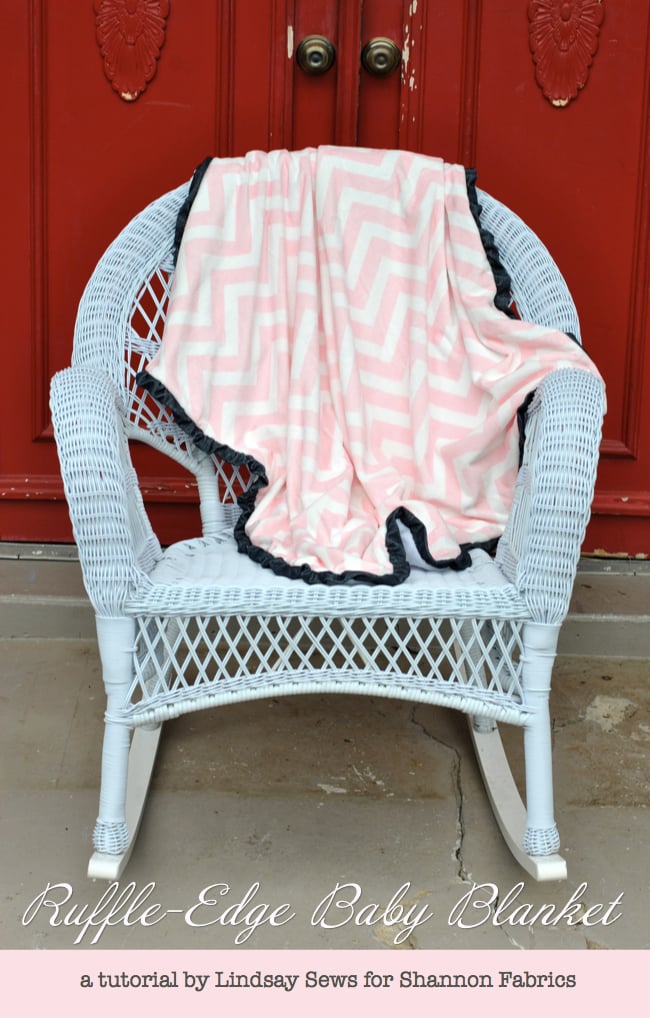
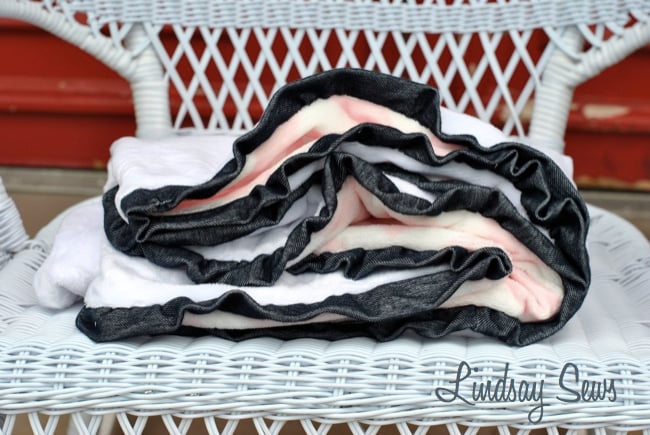
Hello, I'm Lindsay from Lindsay Sews and Craft Buds, and I'm excited to be here today to share a baby blanket I made from Cuddle fabrics! I'm currently pregnant with my first, and if it's a girl, this pink chevron baby blanket will come in handy! But just in case it's a boy, I made the other side a neutral white Cuddle and added denim-colored ruffle trim.
Want to make your own cute ruffle-edge baby blanket? Let's get started!
Materials:
- 1.5 yards baby pink chevron Cuddle fabric
-1.5 yards Cuddle 3 white fabric
- 270" inches (total length) of 3"-wide strips of jersey fabric (I used scraps from a dress)
Time: About 2-3 hours
1. Cut your 3"-wide strips of jersey fabric using a rotary cutter and ruler. Sew edge-to-edge, with the right sides together. Continue joining strips together this way until you have about 1.5 times the length of your blanket perimeter (or 270" inches for a 45" x 45" throw).
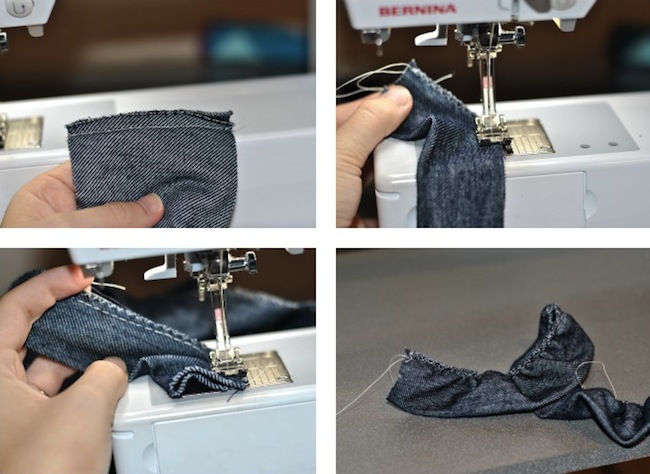
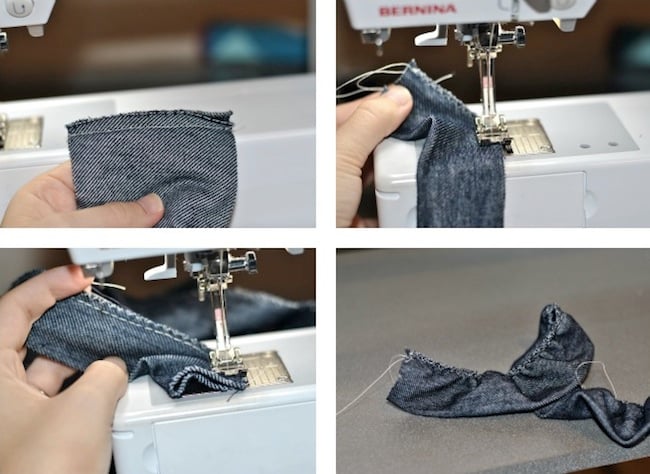
2. Fold jersey in half lengthwise with wrong sides facing the middle. Sew a small zig-zag stitch to secure the raw edges.
3: Optional: If you'd like to ruffle the fabric, sew a long basting stitch along the entire length of the jersey strip, about 1/8" from the raw edge. Leave the thread tails long and gently pull on the thread to ruffle the fabric. You can also skip this step and just ruffle the fabric while you sew, which is a time saver!
4. Optional: If you have serger or a ruffle foot for your sewing machine, you can use this to ruffle the fabric quickly and easily!
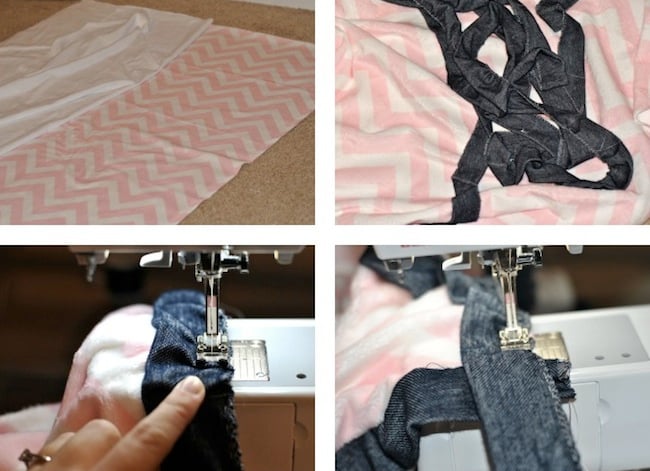
5. Cut top and back of cuddle fabric 45" x 45" square with a rotary cutter and ruler.
6. Grab your jersey ruffle binding. If you left it straight, don't worry! You can "ruffle it" in the next step.
7. Place the raw edge of the jersey on the raw edge of the cuddle fabric. You'll stitch it first to the blanket front. Leaving about an inch of binding unstitched, stitch the ruffle binding 1/4" from the raw edge. Every few stitches, use your finger to fold the jersey on top of itself, creating a ruffle effect. Stitch the ruffles in place.
8. Stitch all the way around the blanket this way, until you reach your original corner.
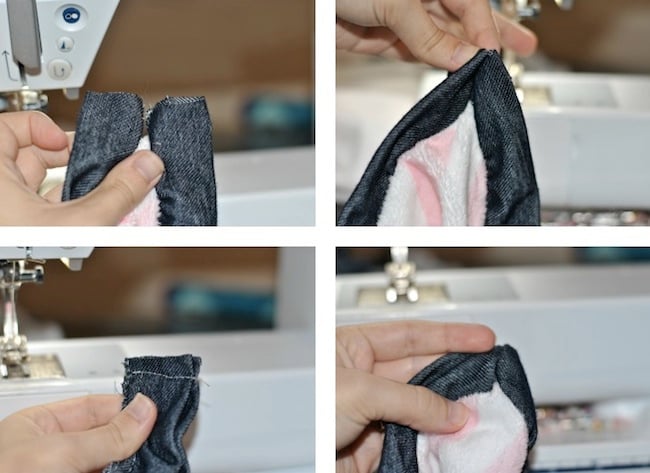
9. If you'd like to join the binding the "proper way," you'll want to hide the raw edges inside the tube. I chose to sew this the quick way (since it's jersey, it won't fray)! Snip off your binding tails at the corner so they are about 1/2" long.
10. Pinch them right sides together (raw edges in the back).
11. Stitch a straight line to join them at the corner.
12. This is what the front of your joined corner will look like.
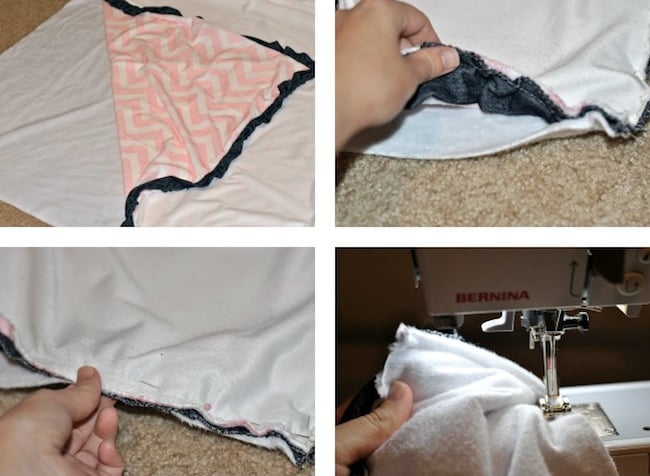
13. Your ruffle binding is now completely stitched to the top fabric. Good job! Use the floor or table to lay your backing fabric and top fabric right sides together, so the wrong sides are facing out toward you.
14. Tuck the ruffle to the inside of your blanket sandwich.
15. Pin along the raw edges.
16. Move your needle to the 1/2" mark, and stitch along the raw edge of your blanket sandwich, removing pins as you sew. Leave about 4" unstitched for turning.
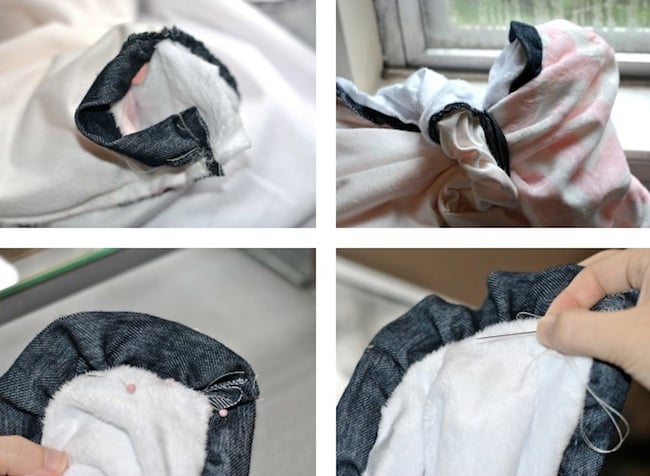
17. Locate your corner for turning.
18. Pull the fabric blanket right-side out through the hole.
19. To stitch up the hole, first pin down your backing fabric to cover the raw edge of the binding.
20. Hand stitch the corner closed. You can also use your needle and thread to clean up the raw-edge corner we joined together earlier!
I hope you enjoyed this project! If you make one, I'd love for you to let me know or add it to the Lindsay Sews Flickr pool.
 Lindsay Conner is a writer, editor and quilter living in Nashville, Tennessee. She recently wrote her first book, "Modern Bee: 13 Quilts to Make with Friends," and she is a contributor to "Stitch" and "Stitch Craft Create" magazines and the "One-Yard Wonders" books. You can follow her crafty ventures at Lindsay Sews and Craft Buds.

%20-%20Copy%20copy.png?width=143&height=69&name=Black%20logo%20(002)%20-%20Copy%20copy.png)











Leave a Comment