Written by Cuddle® Ambassador Ajaire Parello of Designs by CallAjaire
How to Make a Cuddle® Winter Capelet!
When I think of the Holidays and the cooler winter weather to come, I begin to dream of a winter wonderland. The perfect companion on a cold day is a cape made with Luxe Cuddle© and it makes a great gift.
Since a cape only drapes around the shoulders the size ranges are large and you don't have to worry too much about fit for the recipient of your gift. For this cape I used the Traveller Cape from Twig + Tale in the children's sizing. They also have an adult version which looks fantastic.
The pattern is well drafted and well written, so this makes for a great beginner project. You'll need the following supplies to make this cape using Luxe Cuddle© Glazed Vienna Cherry Cola and Silky Satin Solid in Black.
-1.jpg?width=979&height=492&name=Untitled%20design%20(9)-1.jpg)
Notions used:
- Polyester thread
- Felt Tip marker
- Serrated scissors (like Karen Kay Buckley)
- 90/14 stretch needle
- Point turner
- Stiletto
- Walking foot
- Hand sewing needle (for closing the turning gap)
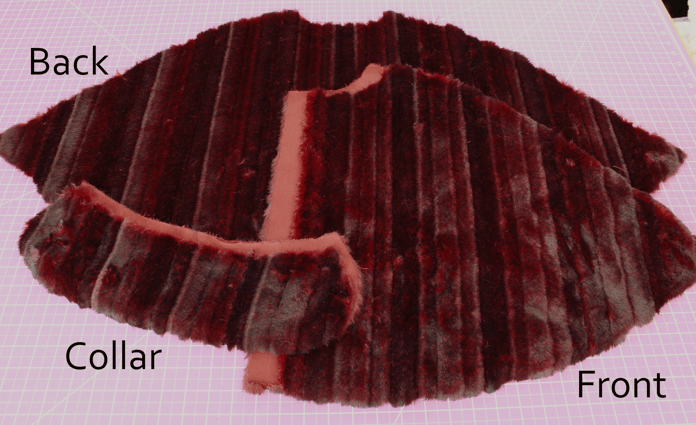
Starting with the Luxe Cuddle©, cut out the one back piece, two front pieces, and two collar pieces. The pattern has the option for a hood which would be really cute too. I didn't bother interfacing the collar, since the Luxe Cuddle© has plenty of weight to it and I liked the idea of it being a little bit softer and poofy than if it was a coat collar.
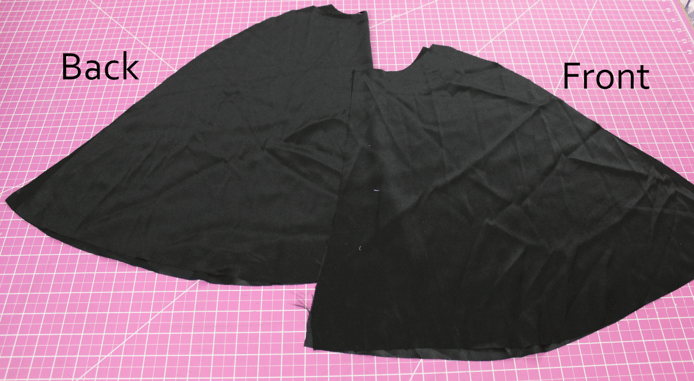
For the lining I used the Silky Satin which is soft and looks great with the Glazed Vienna. You only need to cut out the back piece and two of the front pieces from the lining.
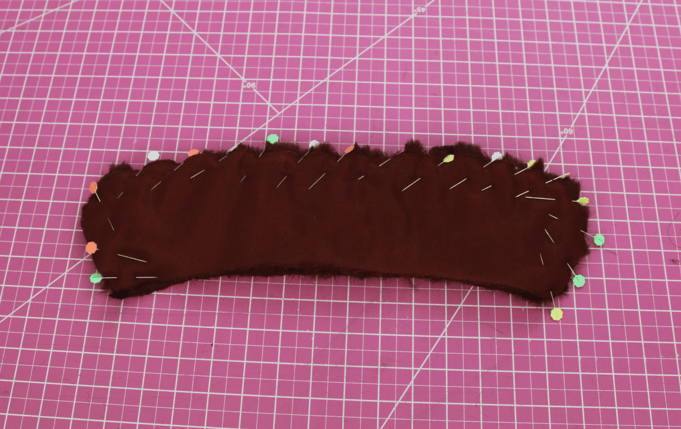
As you're making your way through the pattern instructions, there aren't too many changes I'd make for working with Cuddle©. This is the two collar pieces and you can see I just used many pins to hold it all in place. I had no trouble getting these sewn together.
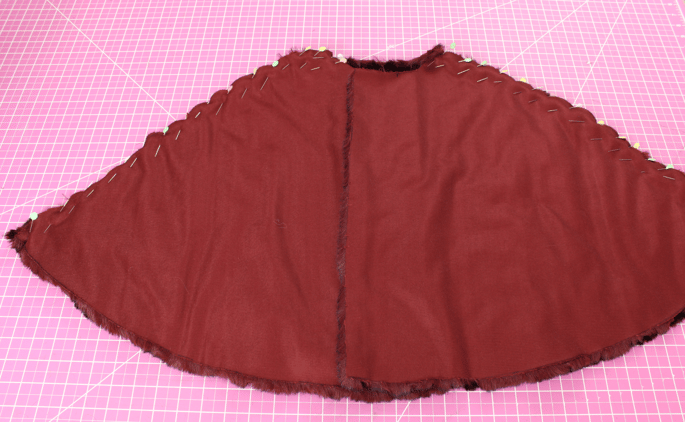
The shoulder seams are long and have a nice curve to them, so make sure to pin those really well too. When I'm working with any type of clothing I like to use the diagonal pinning method vs the double pinning. Pinning at a diagonal helps to keep the fabric together right at the sewing line and doesn't take up as much space as the double pinning.
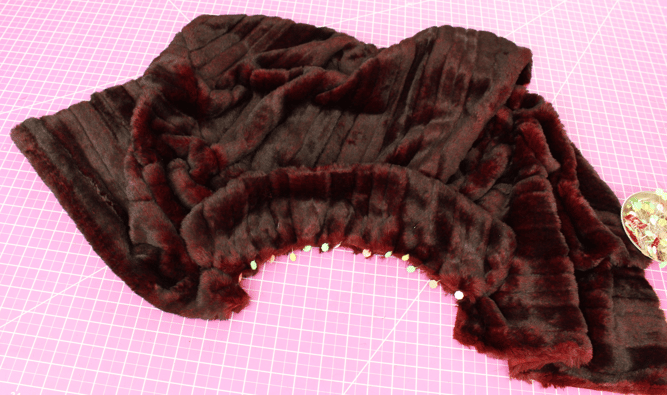
The collar is pinned right onto the main Luxe Cuddle© cape and after pinning it on really well, I chose to baste it in place using a zigzag stitch within the seam allowance. The zigzag will keep the seam allowance to stay flat and together for the following steps.
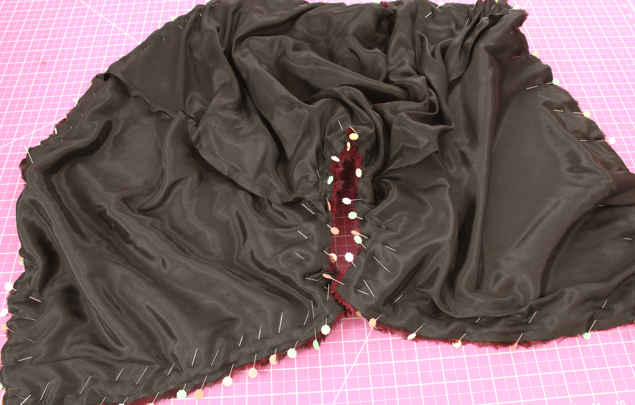
Since according to the pattern instructions we left an opening in the lining shoulder for turning, now we pin all the way around the lining/collar/cuddle© sandwich, and then sew the layers together.
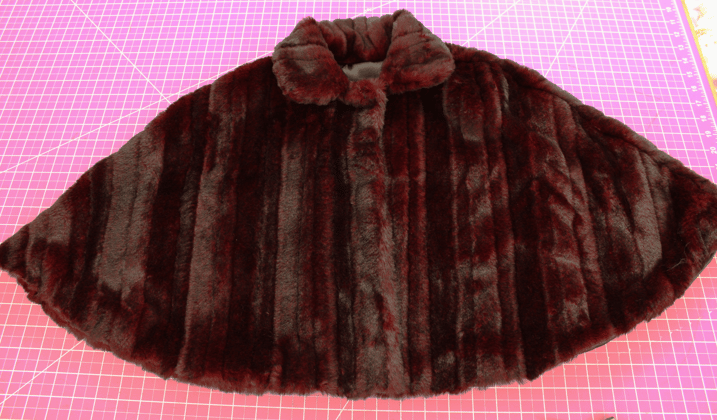
Flip to the right side and you have a beautiful cape. This can be pressed well to make sure the corners are crisp and the lining stays in place. I use a tailor's clapper and pressing cloth to make sure the cuddle© isn't damaged.
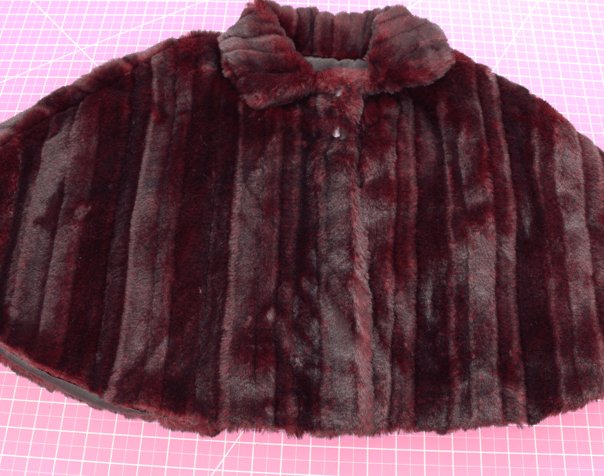
Following an option in the pattern, I added an inch to the center fronts of the cape so that it would overlap and I could add snaps. I added two snaps to the top edge so the cape would easily stay in place on my girl.

%20-%20Copy%20copy.png?width=143&height=69&name=Black%20logo%20(002)%20-%20Copy%20copy.png)


-Dec-11-2025-10-58-46-1415-PM.png?width=640&name=Untitled%20design%20(3)-Dec-11-2025-10-58-46-1415-PM.png)


.png?width=640&name=SEW%20TOGETHER%20livestream%20promo%20images%20(4).png)
.jpg?width=640&name=gencoreA%20(1).jpg)
-Oct-06-2025-07-25-25-9749-PM.png?width=640&name=SEW%20TOGETHER%20livestream%20promo%20images%20(1)-Oct-06-2025-07-25-25-9749-PM.png)

-4.png?width=640&name=SEW%20TOGETHER%20livestream%20promo%20images%20(3)-4.png)


.jpg?width=640&name=spring%20tea%20party_049%20(1).jpg)


.png?width=640&name=12%20Days%20of%20Cuddle%C2%AE%20(8).png)
.png?width=640&name=12%20Days%20of%20Cuddle%C2%AE%20(3).png)
-2.png?width=640&name=12%20Days%20of%20Cuddle%C2%AE%20(2)-2.png)

-2.png?width=640&name=12%20Days%20of%20Cuddle%C2%AE%20(4)-2.png)
.png?width=640&name=12%20Days%20of%20Cuddle%C2%AE%20(7).png)
.png?width=640&name=12%20Days%20of%20Cuddle%C2%AE%20(2).png)
.png?width=640&name=12%20Days%20of%20Cuddle%C2%AE%20(6).png)


Leave a Comment