%20-%20Copy%20copy.png?width=143&height=69&name=Black%20logo%20(002)%20-%20Copy%20copy.png)

It's Caroline again from SewCanShe.com... here to show you a fun tutorial I wrote just for Shannon Fabrics.
I had a really hard time naming this tutorial because it's for two things, really.
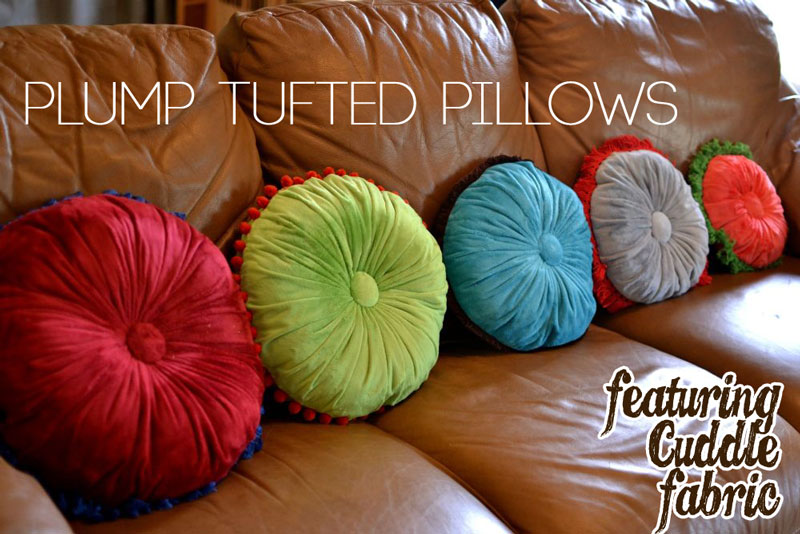
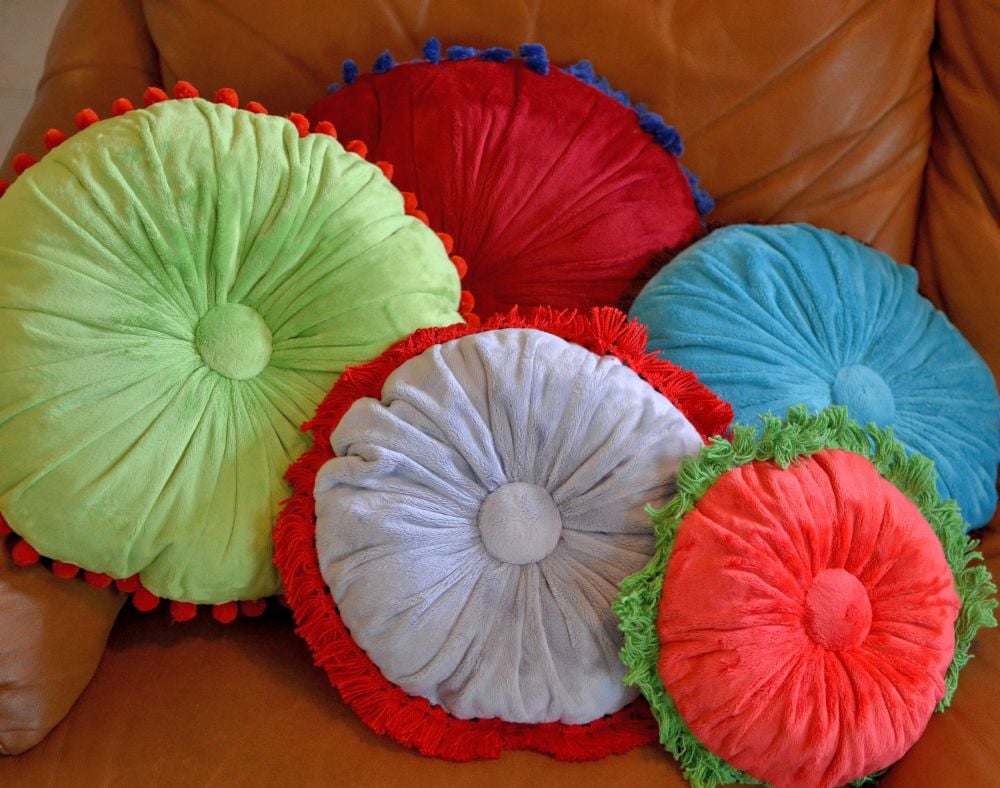
You can sew these really awesome plump tufted pillows with fringe all around the edges... and then you can pile them up (with the star I showed you how to make here) and make an adorable Christmas Tree!

You'll need to start by picking your pillow sizes and sewing round pillow forms in those sizes. See my 'Cutting Big Circles' tutorial to make it easy.
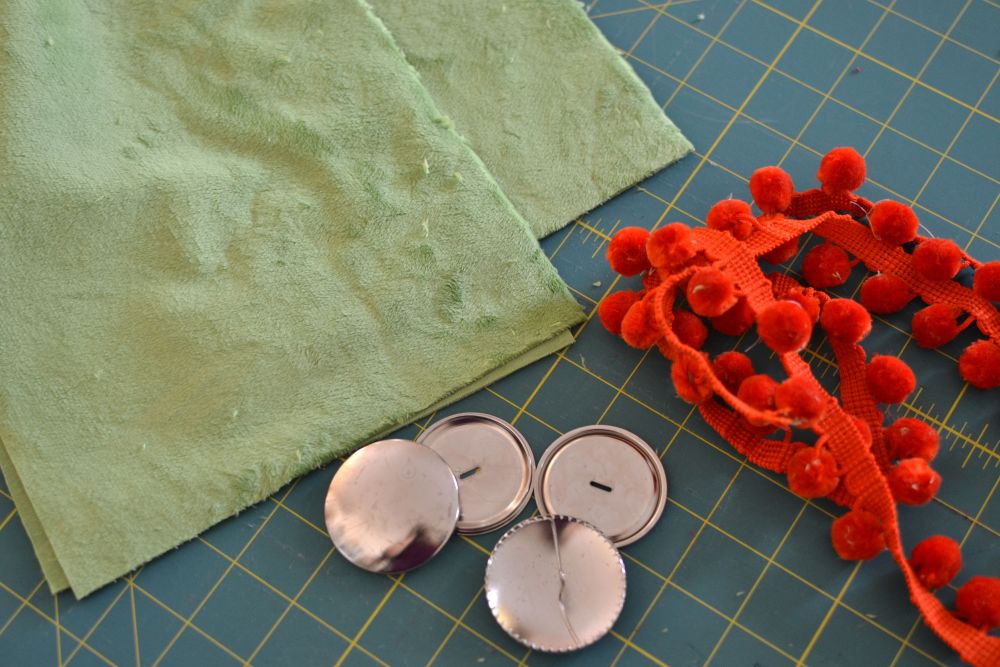
Next gather your pillow cover supplies. I used plush Cuddle® 3 from Shannon Fabrics Kozy Cuddle Solids. For the pillows, I used Crimson, Jade, Teal, Cherry and Silver. For the star, I used Mango.
I also used 1 7/8'' covered button kits and Simplicity Pompom fringe trim. On my other pillows I used vintage fringe trims that I bought from various sources on Etsy.
You'll also need strong thread and long doll needles for the hand sewing part.
Here's a little chart to tell you how much fabric and trim to cut for each pillow:
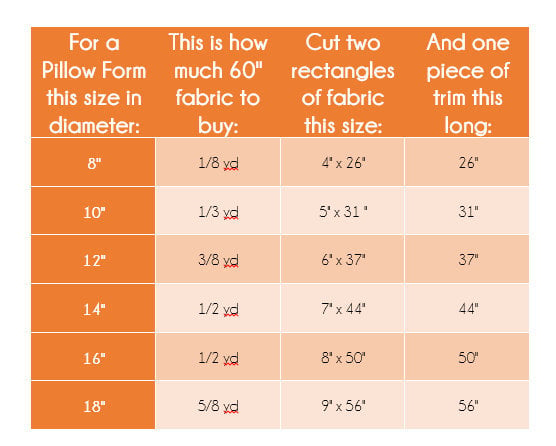
Obviously, if you are using fabric that is less than 60'' wide you will need to buy more fabric and piece together some of your rectangle strips.
FYI: my Pillow Pile Christmas Tree is made with pillows that are 10'', 12'', 14'', 16'', and 18'' in diameter and my Cuddle® star.
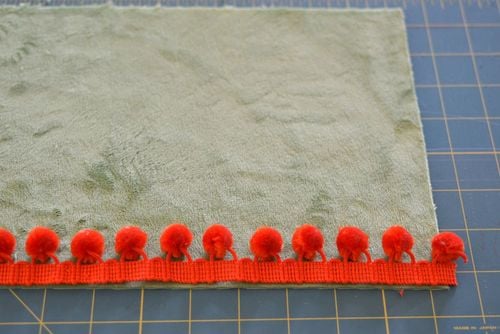
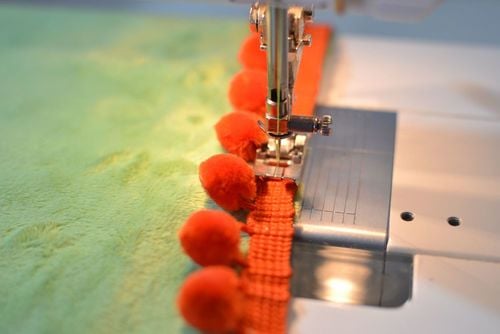
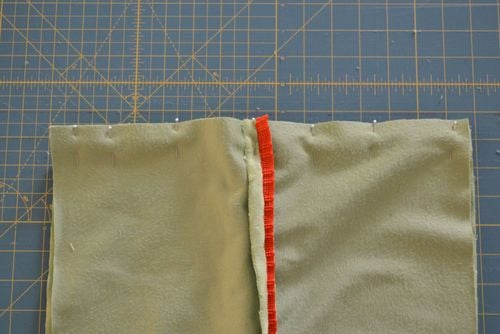
Lay the trim along one long edge of a fabric rectangle, with the decorative part (pompoms or fringe) facing inward. Baste the trim to the fabric right side.
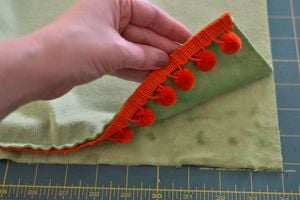
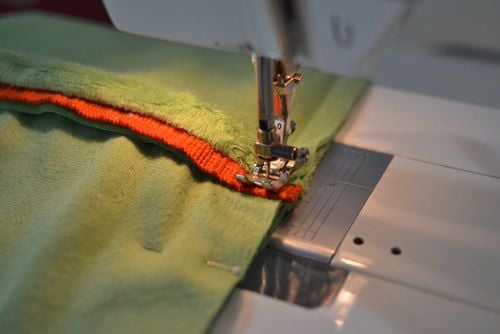
Lay your second fabric rectangle on your workspace right side up and place the rectangle with the trim over it, right side down. Pin all along the edge, sandwiching the trim inside. Sew with a 1/2'' seam allowance. If your trim is bulky like these pompoms, you might use your zipper foot like I did.

Look how cute that turns out!
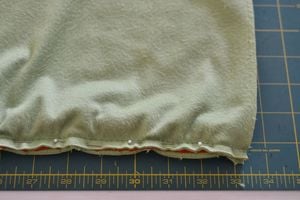
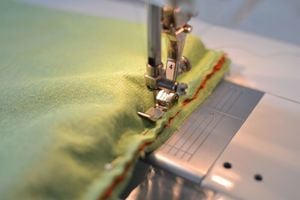
Match up the two short ends and pin, right sides facing. Sew together, going slowly over the trim, to make a big circle of fabric.
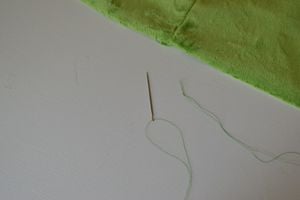
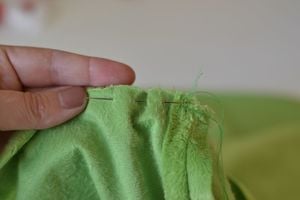
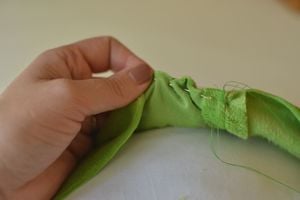
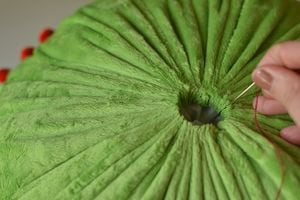
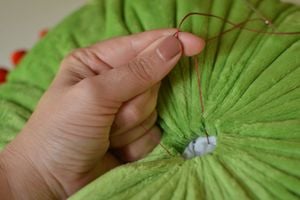
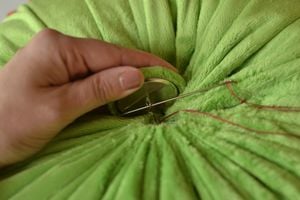
Now for some easy hand sewing. Thread a needle with a double length of thread and knot the end. Secure your thread in one spot (I like to start at the seam) and sew with long stitches all the way around one edge of your circle.
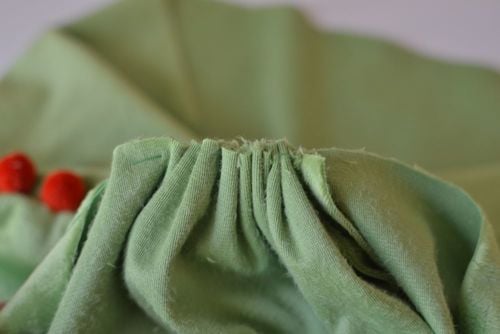
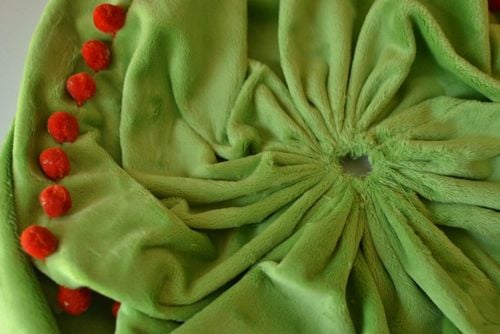
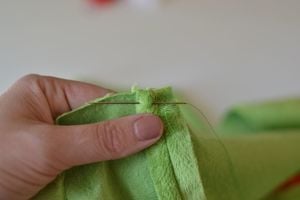
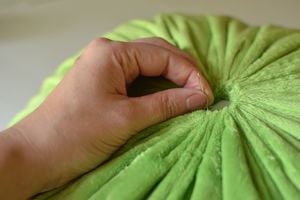
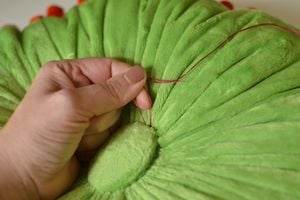
This is just like sewing a yo-yo. Gather the fabric along your thread as you sew all around the edge. When you get to the place where you started, pull the thread tight and secure it. Remember, the bigger your stitches, the smaller your hole will be. As long as your hole is smaller than your button, you'll be fine.
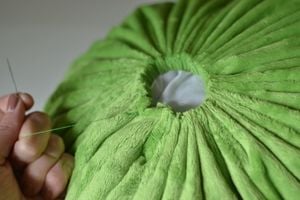
Insert your pillow form and repeat the sewing process on the other side. This time is a bit tricker because the pillow form is inside. Be careful pulling the thread tight because if it breaks, you'll have to start over. It really helps to use strong thread.
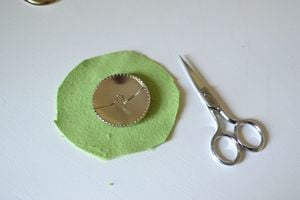
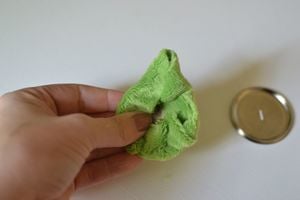
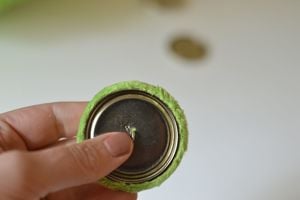
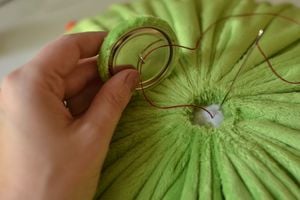
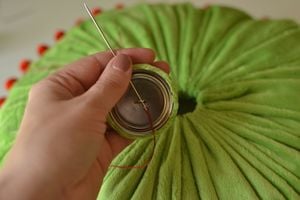
My covered button kits didn't come with instructions, but it's very easy to assemble them. Just cut fabric circles a bit larger than the buttons, wrap and stretch the fabric over the smooth side, catching it in the teeth on the inside, and then snap on the back. No problem.
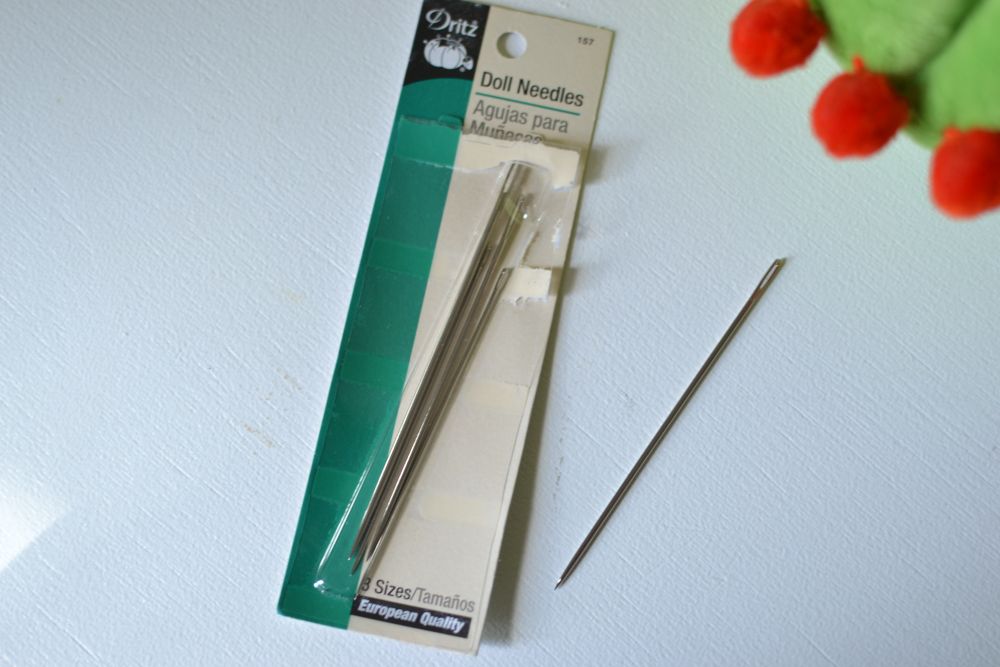
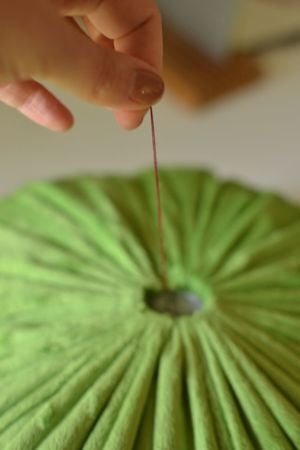
For the tufting part (sewing on the buttons) I totally recommend these doll needles from Dritz. You can attempt it without them, but you will probably make yourself swear and maybe even bleed. Just a warning.
Thread it with a double length of your strongest thread. The color doesn't really matter.
After much practice, here is my best method for sewing on the buttons:
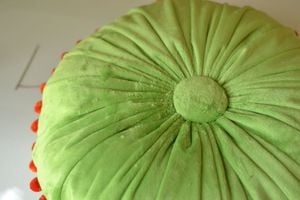
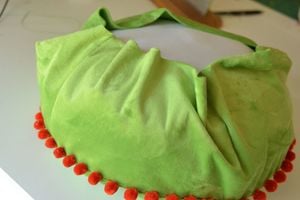
7. Sew through the pillow one last time to the front and tie a knot again using that tail of thread. If it's a big pillow, you might have to use your knee to squish it down to get that thread nice and tight.
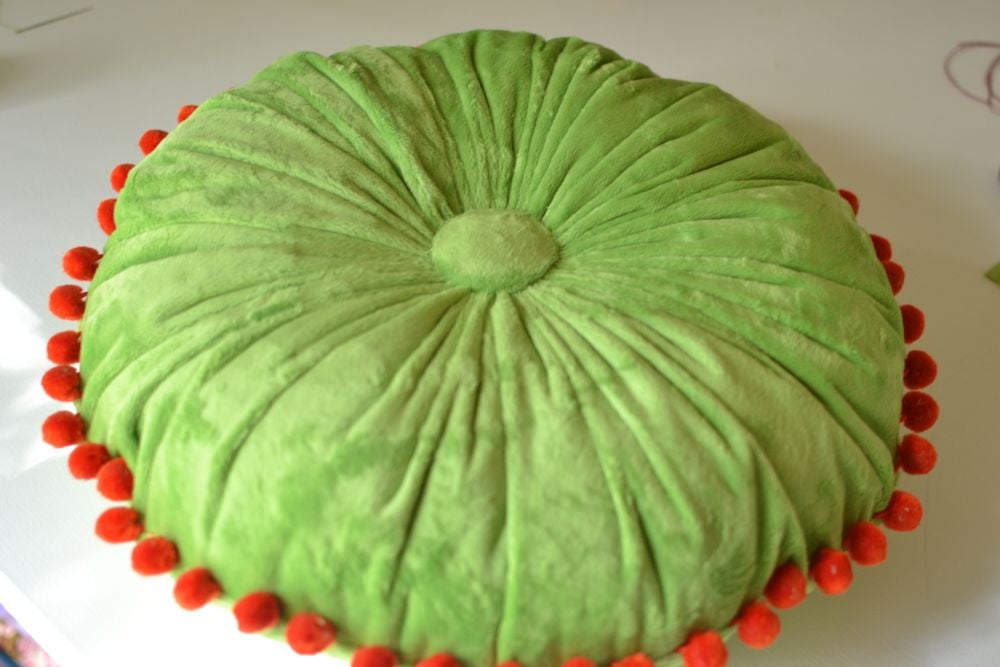
All done!
Now go make a big pile because it's just so easy.
Happy sewing!


.jpeg?width=640&name=Image%20(5).jpeg)


-Dec-11-2025-10-58-46-1415-PM.png?width=640&name=Untitled%20design%20(3)-Dec-11-2025-10-58-46-1415-PM.png)


.png?width=640&name=SEW%20TOGETHER%20livestream%20promo%20images%20(4).png)
.jpg?width=640&name=gencoreA%20(1).jpg)
-Oct-06-2025-07-25-25-9749-PM.png?width=640&name=SEW%20TOGETHER%20livestream%20promo%20images%20(1)-Oct-06-2025-07-25-25-9749-PM.png)

-4.png?width=640&name=SEW%20TOGETHER%20livestream%20promo%20images%20(3)-4.png)


.jpg?width=640&name=spring%20tea%20party_049%20(1).jpg)


.png?width=640&name=12%20Days%20of%20Cuddle%C2%AE%20(8).png)
.png?width=640&name=12%20Days%20of%20Cuddle%C2%AE%20(3).png)
-2.png?width=640&name=12%20Days%20of%20Cuddle%C2%AE%20(2)-2.png)

-2.png?width=640&name=12%20Days%20of%20Cuddle%C2%AE%20(4)-2.png)
.png?width=640&name=12%20Days%20of%20Cuddle%C2%AE%20(7).png)
.png?width=640&name=12%20Days%20of%20Cuddle%C2%AE%20(2).png)
.png?width=640&name=12%20Days%20of%20Cuddle%C2%AE%20(6).png)


Leave a Comment