With the unprecedented strain on the medical industry due to the coronavirus (COVID-19) pandemic, many hospitals and health clinics are running dangerously low on crucial supplies — including protective face masks, latex gloves, face shields, etc.
The Centers for Disease Control and Prevention has cited that some of this stress is due to everyday citizens purchasing medical supplies for their own protection at home, and the CDC strongly urges those unaffected by COVID-19 to stop purchasing these supplies and donate what unused supplies they can (and instead practice safe social distancing measures).
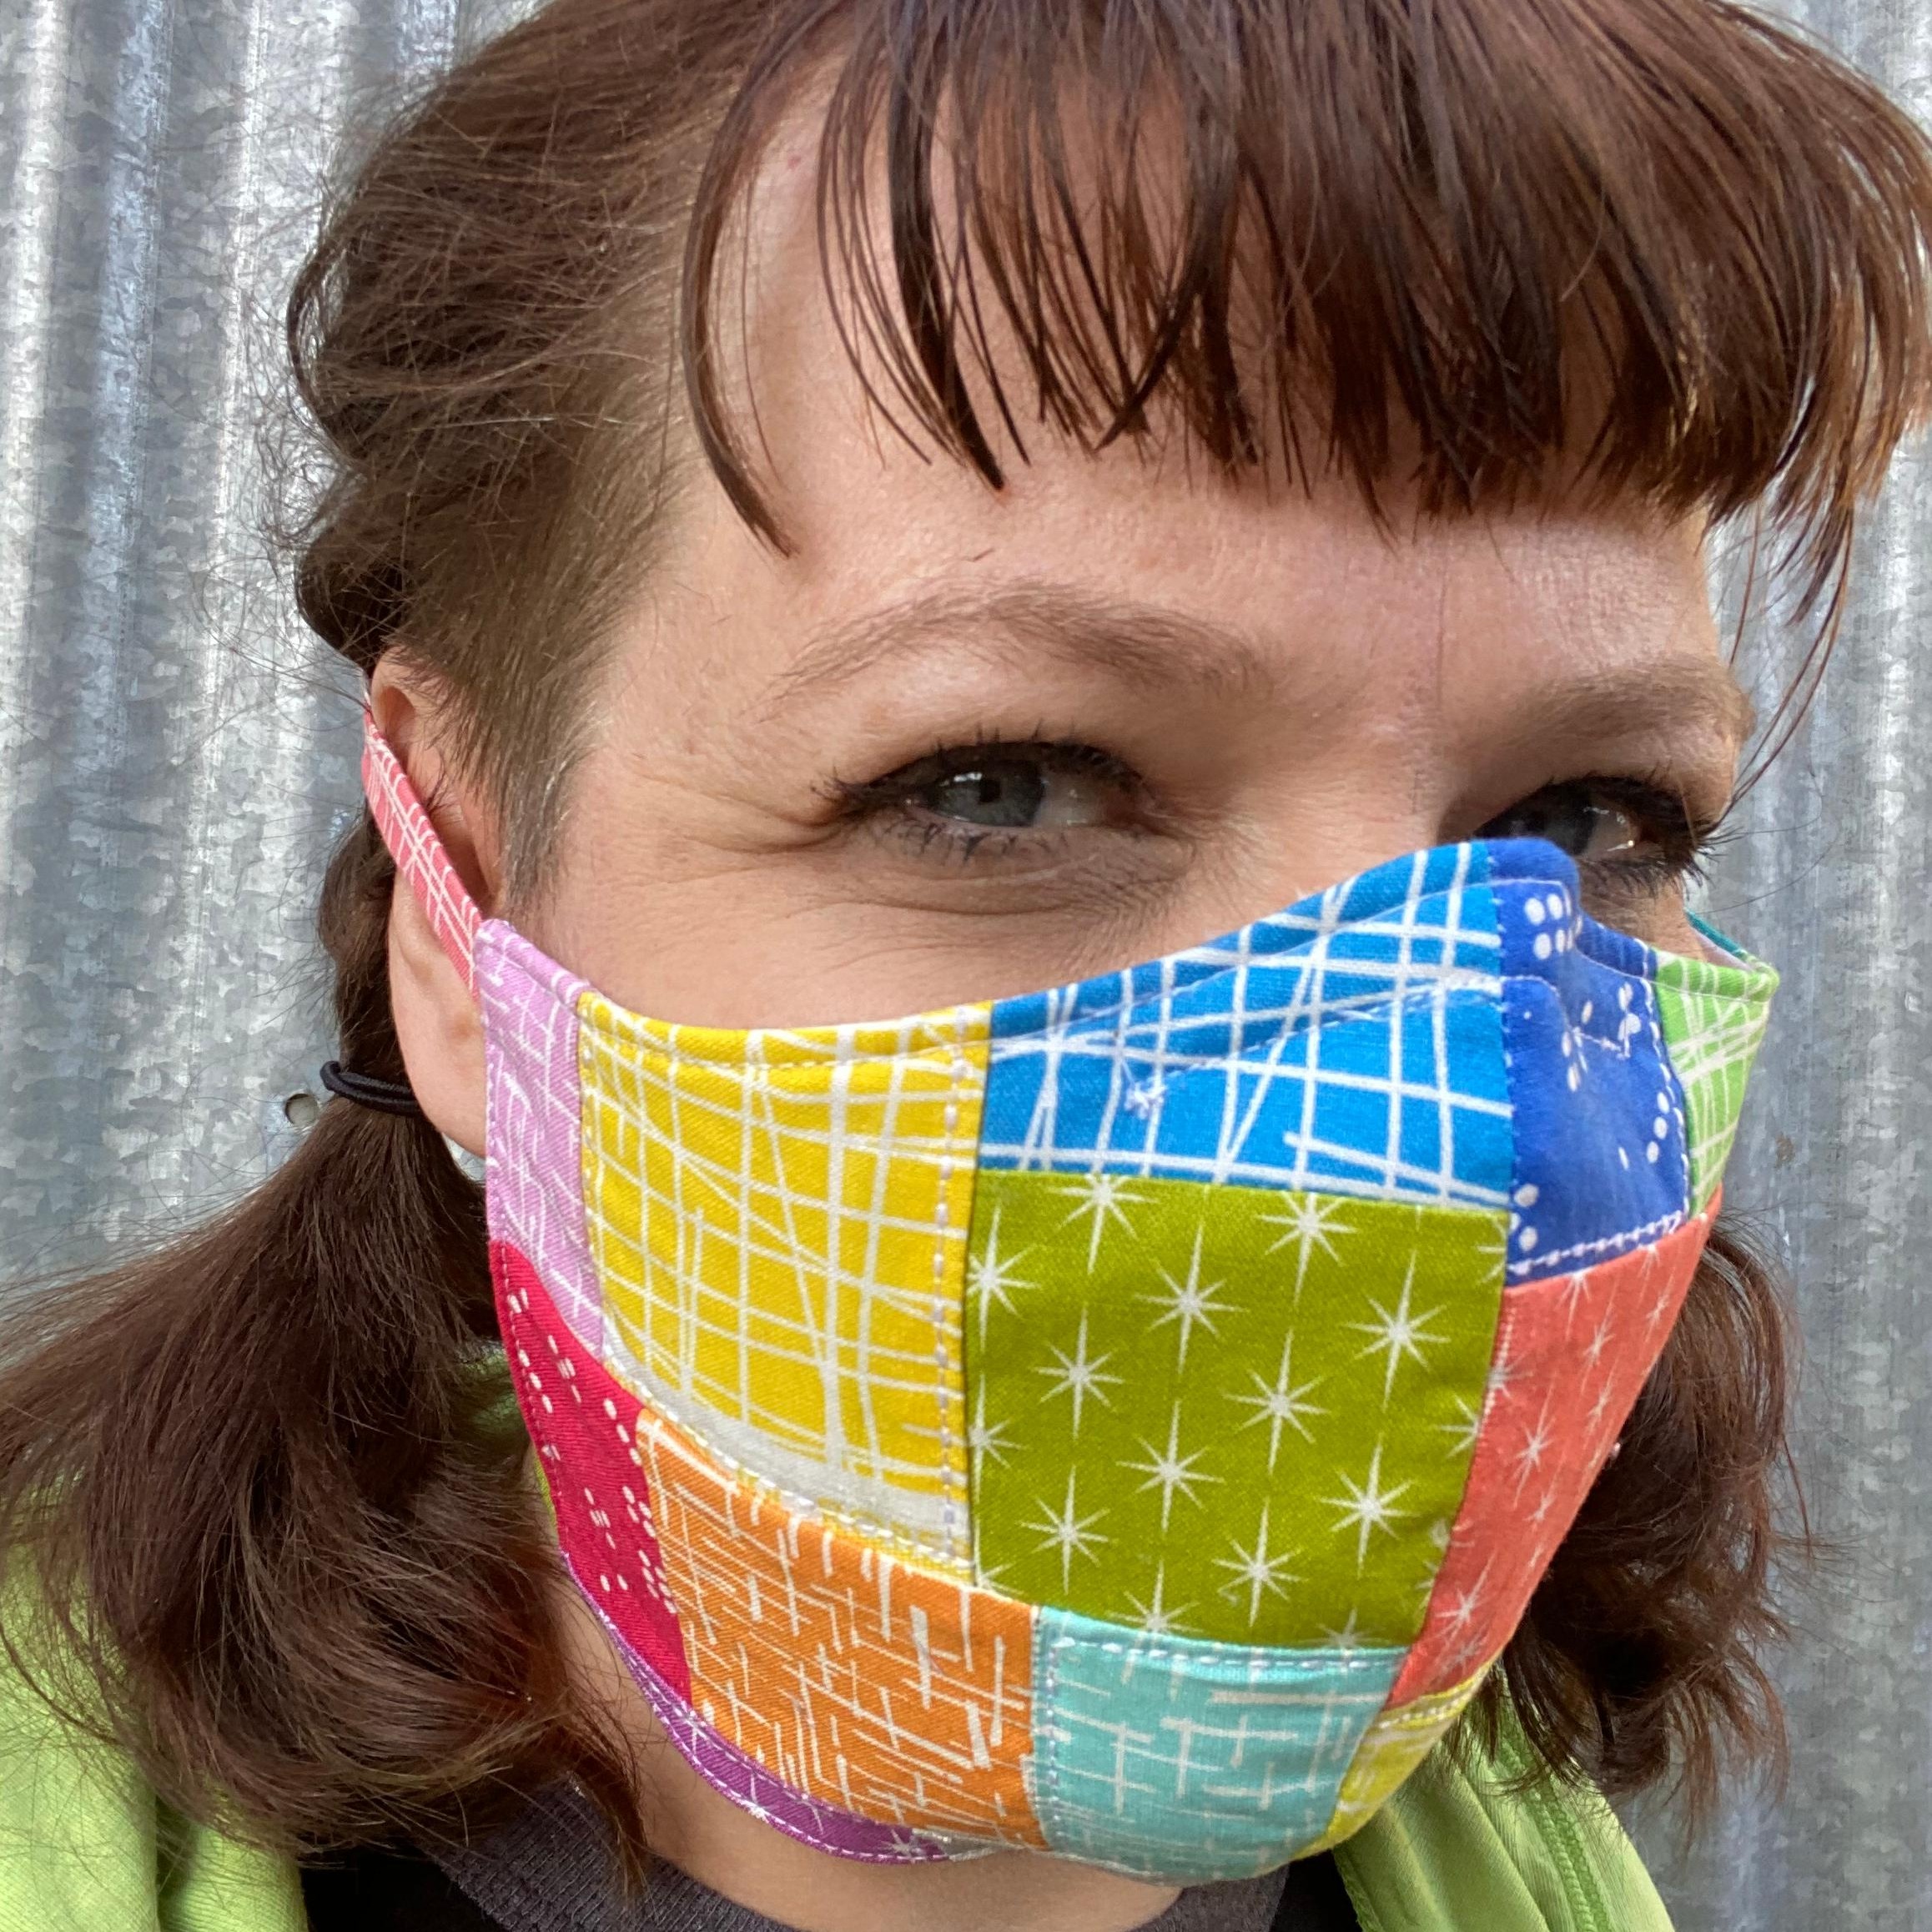
While a proper medical-grade N95 mask is the only way to truly protect yourself from airborne COVID-19, many at-home sewists and people in the garment industry are making general-use masks to promote healthier, more mindful habits.
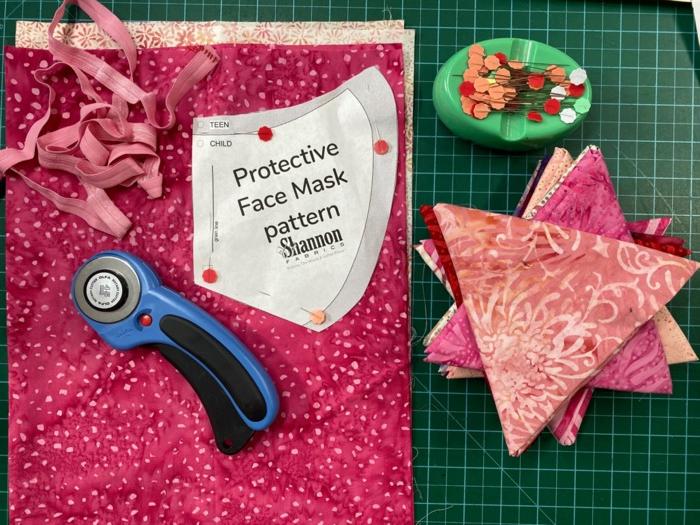
By popular request, here we’ve put together a downloadable sewing pattern and brief tutorial (two different versions) with our National Educator Teresa Coates on how to sew a protective face mask. Note that while we considered using our popular Embrace® double gauze fabrics for this project, it’s far too light and breathable and it isn’t a viable option for a protective mask. Instead, we partnered with our good friends at Robert Kaufman and used their cotton fabrics with a higher thread count.
Please note the CDC says a face mask does not provide the wearer a reliable level of protection from inhaling smaller particles and is not considered respiratory protection, but they do mention that these sew-at-home masks can help reduce transmission as only a last resort (you won’t touch your face, fluids will be caught when coughing or sneezing, etc.).
The sewing community is full of compassionate sewists, and we’ve seen many people sew masks and donate them to their local hospital. This is a great idea and we highly recommend this if you have the time and resources to do so, but first please check with your hospital to see if they’re accepting outside supplies — many are not and sewists are being turned away. If this is the case, please consider sewing masks for nursing homes, homeless shelters, delivery drivers, etc. for general protection for their families and friends.

Things to keep in mind when sewing a protective face mask
When making a face mask for essential workers:
- Confirm what style is wanted/needed
- Do your best work
- Use high thread count, quality cotton
- Use white on inside of mask and color/print on outside to differentiate sides
- Use a color/print that can be bleached and washed in hot water (this is where quality comes in too)
- Choose fabrics that are non-gendered when possible
- Make sure ties are securely sewn
- Ties are preferred for most because of latex allergies and elastic does not wear well through heat (wash/dry)
When making them for yourself:
- Use high thread count, quality cotton
- Use three layers of fabric if not using an N95 mask
- Knit jersey, cotton lawn, cotton batiks, quilting cotton all work
- Add channel for wire to create a closer fit
- Use elastic if you can for easy on/off
Fabrics and supplies used in Teresa’s video
- Hoffman California Fabrics Batiks
- Violet Craft Modern Classics roll-up
- Carolyn Friedlander Architextures
- Kona Cotton
- Cambridge Cotton lawn
- Laguna Jersey knit
- Pellon 30 Sew-In Stabilizer
- Fold Over Elastic from Dritz (or from ByAnnie)
- Tube Turner from Fasturn
- Fold Over Elastic from Dritz
How to Sew a Protective Face Mask (Version 1)
How to Sew a Protective Face Mask (Version 2)
How to sew a protective face mask
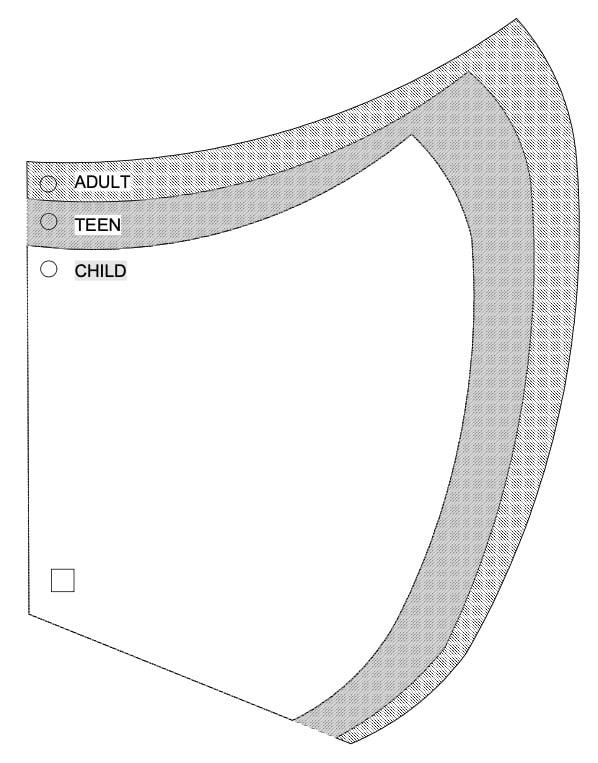
1. Using pattern cut two of each layer (six pieces total):
Inner Layer (light color quilting cotton or jersey knit) Middle Layer (cotton lawn, cotton batik, non-woven
interfacing or quilting cotton) Outer Layer (quilting cotton)
2. Cut two 1 3/8” x WOF strips for straps.
3. Sew layer pairs together along long curved edge to create your lining, middle and outer layers.
4. Lay inner layer right side down, place middle layer on top, also right side down. Pin together and flip so it is now right side facing up.
5. Place outer layer on the pair, with right sides together and pin along top edge. Sew with a 1/4” seam allowance from corner, across nose curve and to opposite corner. Set aside.
6. Using a 1/4” seam allowance, sew two strap strips together.
7. Turn right side out and press.
8. Cut each strip into an 18” strip (upper strap) and a 14”
strip (lower strap). [Alternate method: cut strip in half.]
9. Pin upper strap to outer layer, raw edges matching, at
circle marking.
10. Pin lower strap, raw edges matching at square
marking.
11. Pin all layers and sew along sides, across bottom
and along other side, leaving a two-inch gap.
12. Turn right side out and press edges.
13. Topstitch 1/8” from all four edges of mask, closing
the gap and securing layers and straps.
14. Add a 1/2” x 4” strip of ribbon or knit for wire
channel (stitching 1/8” from edge) and insert 3 3/4” wire into channel. Stitch closed (optional).

For more information and additional sewing instructions, head over to WeNeedMasks.org.

%20-%20Copy%20copy.png?width=143&height=69&name=Black%20logo%20(002)%20-%20Copy%20copy.png)


-Dec-11-2025-10-58-46-1415-PM.png?width=640&name=Untitled%20design%20(3)-Dec-11-2025-10-58-46-1415-PM.png)


.jpg?width=640&name=Image%20from%20iOS%20(9).jpg)


-1.jpg?width=640&name=Image%20from%20iOS%20(3)-1.jpg)


.jpg?width=640&name=Image%20from%20iOS%20(5).jpg)


Leave a Comment