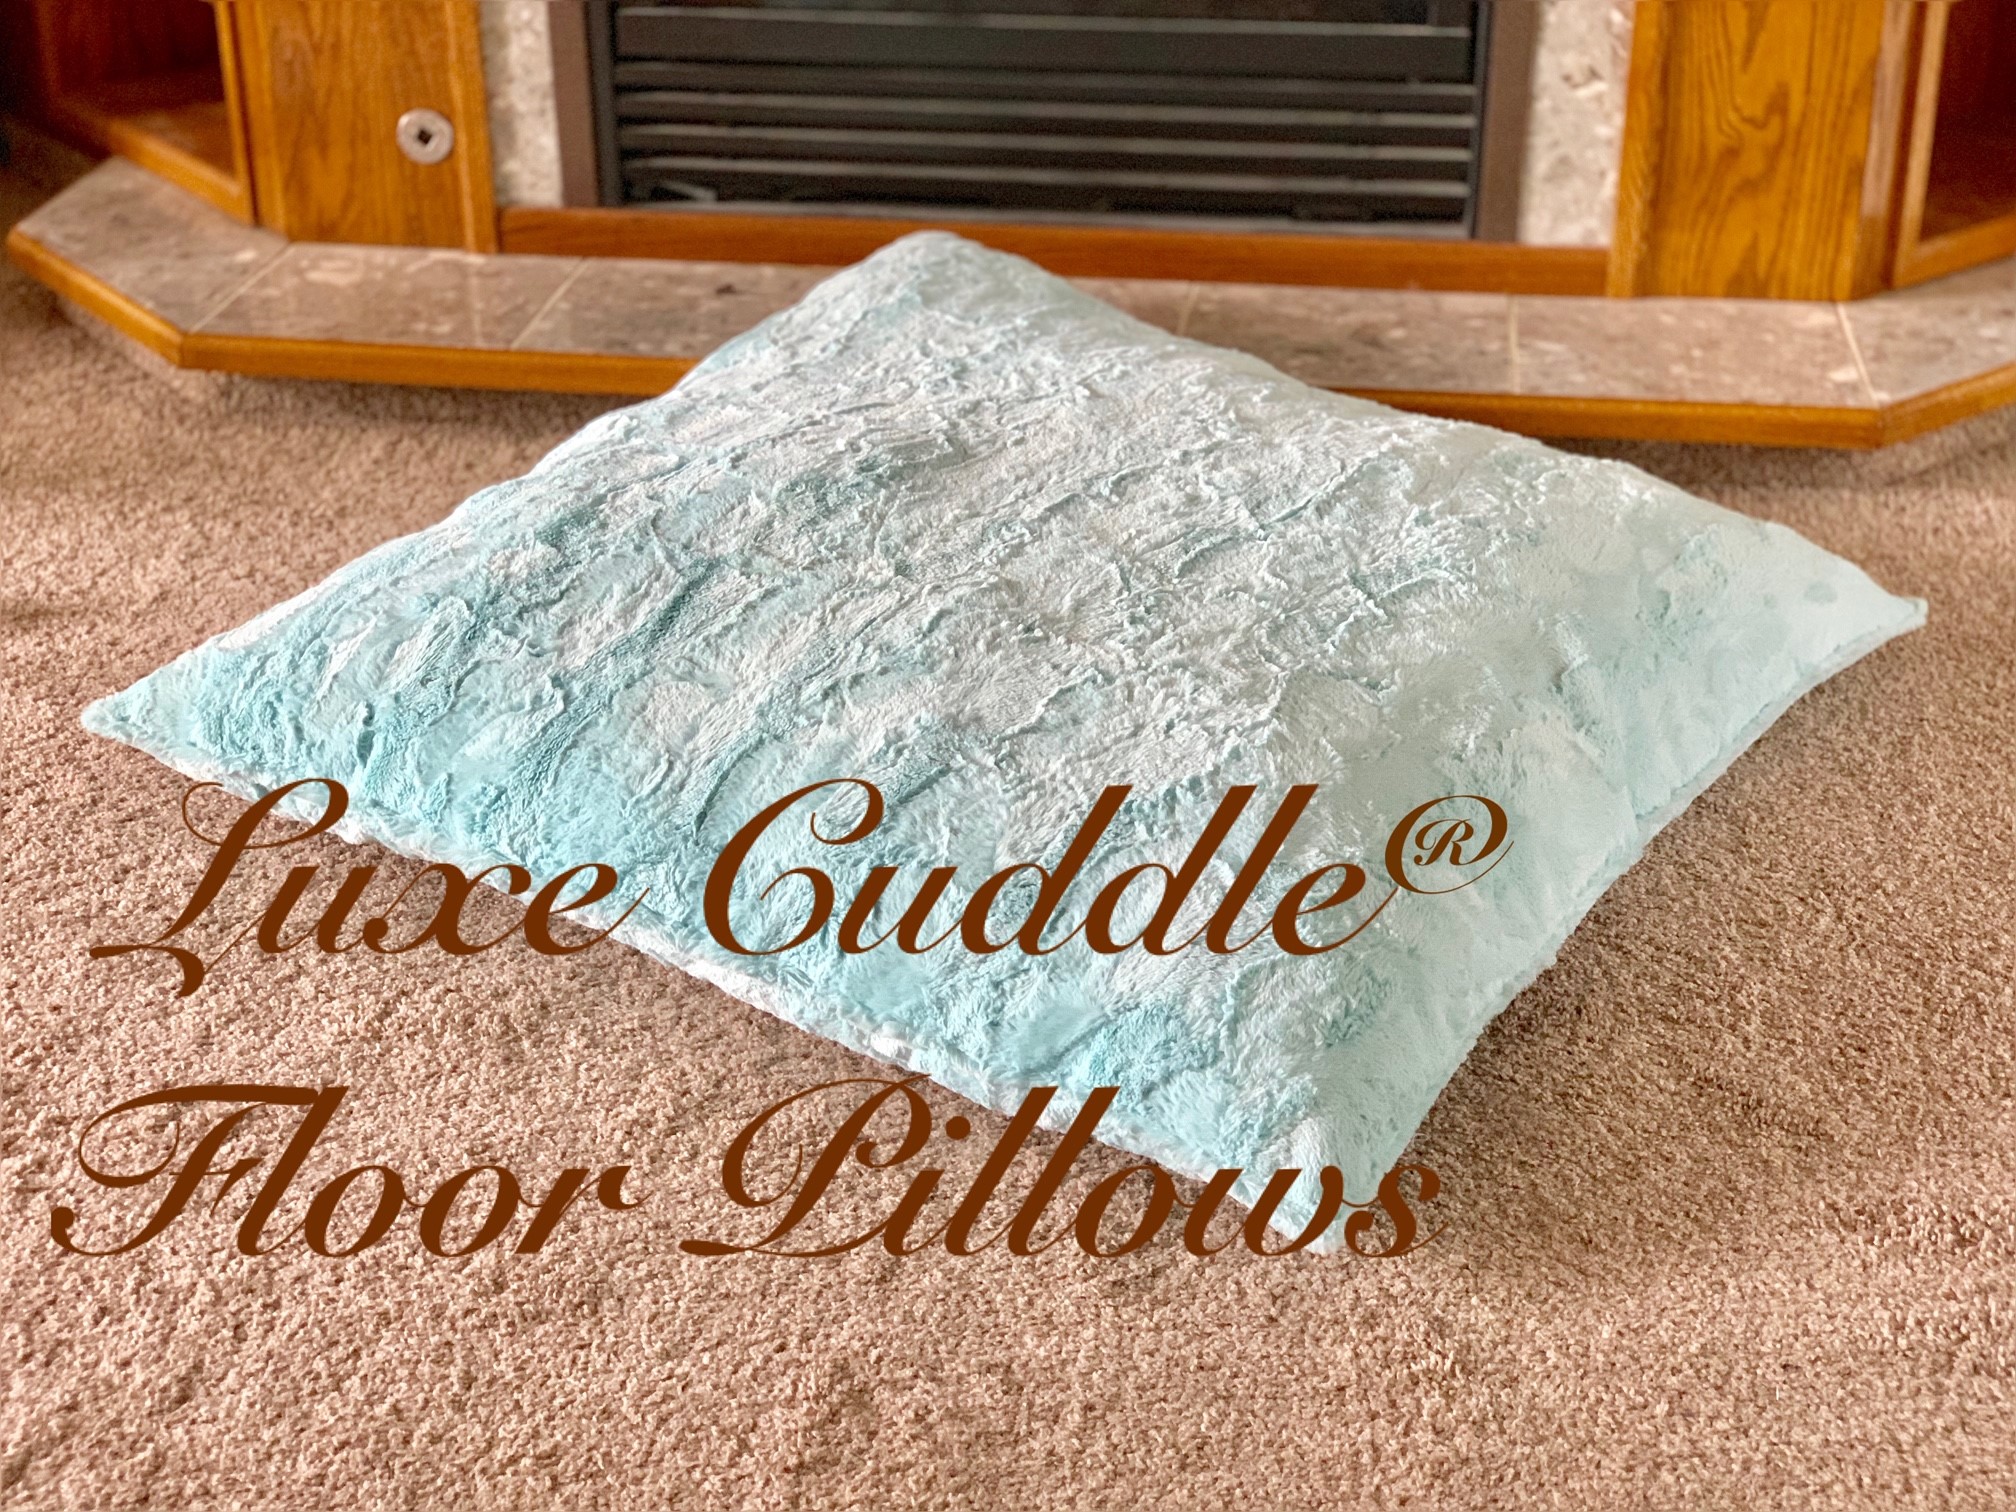
Hello! I’m Amelia Keating, and today I’m going to show you how to make giant Luxe Cuddle® floor pillows.
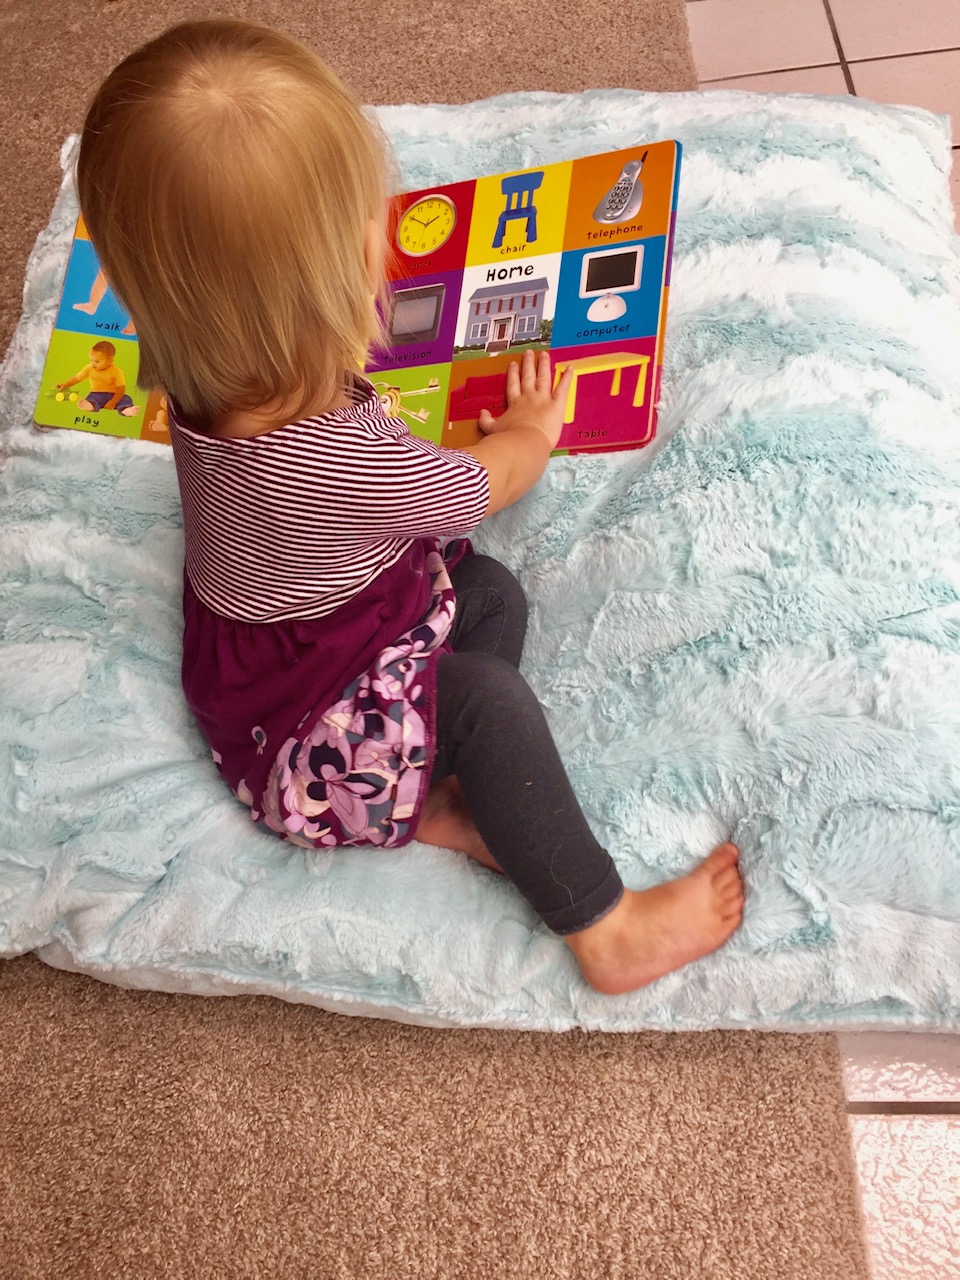
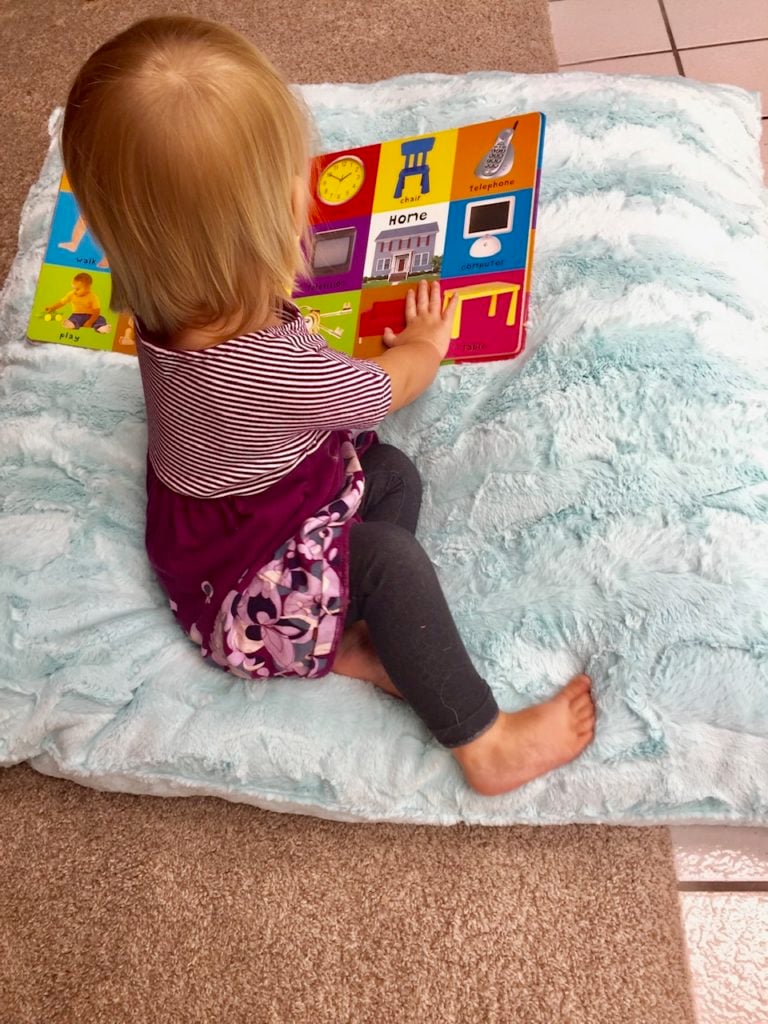
These pillows have so many uses! They’re great for curling up to read a good book.
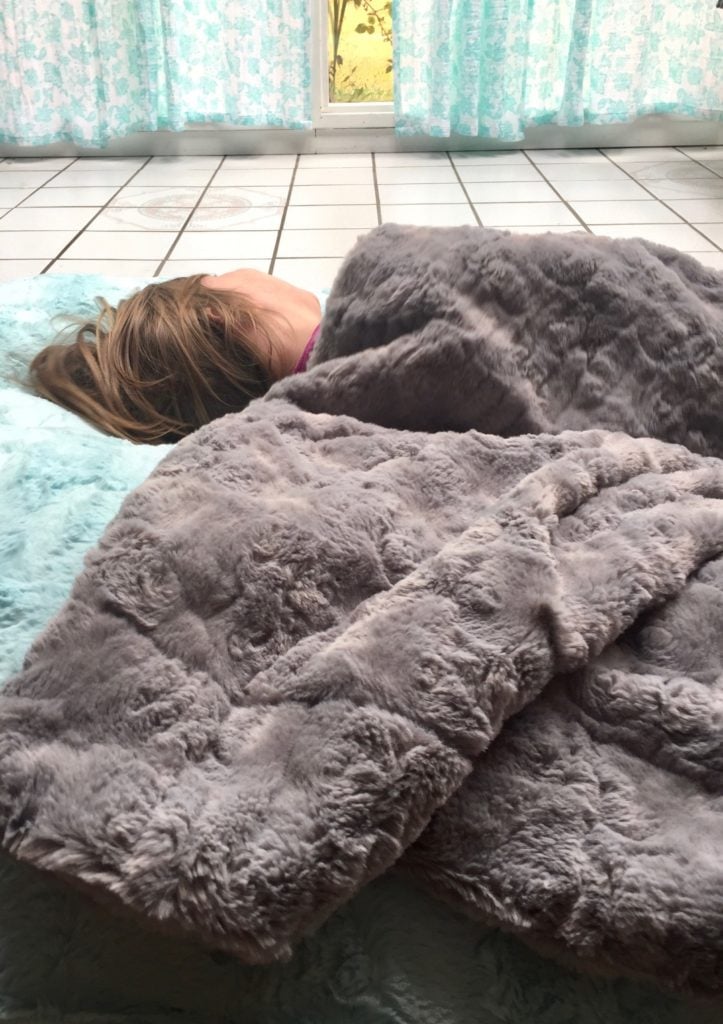
They’re super comfortable for quick naps (preferably with a Luxe Cuddle® blanket!).
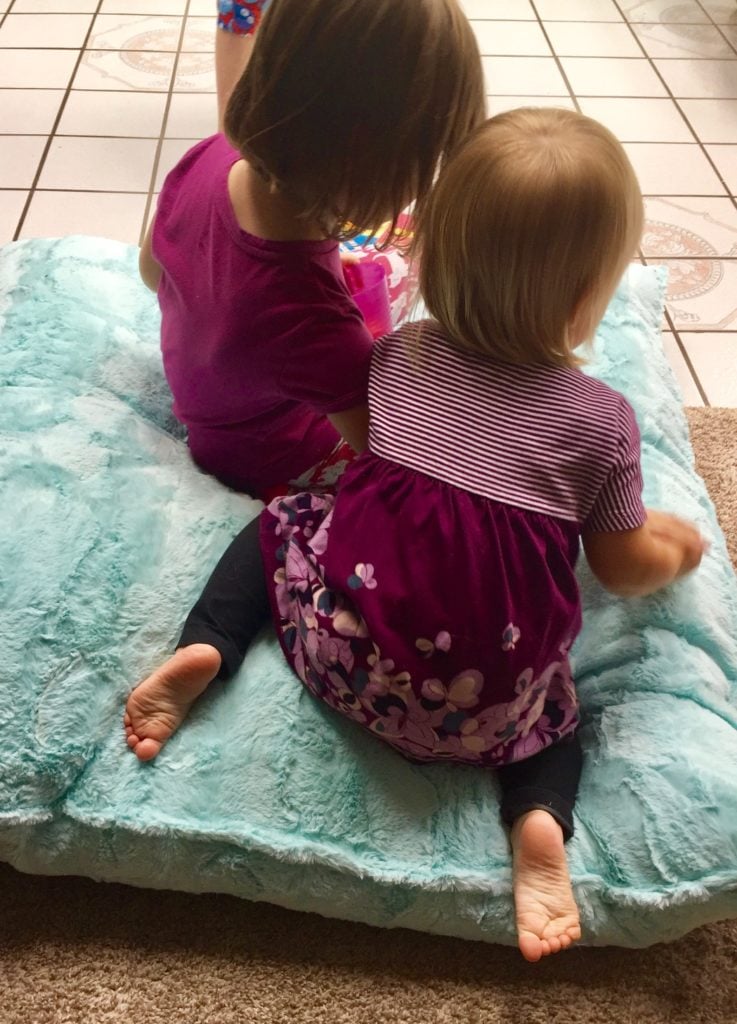
They’re perfect for playing with a friend.
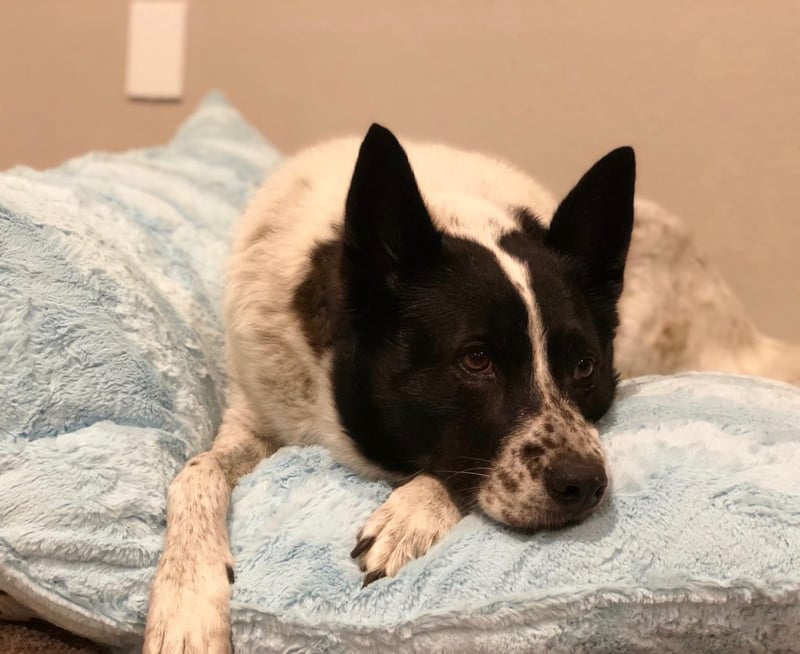
Apparently, they make a good dog bed.
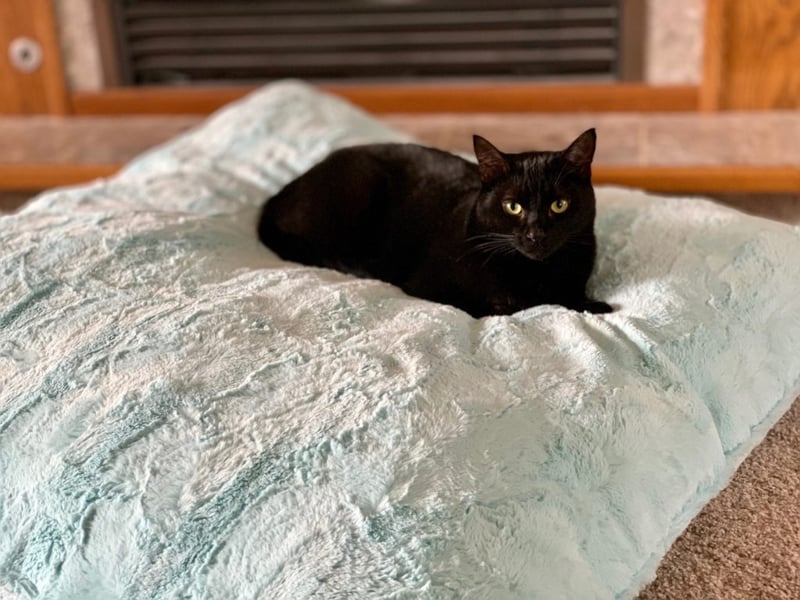
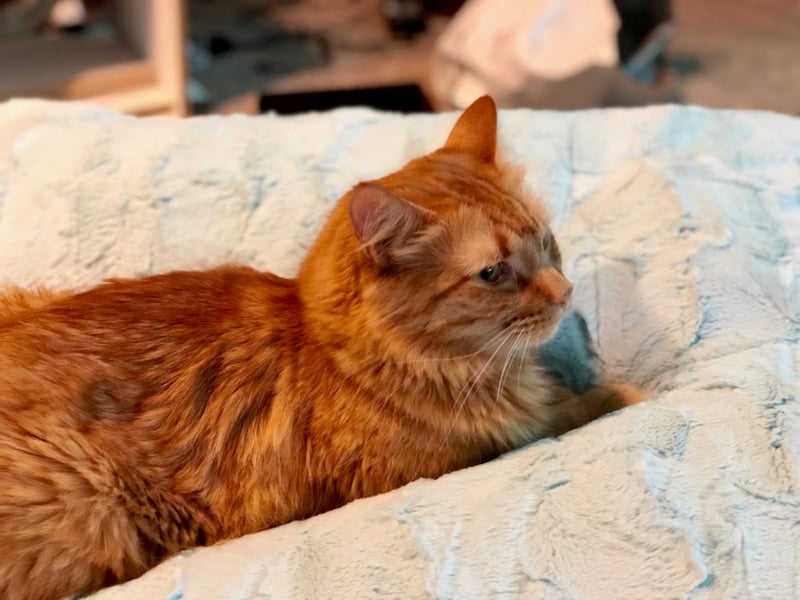
Or cat bed.
Here’s what you need:
Luxe Cuddle® (I used Hide Sea Glass). Yardage will depend on how big you want your pillow to be. I needed about 2 1/2 yards to make this 40 inch square pillow. If you want a smaller pillow, you can make a 28 inch square pillow out of a yard, taking advantage of the 60 inch width of Luxe Cuddle®. 3 1/2 yards would let you make a 58 inch square pillow, using that whole width!
Thread (I used So Fine #50 from Superior Threads ).
Fiber fill (I used Orginal Poly-fil from Fairfield World ). You will need a lot! A five pound box filled my 40 inch square pillow.
Once you’ve figured out how big you want your pillow to be, add a couple inches for seam allowances and cut out two pieces from your fabric. I wanted my pillow to be 40 inches by 40 inches, so I cut two 42 inch squares.
Next, pin them right sides together. Using lots of pins will help prevent the pieces from slipping. The Flower Head pins from Clover are my favorite for pinning Cuddle®, since they are long and easy to see. I like to pin two rows, one on the edge that I pull out as I sew, and one further in that stays until I’m finished sewing. This really helps the two pieces stay right where I want them. This also means I use so many pins, I run out of Flower Head pins! Fortunately, my Clover quilting pins make a good back up.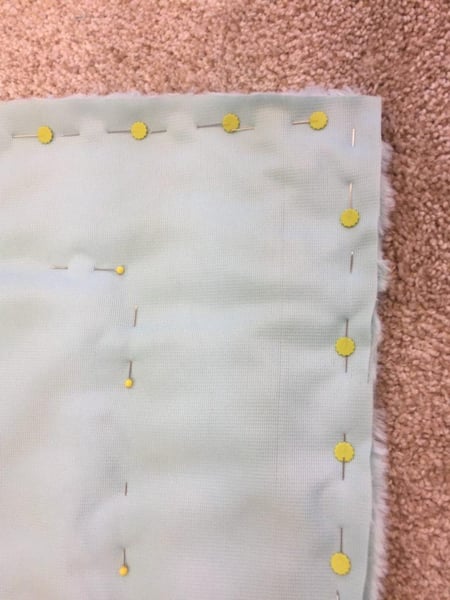
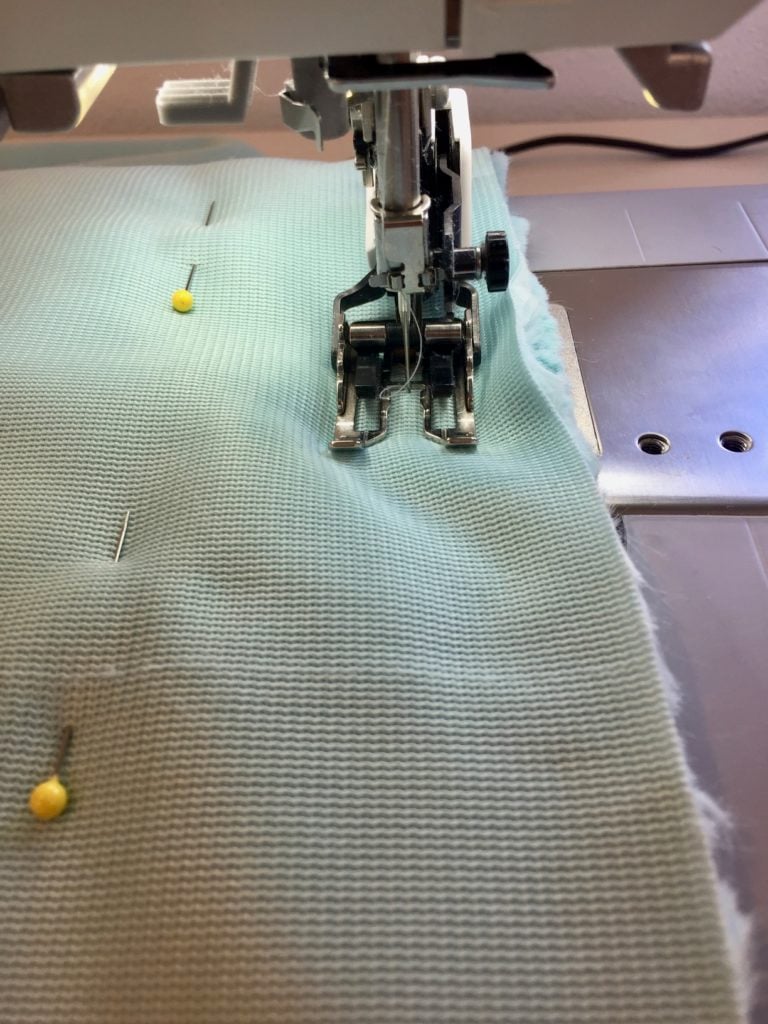
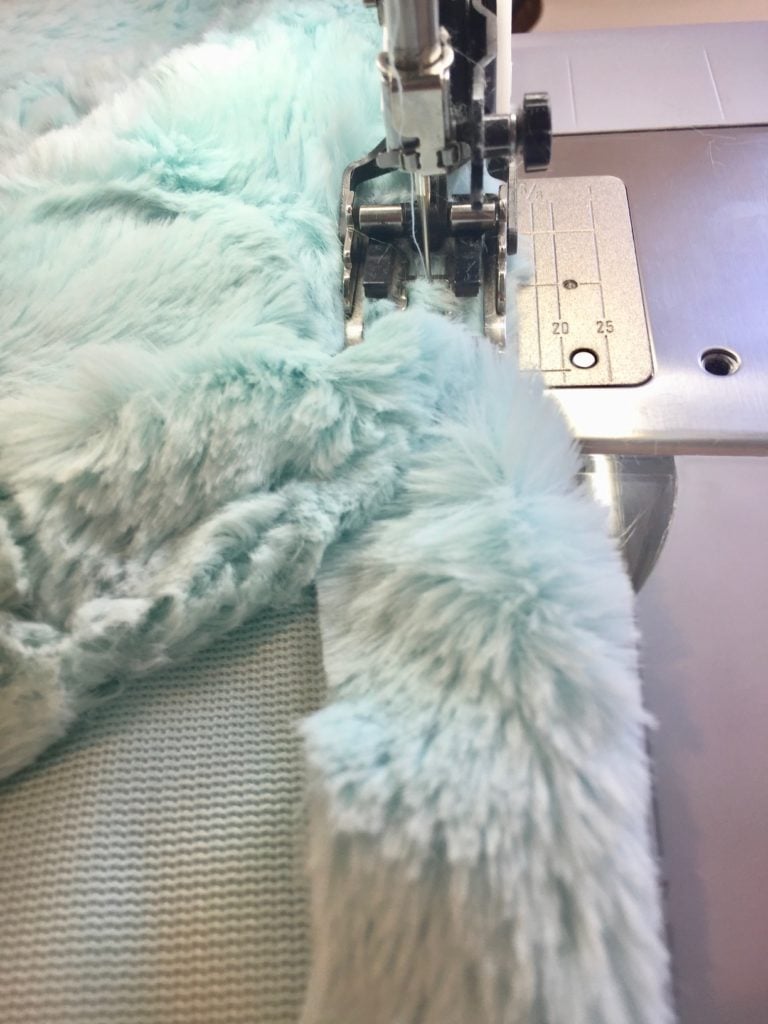
Sew all the way around. Using a walking foot will also help prevent the pieces from slipping. I sew about one inch from the edge. Be sure to leave an opening on one end for turning and stuffing.
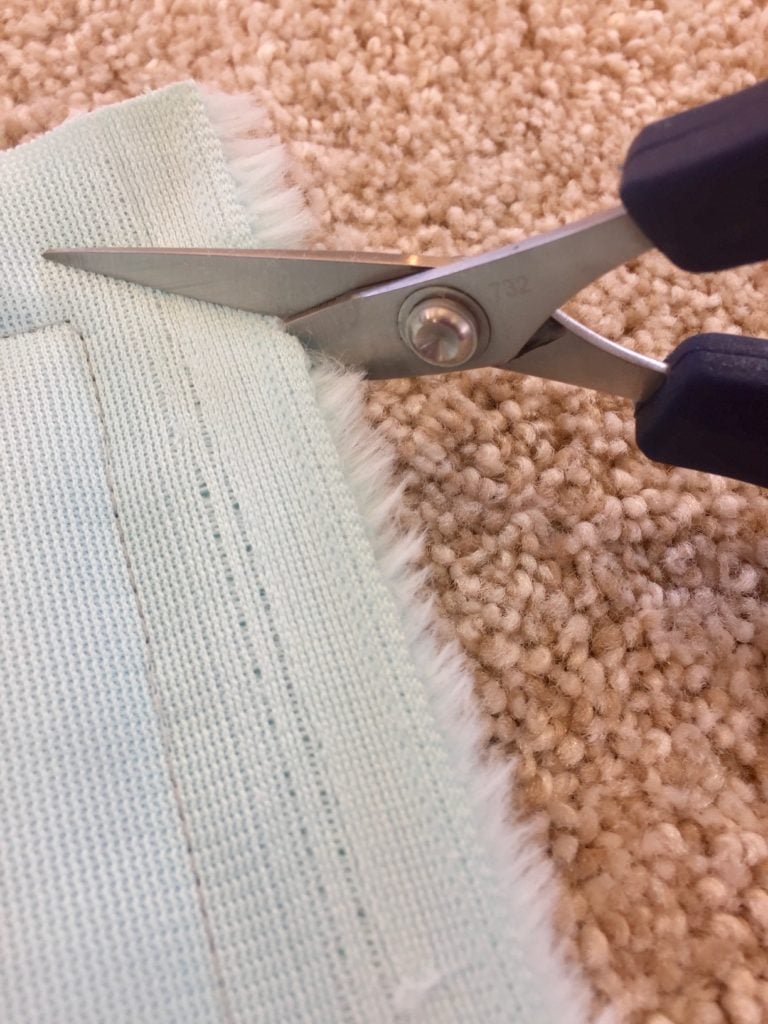
Clip the corners. The Razor Edge 732 scissors from Famore are great for clipping Cuddle® corners!
Turn right side out.
Because my floor pillows get so much use from kids and pets, I prefer to machine sew the opening. To keep a uniform look, I topstitch all the way around, about ¼ or ½ inch from the edge. The extra seam also makes it more durable, and creates a fun faux piping look. It is much easier to topstitch these pillows before the stuffing goes in, so I topstitch all the way around, leaving just the opening. I start and stop about an inch or two before the opening.
Now it’s time to fill! I put in as big of handfuls as I can fit in the opening, and make sure the corners are filled first.
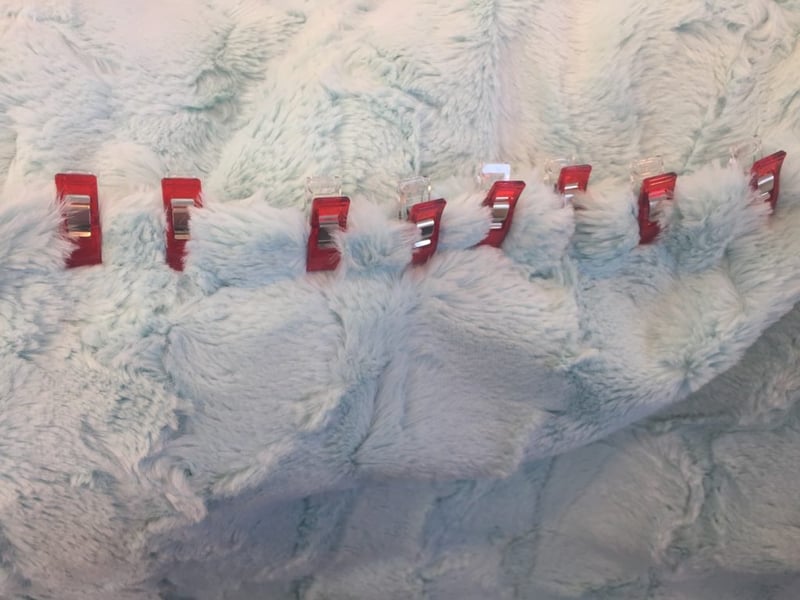
Stitching the opening closed is the trickiest part. Once the pillow is filled, it can be difficult to manage in the sewing machine. I use a BERNINA, which does a great job with Cuddle®, but it can be a challenge to keep the stuffing out of the way while keeping the opening together. Wonder clips from Clover are extremely helpful for this part. They’ll keep the opening together much better than regular pins. Put them fairly close together, about an inch or two apart, and sew the opening.
Now the only thing to do is enjoy your pillow as much as Sherbet enjoys his!
You can find Luxe Cuddle® and other Shannon Fabrics at independent quilt stores and fabric shops. Find the closest using our Store Locator.
Keep up to date! Subscribe to the Shannon Fabrics blog, and follow Shannon Fabrics on Facebook, Instagram and Pinterest.
I hope you enjoyed this tutorial, and I’d love to see pictures of your floor pillows! Happy sewing!
-Amelia

%20-%20Copy%20copy.png?width=143&height=69&name=Black%20logo%20(002)%20-%20Copy%20copy.png)


-Dec-11-2025-10-58-46-1415-PM.png?width=640&name=Untitled%20design%20(3)-Dec-11-2025-10-58-46-1415-PM.png)


.png?width=640&name=SEW%20TOGETHER%20livestream%20promo%20images%20(4).png)
.jpg?width=640&name=gencoreA%20(1).jpg)
-Oct-06-2025-07-25-25-9749-PM.png?width=640&name=SEW%20TOGETHER%20livestream%20promo%20images%20(1)-Oct-06-2025-07-25-25-9749-PM.png)

-4.png?width=640&name=SEW%20TOGETHER%20livestream%20promo%20images%20(3)-4.png)


.jpg?width=640&name=spring%20tea%20party_049%20(1).jpg)


.png?width=640&name=12%20Days%20of%20Cuddle%C2%AE%20(8).png)
.png?width=640&name=12%20Days%20of%20Cuddle%C2%AE%20(3).png)
-2.png?width=640&name=12%20Days%20of%20Cuddle%C2%AE%20(2)-2.png)

-2.png?width=640&name=12%20Days%20of%20Cuddle%C2%AE%20(4)-2.png)
.png?width=640&name=12%20Days%20of%20Cuddle%C2%AE%20(7).png)
.png?width=640&name=12%20Days%20of%20Cuddle%C2%AE%20(2).png)
.png?width=640&name=12%20Days%20of%20Cuddle%C2%AE%20(6).png)


Leave a Comment