Hello there! I'm Teresa Coates, the national educator for Shannon Fabrics and I love teaching people how to sew with our fabrics. In every class I teach at quilt shops I get questions about our fabrics, kits, patterns and more, so we have decided that we'll answer those questions both in class and on our blog. I hope you find the info helpful and look forward to answering your questions. Maybe I'll see you in an upcoming class out on the road!
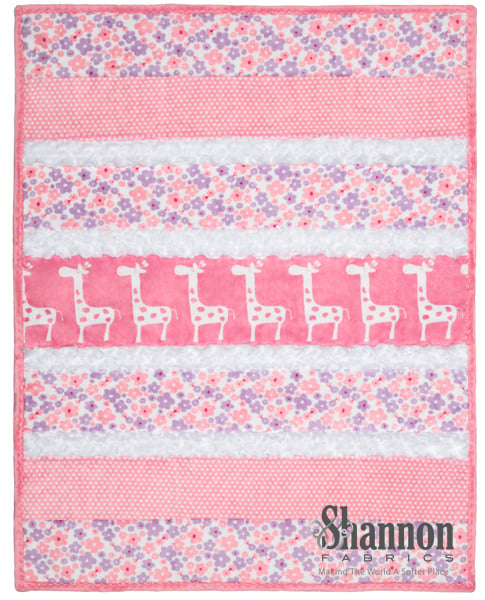
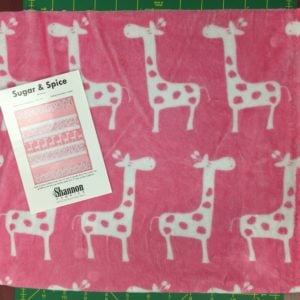 If you've made our kits before, you know that they are subcut into 2.5", 5" and 10" strips, laying them out to your own liking. But for our Sugar and Spice, Emmett, Effie and Dolce Luxe kits, there is a special center strip with animal motifs. This center strip is cut to a different size than other strips in our quilt kits.
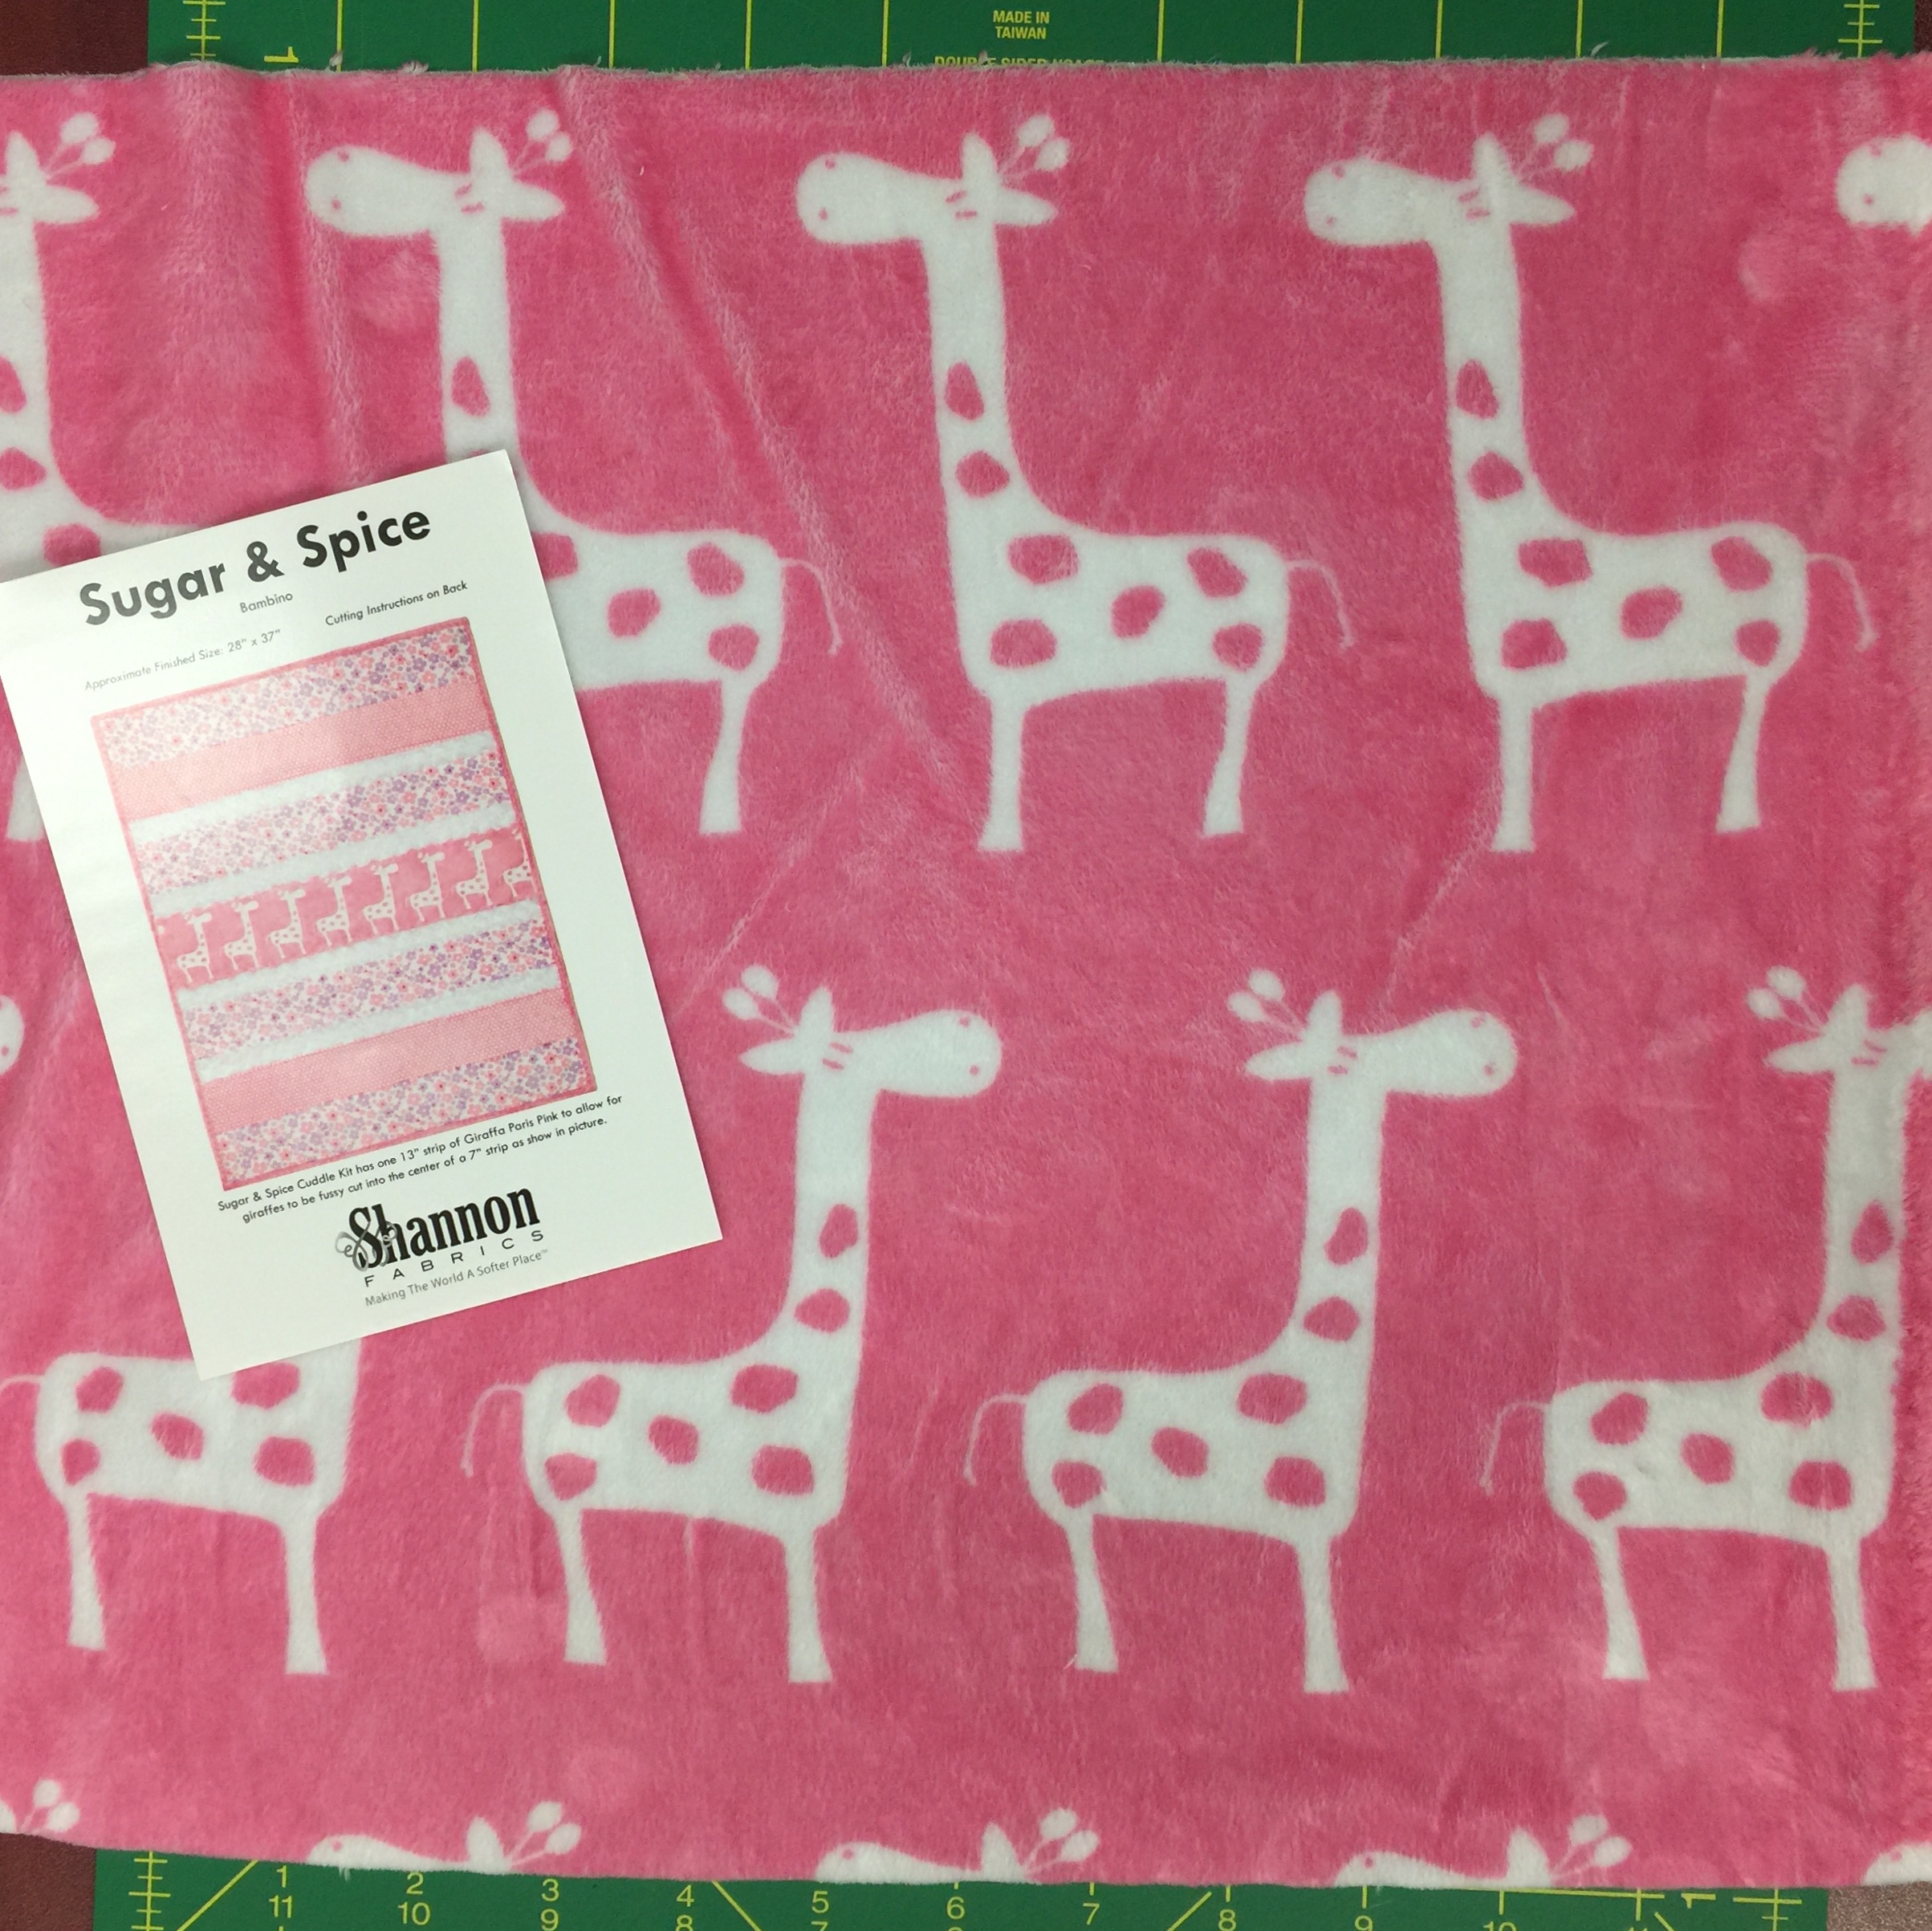
When the kit arrives, it will have a strip for the middle that is about 13" wide. The pattern says to "fussy cut into the center of a 7" strip." You could try to measure this first and try to get it even along both sides of the motif, but I prefer to center the motif first and then aim for a strip that is about 7", but not necessarily exact.
Though there are finished measurements for the quilt, you don't need to be precise. When I'm sewing, I start with my center strip, get it centered on my quilt backing and then build out from there.
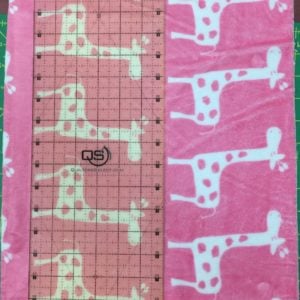 To figure out where I should make my cuts, I first find a place on the animal motif to measure from. The first time I measured from the nose of the giraffe, lining up the ruler’s one-inch mark along them.
I know I’ll have a 1/2" seam allowance, so looking at the ruler and where the 1/2" landed compared to its horns, I decided that wasn’t the best placement.
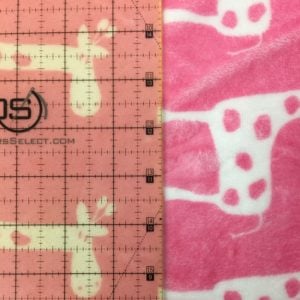 So I measured again, but this time I put the one-inch mark along the top of the ear. That gives me almost 1/2" between seam allowance and horns. This seems good to me, so I’ll use that as my guideline.
I then measured one inch from the front foot of the giraffe motif so that it would be pretty much centered. This is my preferred method for centering the motif in the strip.
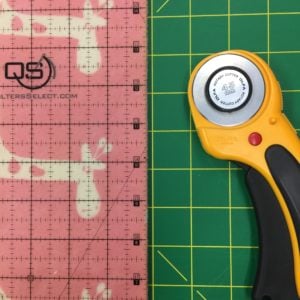
Using your rotary cutter, just trim along that edge. I used my OLFA cutter with the lock feature as I find it super handy and don't have to worry about leaving it open and misplacing it. I like to use the Quilter’s Select rulers because they have some anti-slide stuff on them that makes them resist that slip that often happens with other rulers.
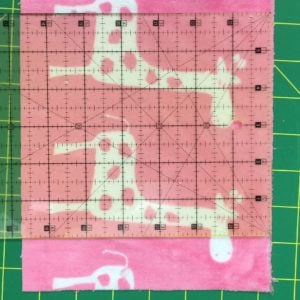 Then I measure my strip. It’s supposed to be 7", but this time it measures closer to 7 3/8". I could trim a quarter-inch off the bottom with no problem, but I don’t mind if it’s a little bigger. It just means that my last two strips will be slightly narrower when I square up the quilt.
I hope you found this helpful. If you have any questions or there are specific things you'd like to learn, please let me know in the comments below. Be sure to subscribe to our blog for more tips & tricks and to find out about classes, demos and other sewing events that I'm doing near you, click on this link.
Happy Sewing!
Teresa

%20-%20Copy%20copy.png?width=143&height=69&name=Black%20logo%20(002)%20-%20Copy%20copy.png)


-Dec-11-2025-10-58-46-1415-PM.png?width=640&name=Untitled%20design%20(3)-Dec-11-2025-10-58-46-1415-PM.png)


.png?width=640&name=SEW%20TOGETHER%20livestream%20promo%20images%20(4).png)
.jpg?width=640&name=gencoreA%20(1).jpg)
-Oct-06-2025-07-25-25-9749-PM.png?width=640&name=SEW%20TOGETHER%20livestream%20promo%20images%20(1)-Oct-06-2025-07-25-25-9749-PM.png)

-4.png?width=640&name=SEW%20TOGETHER%20livestream%20promo%20images%20(3)-4.png)


.jpg?width=640&name=spring%20tea%20party_049%20(1).jpg)


.png?width=640&name=12%20Days%20of%20Cuddle%C2%AE%20(8).png)
.png?width=640&name=12%20Days%20of%20Cuddle%C2%AE%20(3).png)
-2.png?width=640&name=12%20Days%20of%20Cuddle%C2%AE%20(2)-2.png)

-2.png?width=640&name=12%20Days%20of%20Cuddle%C2%AE%20(4)-2.png)
.png?width=640&name=12%20Days%20of%20Cuddle%C2%AE%20(7).png)
.png?width=640&name=12%20Days%20of%20Cuddle%C2%AE%20(2).png)
.png?width=640&name=12%20Days%20of%20Cuddle%C2%AE%20(6).png)


.jpg?width=640&name=P1400457-Edit%20(1).jpg)


Leave a Comment