%20-%20Copy%20copy.png?width=143&height=69&name=Black%20logo%20(002)%20-%20Copy%20copy.png)
Hello, Shannon Fabrics fans! This is Sarah from Bombshell Bling, here to share another Cuddle Fabric tutorial with you.
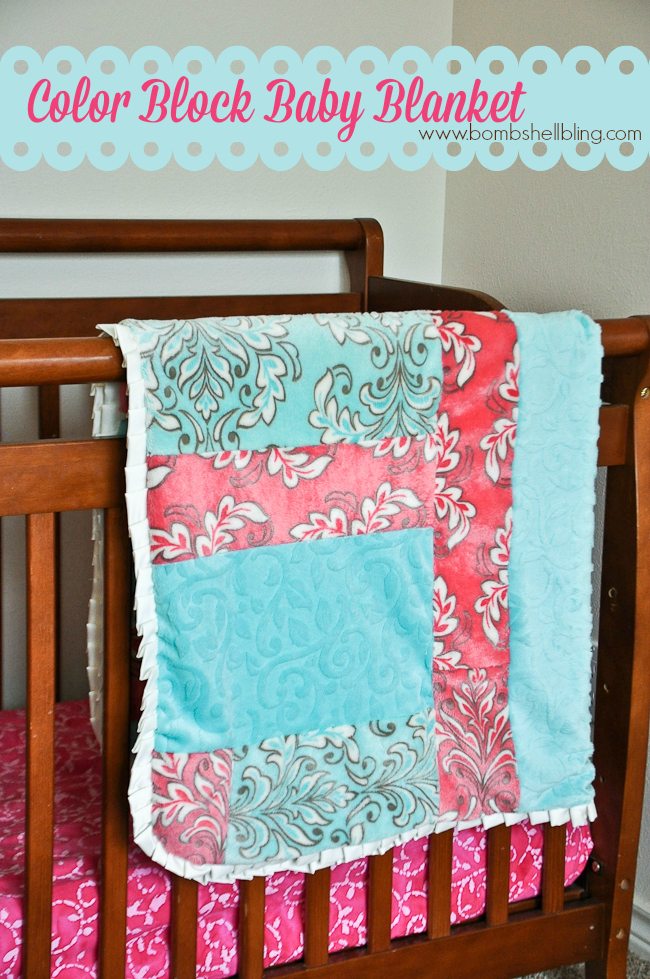
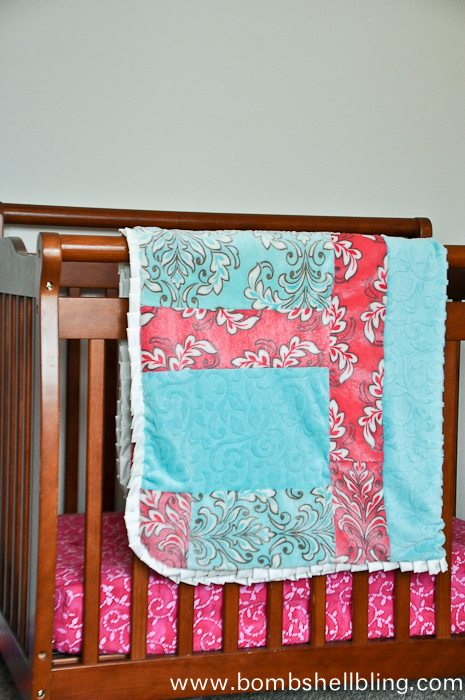
Last year my mother-in-law helped me make an elaborate chevron quilt from a variety of gorgeous pink and blue fabrics from the Mar Bella Cuddle Fabric line from Shannon Fabrics. (Tutorial to come in a month or so.) We had some extra Cuddle Fabric (a specific, high quality brand of minky fabric) and I wanted to do something special for my blogging bestie, Courtney from Sweet C's Designs, who is my go-to tech gal and biggest supporter. I decided to use the extra cuddle fabric to make her daughter this color blocked baby blanket. Many of the pieces were scraps, so my measurements aren't exact, but I will give you the general plan of how my mother-in-law and I made it and hopefully you can figure out the details for your own projects that are inspired by this one.
This tutorial can be done using ANY Cuddle/minky fabrics, or even cotton! Other than the rounded corners, the sewing is all straight lines. However, as you probably already realize, Cuddle Fabric is a bit tricky to work with because it is super slippery and slick. HOWEVER, that's what makes it so luxurious and irresistible, so it's worth it! Who WOULDN'T want to snuggle their body up with a deliciously soft blanket? Just account for the slippery nature of this fabric by using loads of pins and sewing slowly and carefully. It is so SO worth it.
Now let's get started!
* I received this fabric free of charge from Shannon Fabrics. All designs and opinions are 100% my own.

First cut your backing square. Lay the fabric out flat and fold it into a huge triangle. Cut along the triangle edge and unfold. It *should* be a square.
My blanket ended up being about 37 inches or so across when it was finished (you need to allow wiggle room for seams). In short, I think 1 1/2 yards for backing would be plenty, and then the equivalent of that much fabric plus extra seams for the front. You will need a silky fabric for the sides, about 1 1/2 yards. (Exact prep directions and measurements for that are below.) For the front I used scraps that I had to make a color blocked, patchwork look. I sat and messed around with them until I found an arrangement that I liked. I did cut new sizes of squares, etc. Then I simply started sewing them together a couple of pieces at a time. Sew two pieces together, then add a piece to those pieces, and so on and so forth. Remember to use lots of pins and to sew carefully because of the slippery fabric. I am sorry I can not be more exact on those directions.
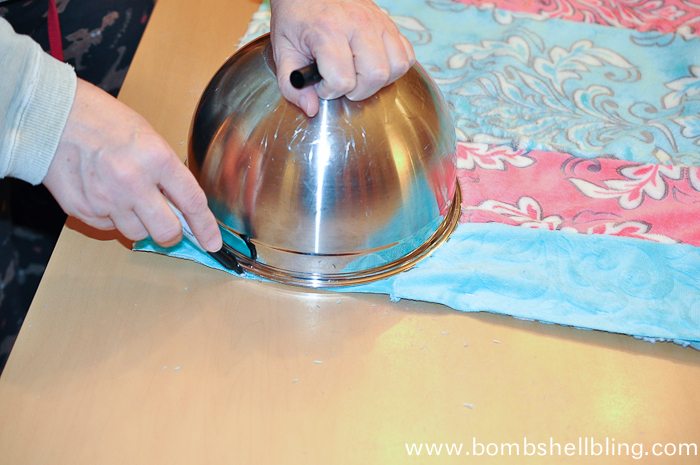
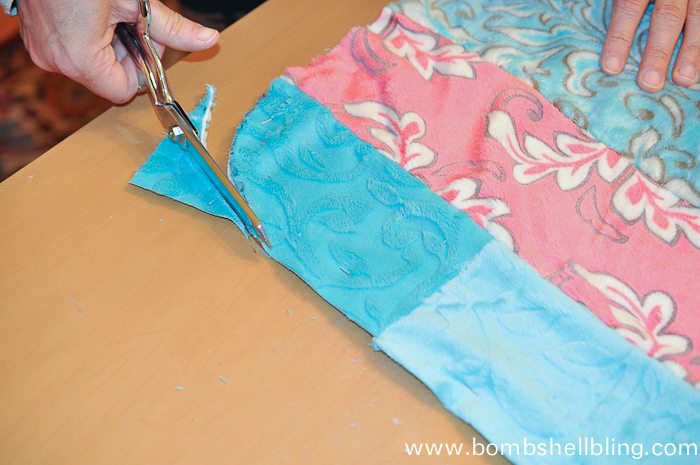
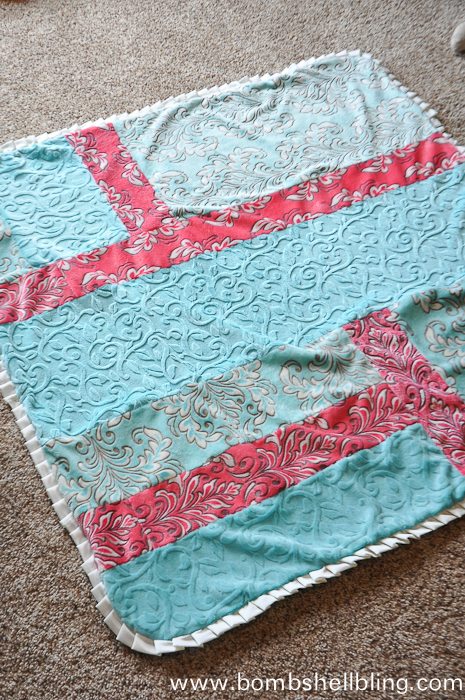
Lay the pieced top on top of the backing and trim them so they are exactly the same size. Use a bowl and trace and trim it to make rounded corners on your baby blanket.
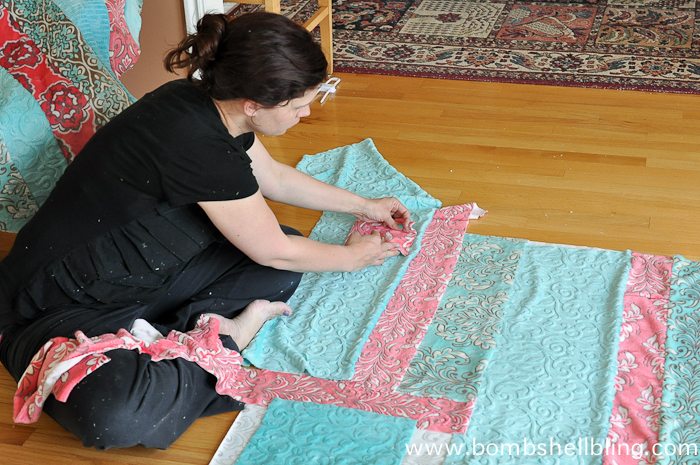
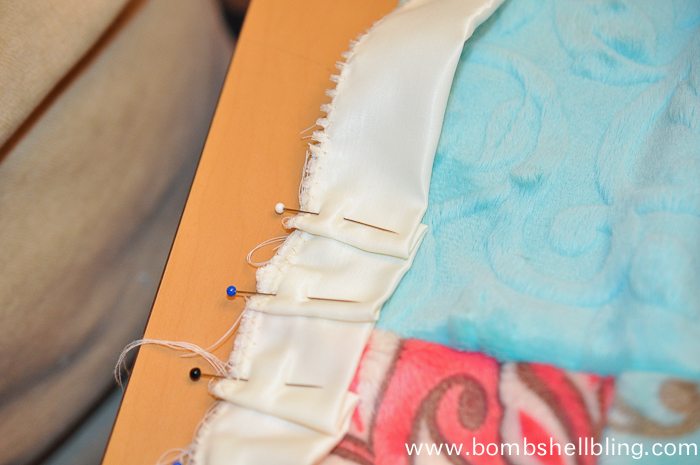
Time for the edges. You are going to use your silky fabric to do this step. Get your pins ready because you are going to need a ton of them! Cut your fabric about 3 3/4 inches wide and about 344 inches long (obviously you will be sewing separate pieces together to get that length --- this will give you more than enough length for your pleats without running out). Iron the fabric so it is folded in half, and sew shut using a zig zag stitch. Now set your backing aside and lay out your front piece. As shown below, create pleats with your silky fabric and pin each pleat to the edge of the front piece. The folds of my pleats were 1/2 inch and the pleats had about 1 inch in between them, as shown below. Continue all the way around the baby blanket.

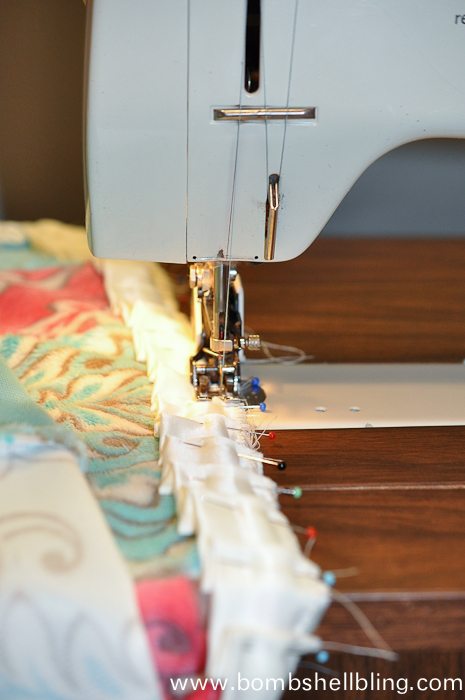
Sew your pleats into place with a straight stitch.
Then place the backing and the front piece right sides together, pin all the way around, and slowly and carefully sew all the way around the outside of the baby blanket. BE SURE TO LEAVE A SPACE OPEN SO THAT YOU CAN TURN THE BLANKET RIGHTSIDES OUT!
Remove the pins around the outside of your baby blanket and carefully pull the blanket out through the open space. Close the open gap in the blanket by tucking the edges under and pinning in place. Slowly and carefully sew the opening shut, staying close to the edge of the blanket.
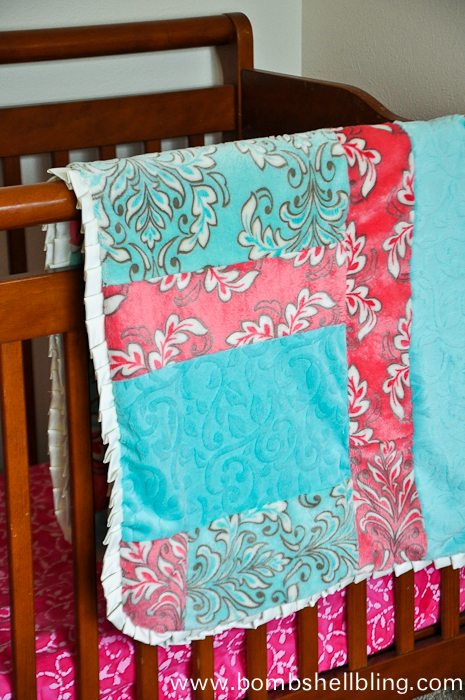
ALL DONE! Isn't it pretty? Apparently Little Missie B who was the recipient of this baby blanket is a huge fan. In fact, every time I sent Courtney a text asking for a measurement Missie B was sleeping with the blanket, and it was therefore unavailable for measurement. That makes me so happy!
 If you enjoyed this tutorial I would love you to stop by my blog, Bombshell Bling, or follow along with me on Pinterest, Instagram, or Facebook for more inspiration!


.jpeg?width=640&name=Image%20(5).jpeg)


.png?width=640&name=SEW%20TOGETHER%20livestream%20promo%20images%20(4).png)
.jpg?width=640&name=gencoreA%20(1).jpg)
-Oct-06-2025-07-25-25-9749-PM.png?width=640&name=SEW%20TOGETHER%20livestream%20promo%20images%20(1)-Oct-06-2025-07-25-25-9749-PM.png)

-4.png?width=640&name=SEW%20TOGETHER%20livestream%20promo%20images%20(3)-4.png)


.jpg?width=640&name=spring%20tea%20party_049%20(1).jpg)


.png?width=640&name=12%20Days%20of%20Cuddle%C2%AE%20(8).png)
.png?width=640&name=12%20Days%20of%20Cuddle%C2%AE%20(3).png)

.png?width=640&name=12%20Days%20of%20Cuddle%C2%AE%20(7).png)
.png?width=640&name=12%20Days%20of%20Cuddle%C2%AE%20(6).png)


.jpg?width=640&name=P1400457-Edit%20(1).jpg)


Leave a Comment