%20-%20Copy%20copy.png?width=143&height=69&name=Black%20logo%20(002)%20-%20Copy%20copy.png)
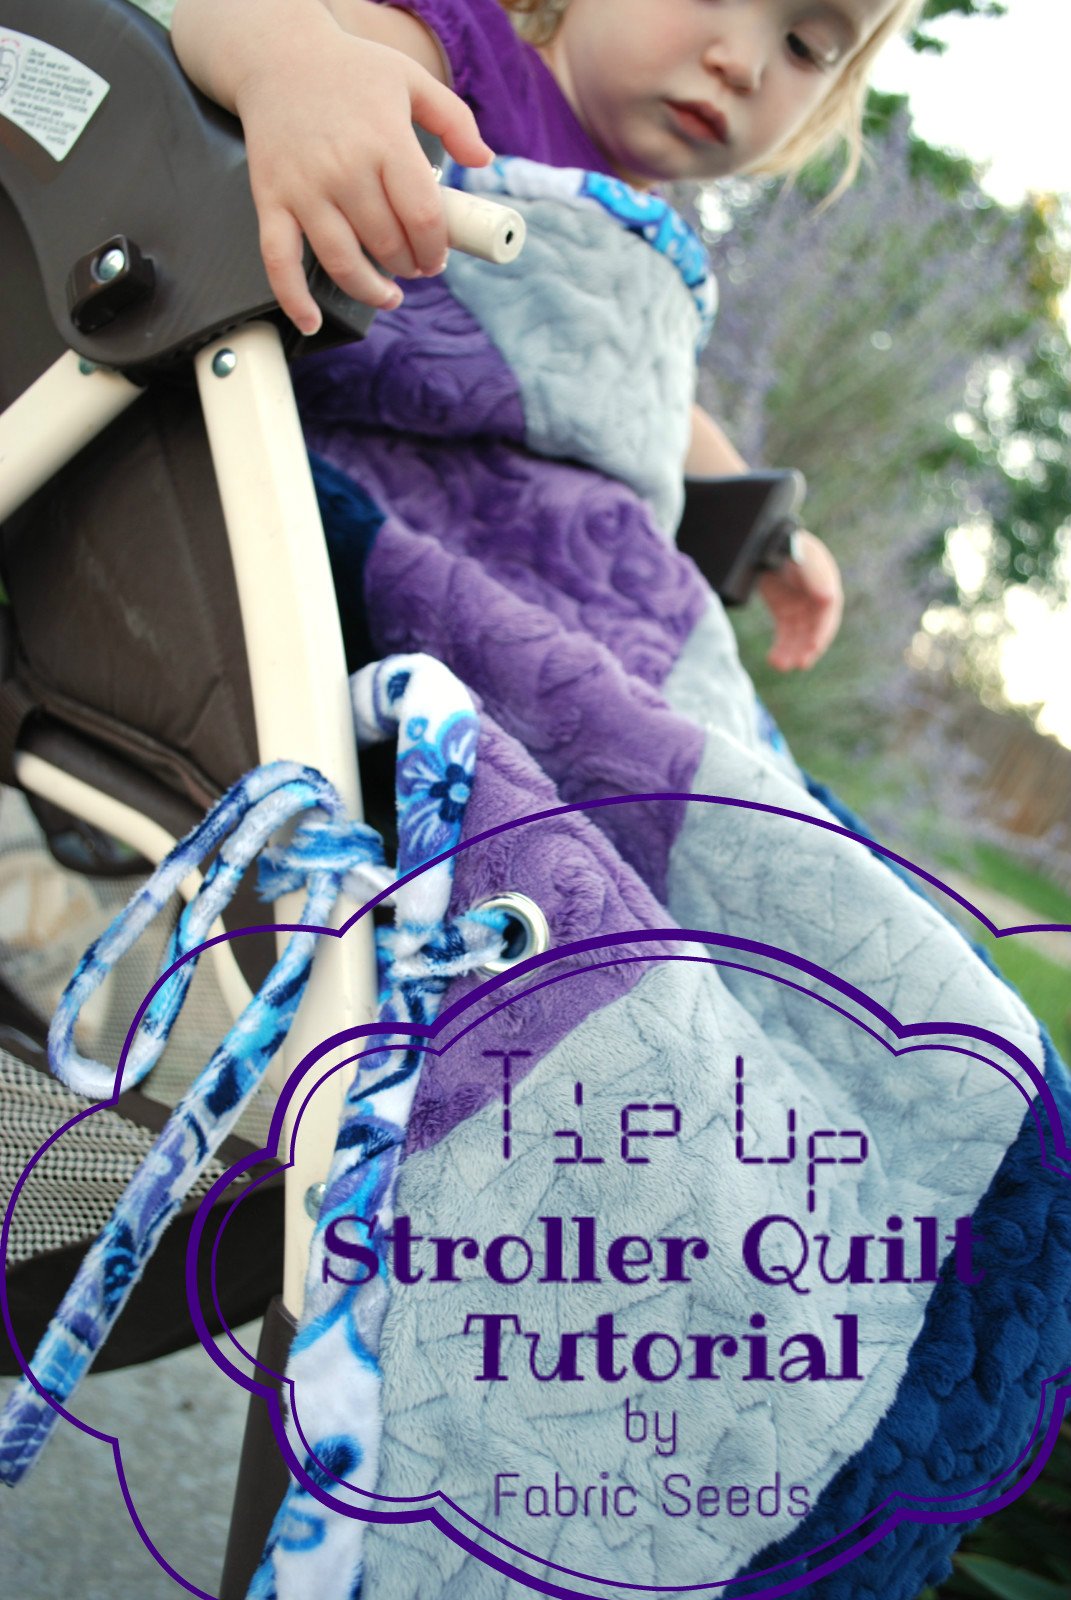
Hey! This is Sarah from Fabric Seeds! I have a great tutorial for you today for a stroller quilt/blanket that ties up! Seriously, I do not know why I did not think of this years ago when I was struggling to keep a blanket on my little one, while in the stroller. Anyone with a child knows this struggle. The blanket is always falling, or getting kicked down and run over or tangled up in the wheels. I would even try to pull the ends of the blanket around the stroller frame just to keep it up!
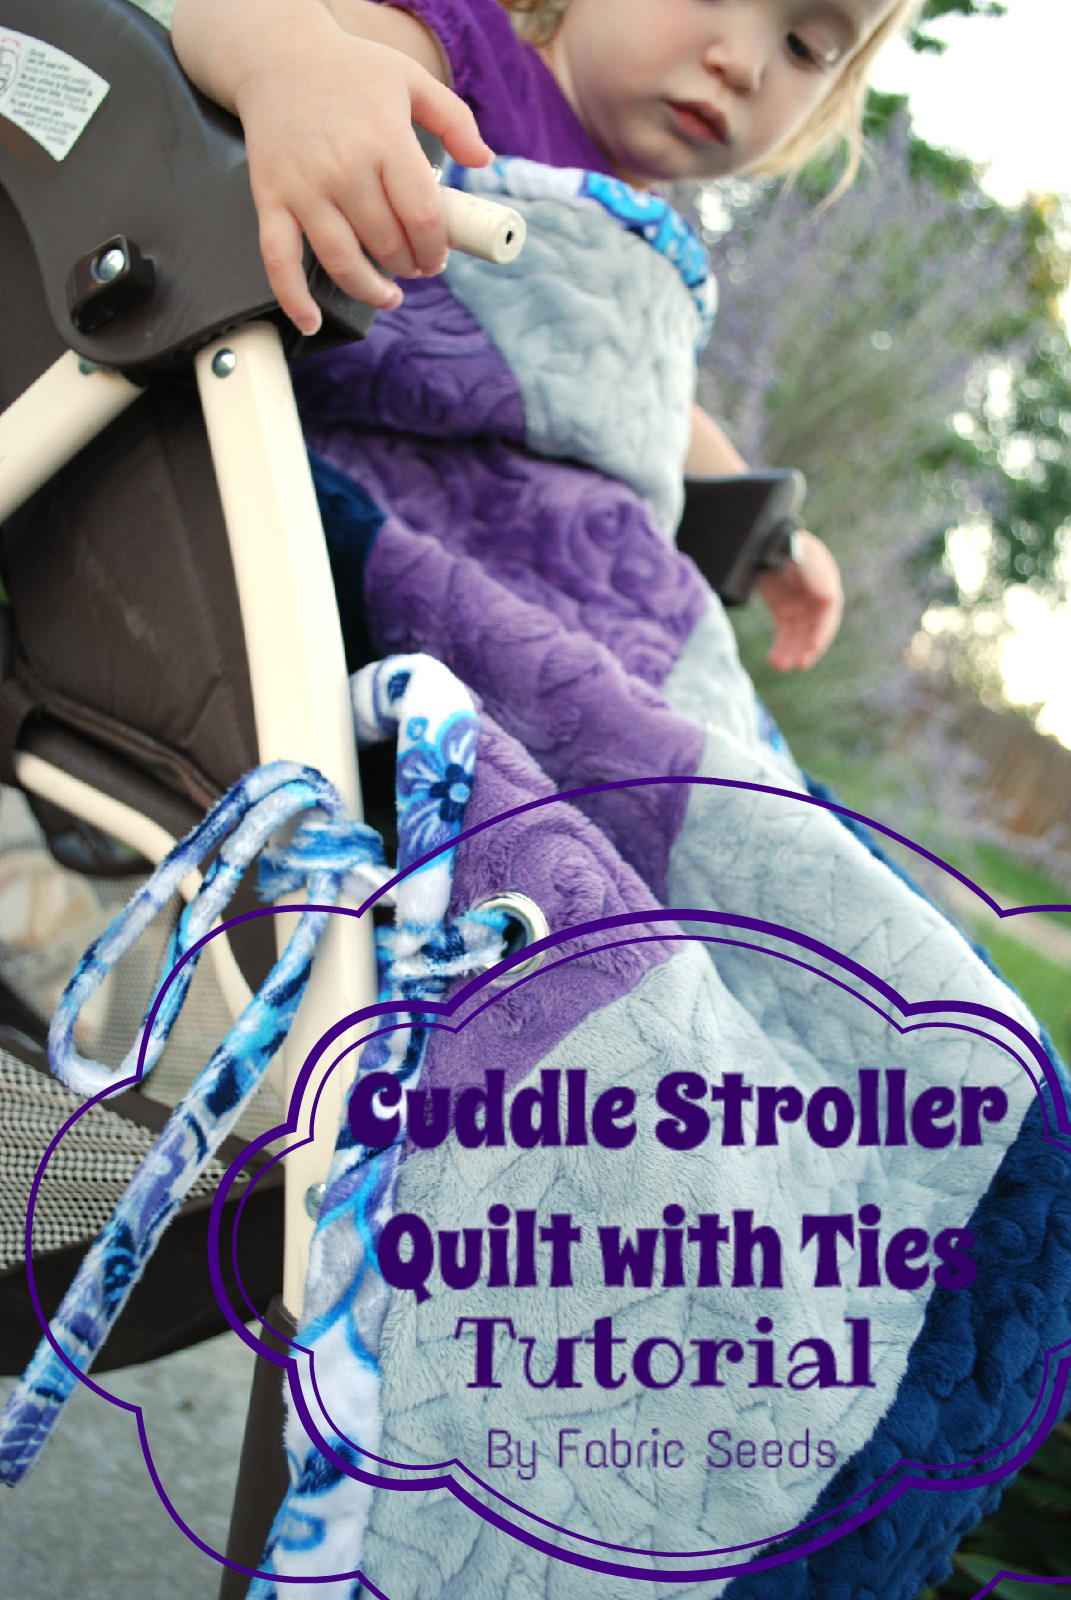
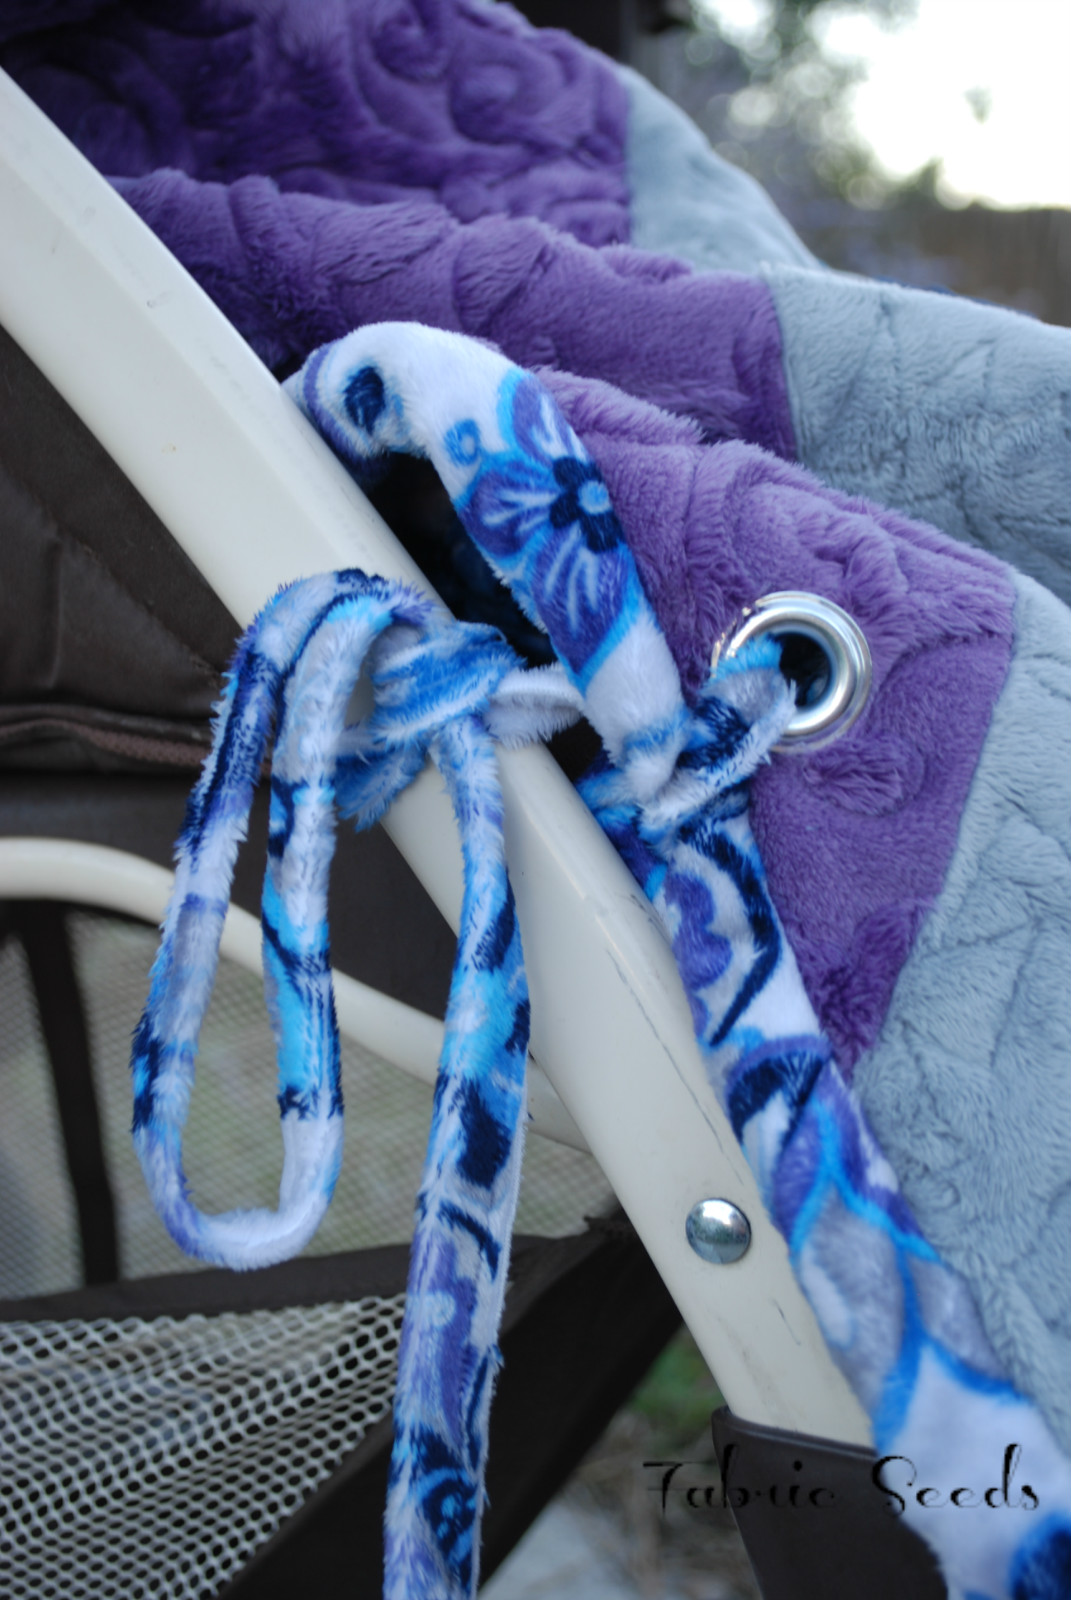
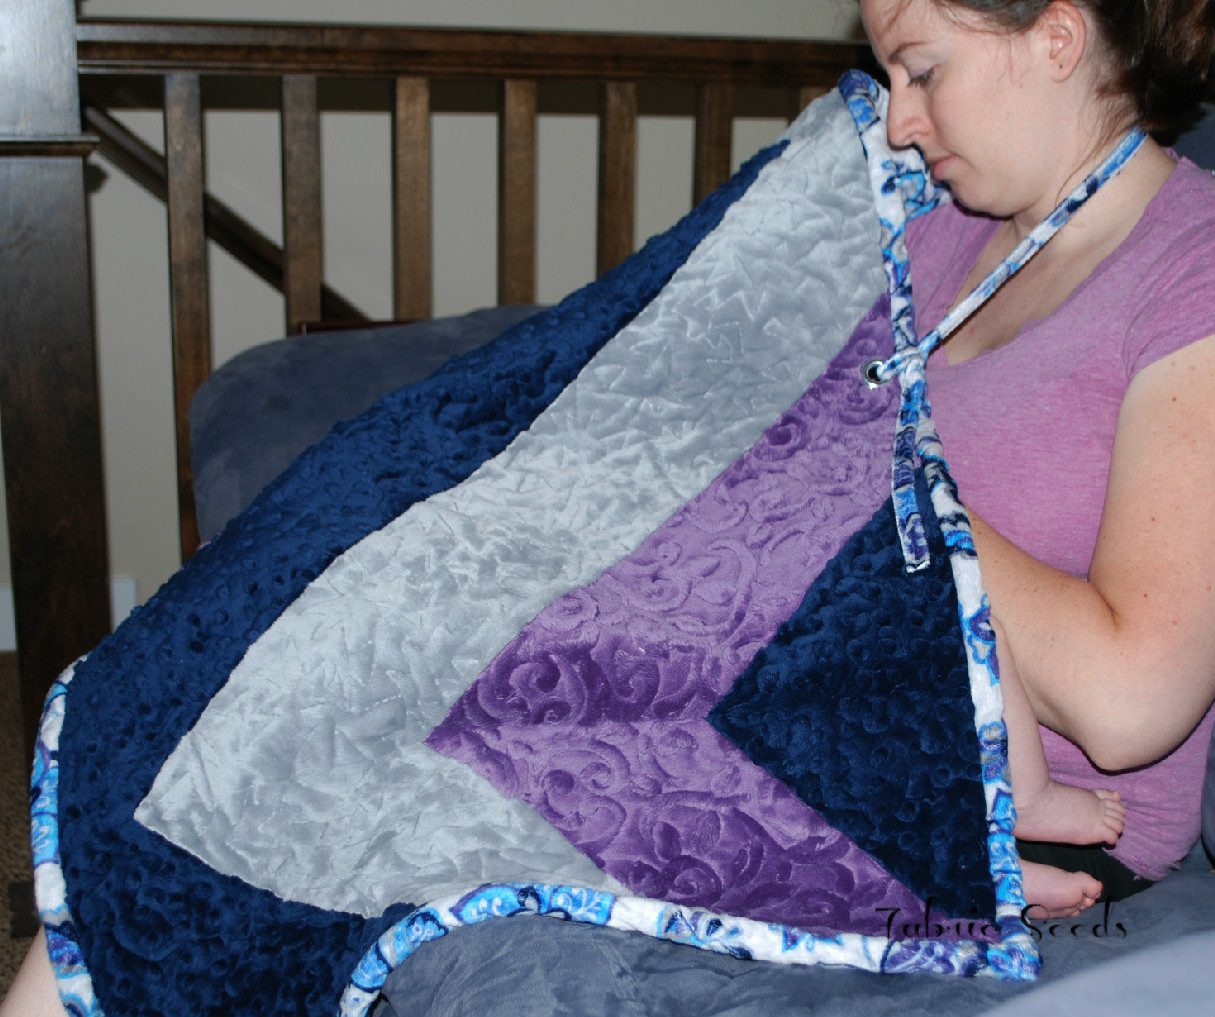
Well, while brainstorming an idea for a tutorial, the word 'stroller' was mentioned, and a light went off! I knew exactly what I needed to do. This stroller quilt is great to not only keep little feet warm, but also easily ties to the frame of your stroller so it won't fall down!
Here's what you'll need:
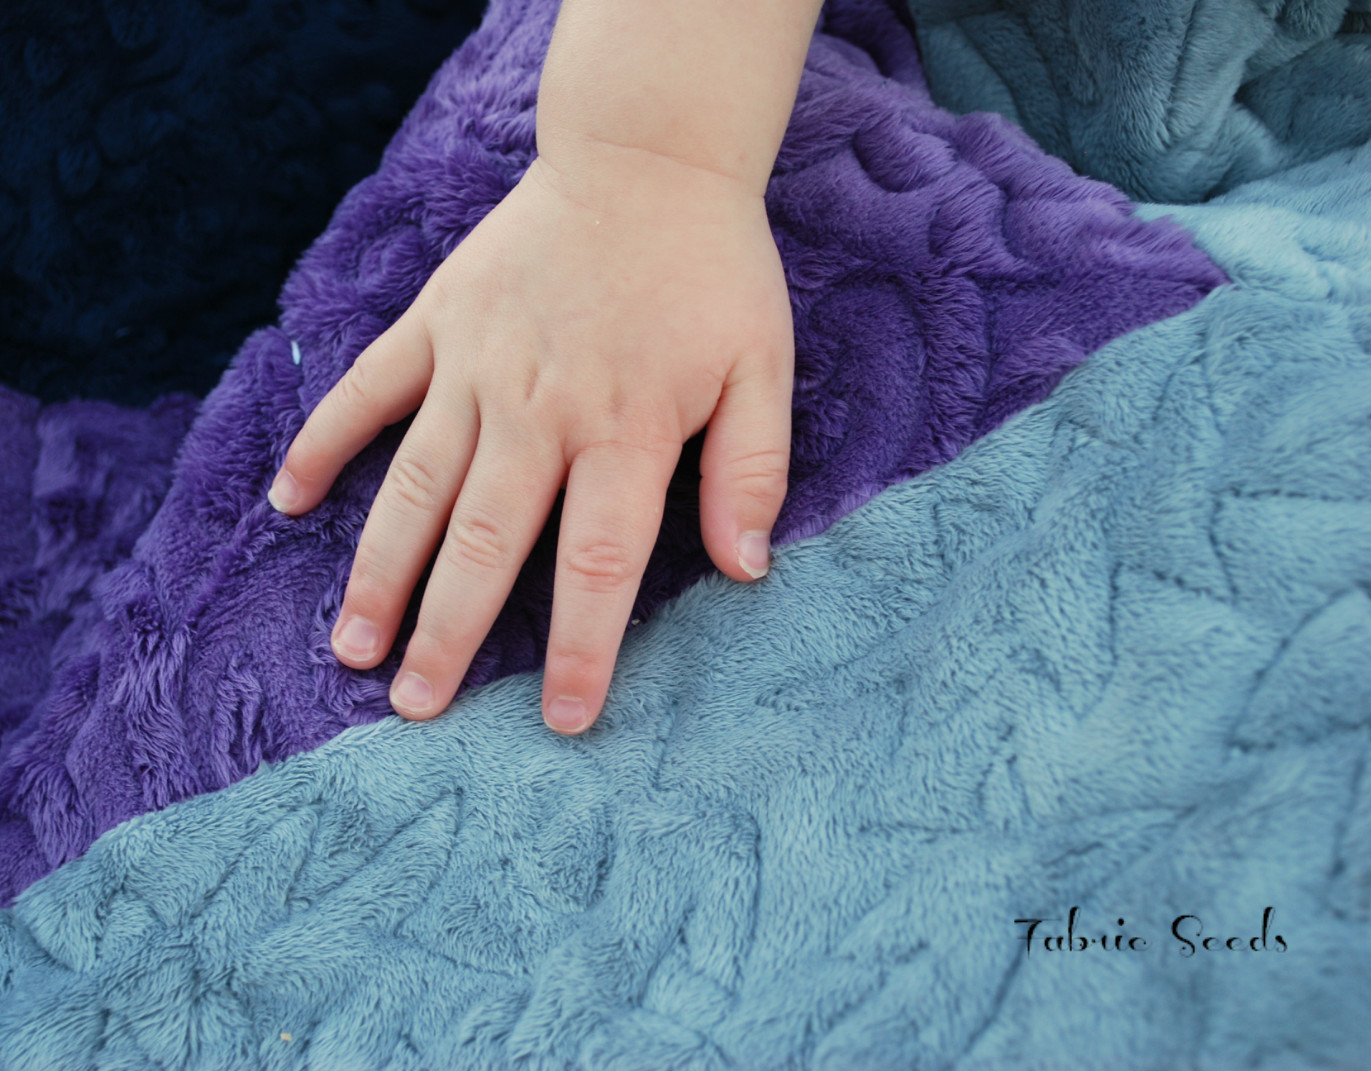
1/2 yard each of 3 Cuddle fabrics (I used Vine Cuddle in Violet, Cuddle Dimple in Navy and Cuddle 3 in Silver)
1 yard Cuddle fabric for backing, binding and straps (I used Oasis from the Majestic line)
35"x50" piece batting (optional)
(2) 3/8" grommets & grommet pliers or 7/16" eyelets with anvil & setter
Rotary cutter
Cutting mat
Ruler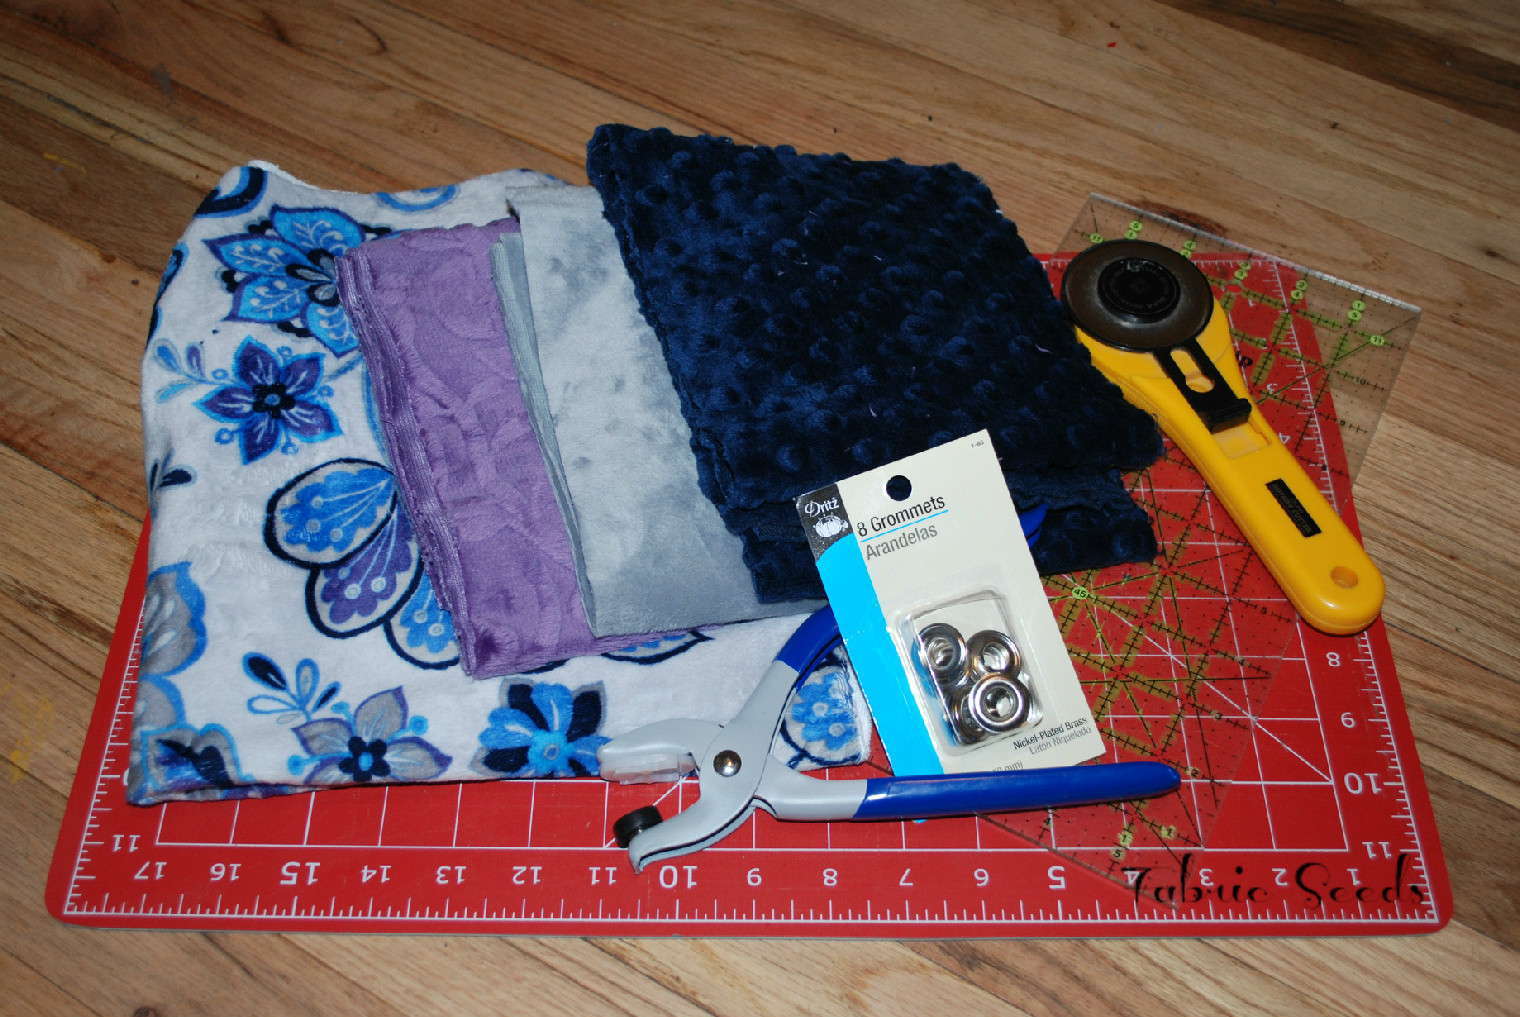
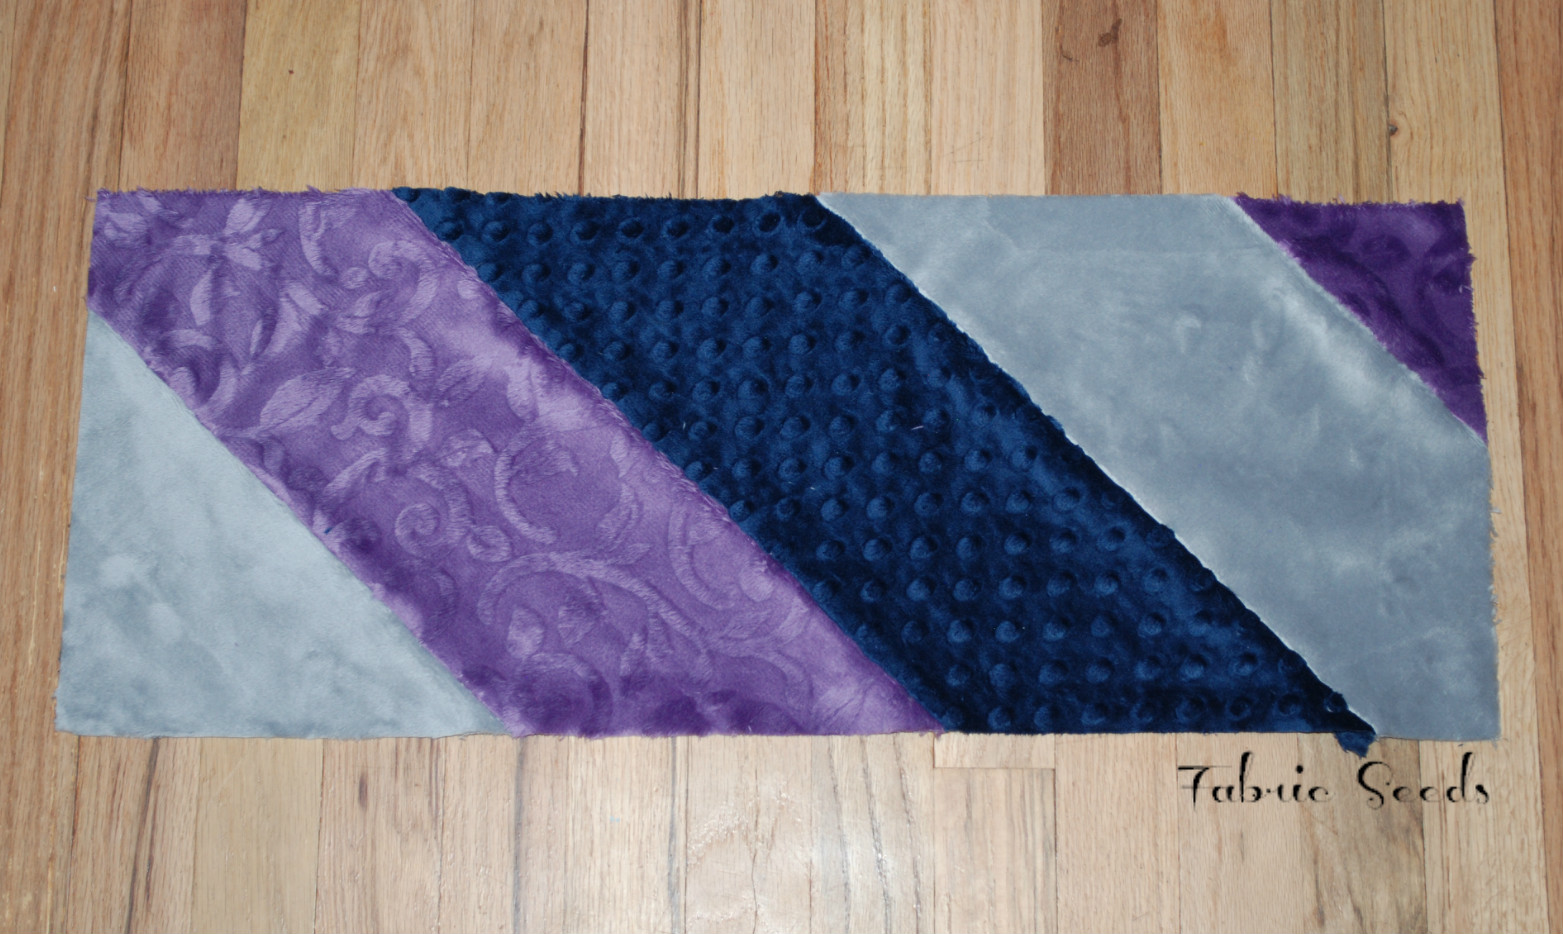
Cut your 3 main fabrics into 6"xWidth Of Fabric (WOF) strips. You should have 3 strips of purple and gray, and 2 strips of the blue. Sew strips together starting with purple to gray to blue. Repeat order until all strips are sewn together. Be sure to keep the nap going in the same direction for all strips.
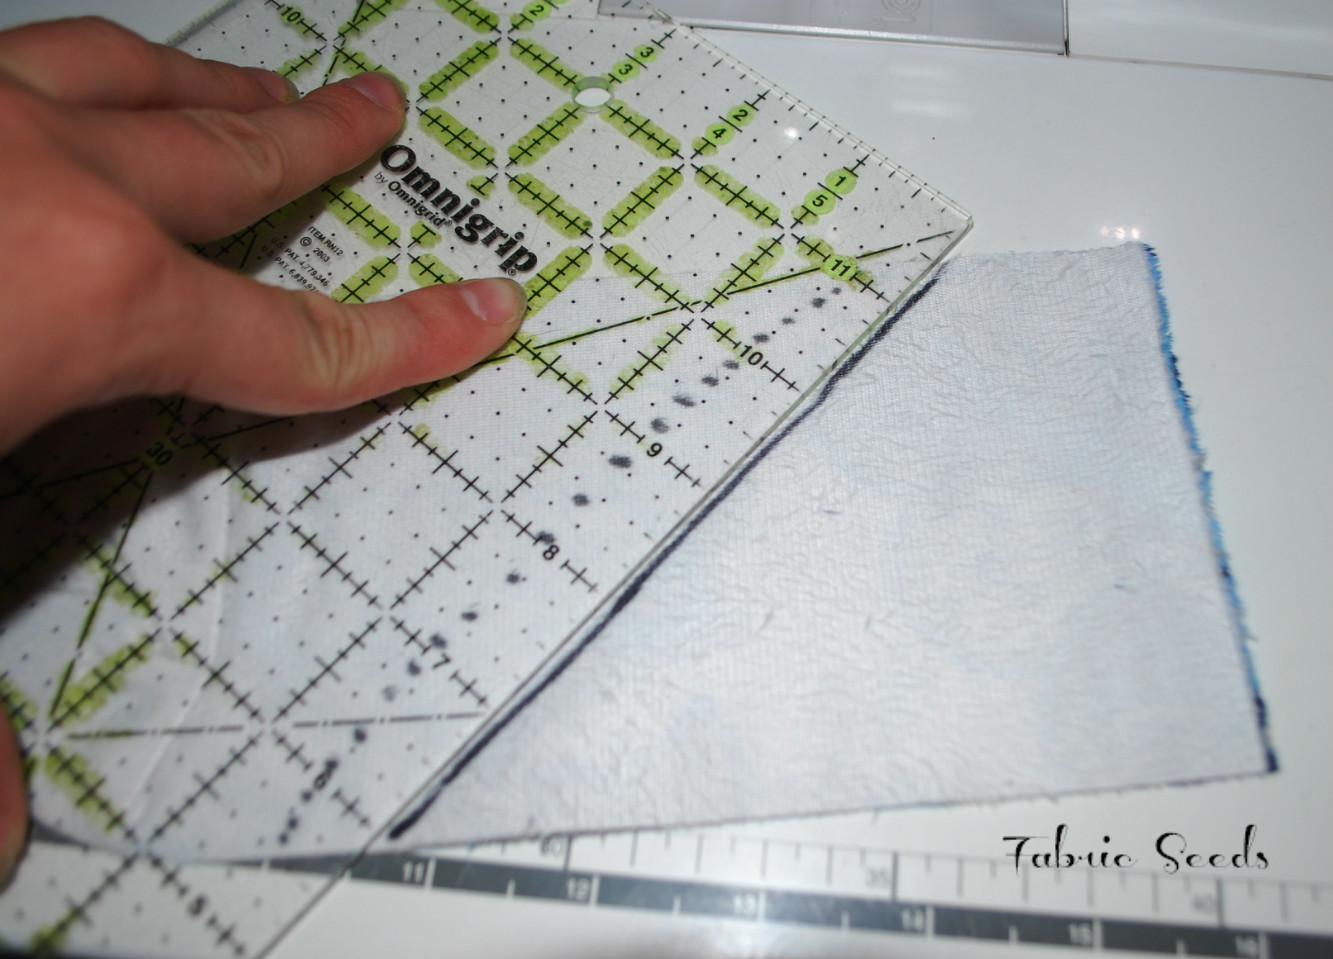
Align the top to the top left corner of your cutting mat. Next, align your ruler 17 1/2" in from the left corner, and 17 3/4" down from the left corner. This will be your first cutting mark to create a long zig zag. Once properly aligned, cut.
(the diagram below shows where your cutting marks should be, and what your first cut should look like)
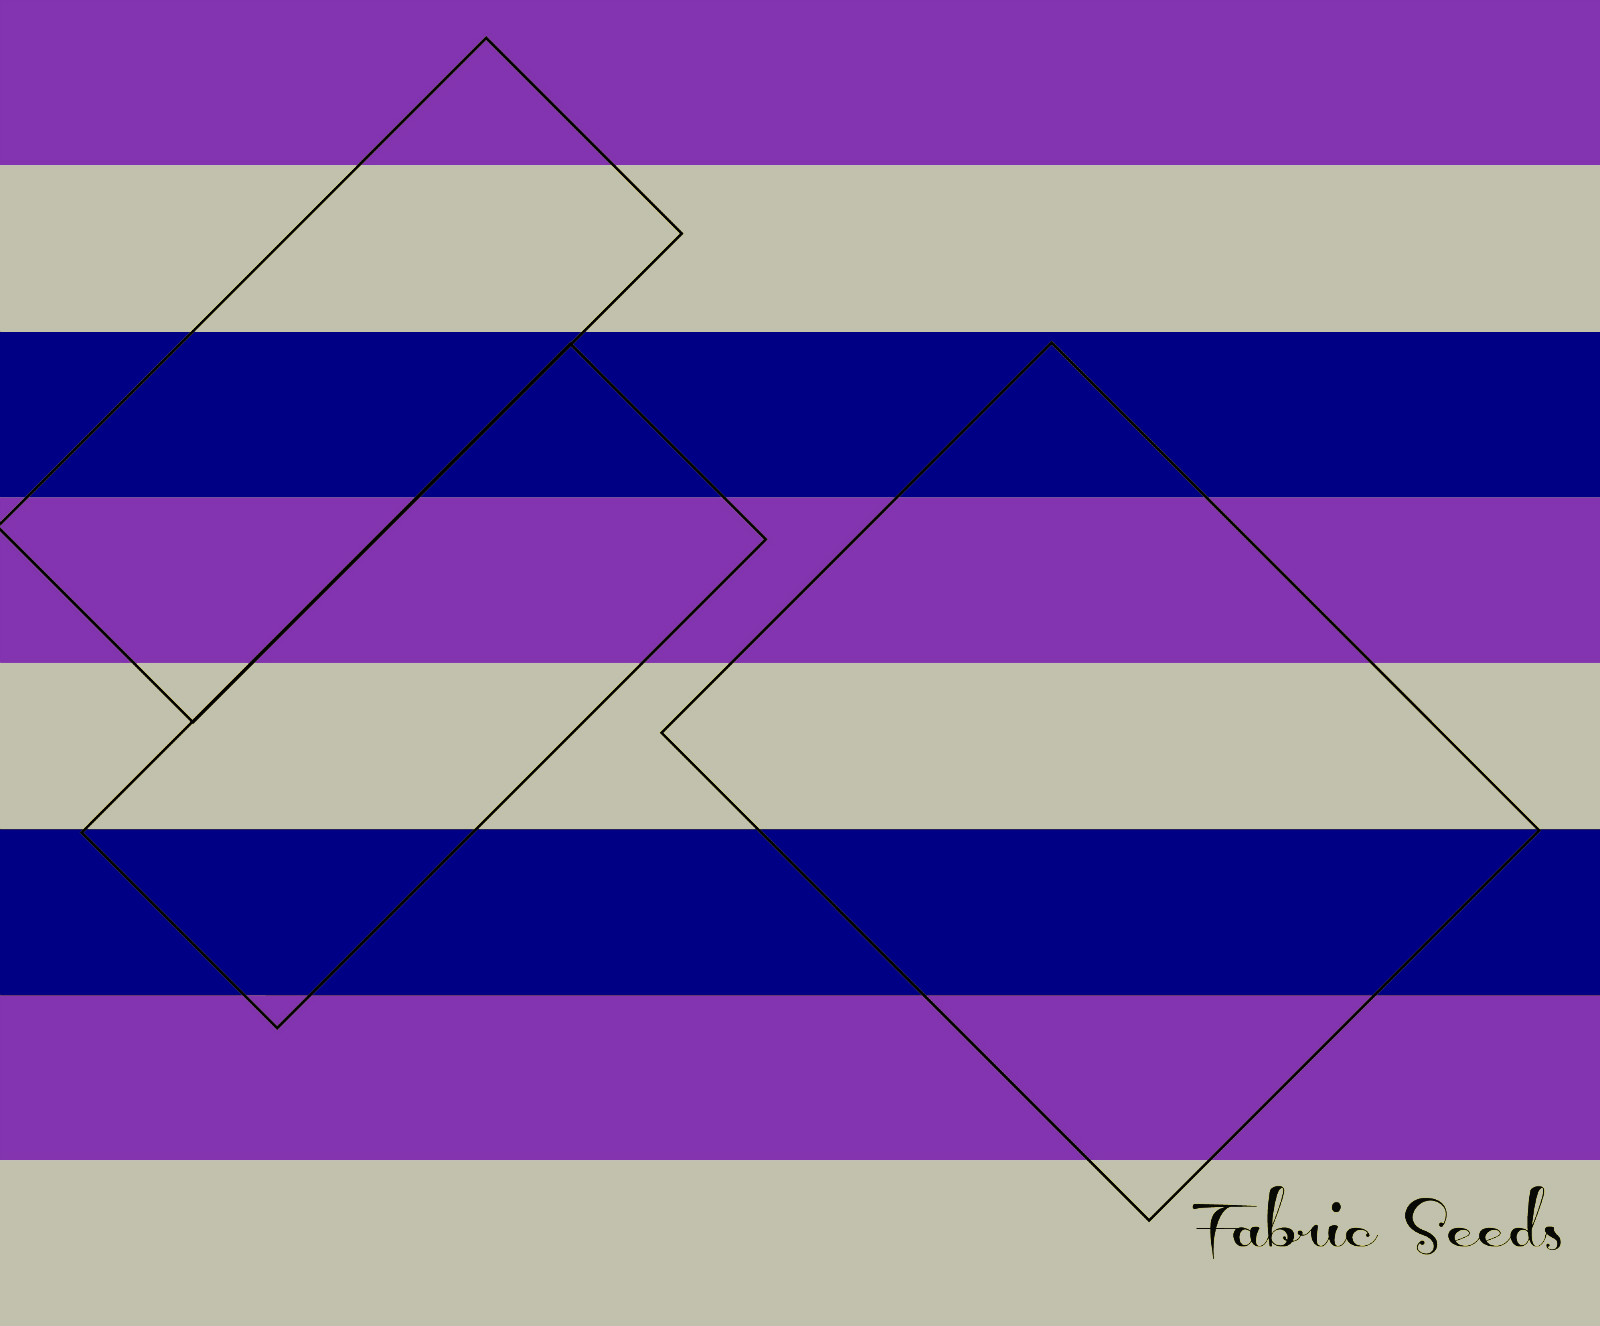

Now, measure 9 1/2" from the cut edge and cut again. You should have a 9 1/2" wide strip. Trim the sides to create a 25" long rectangle.
Measure another 9 1/2" from the cut edge of your work piece, and cut one more time, creating another large strip.
This next part can be a little tricky. Since the cutting has to be presice in order for all the pieces to line up correctly, here's what I did...
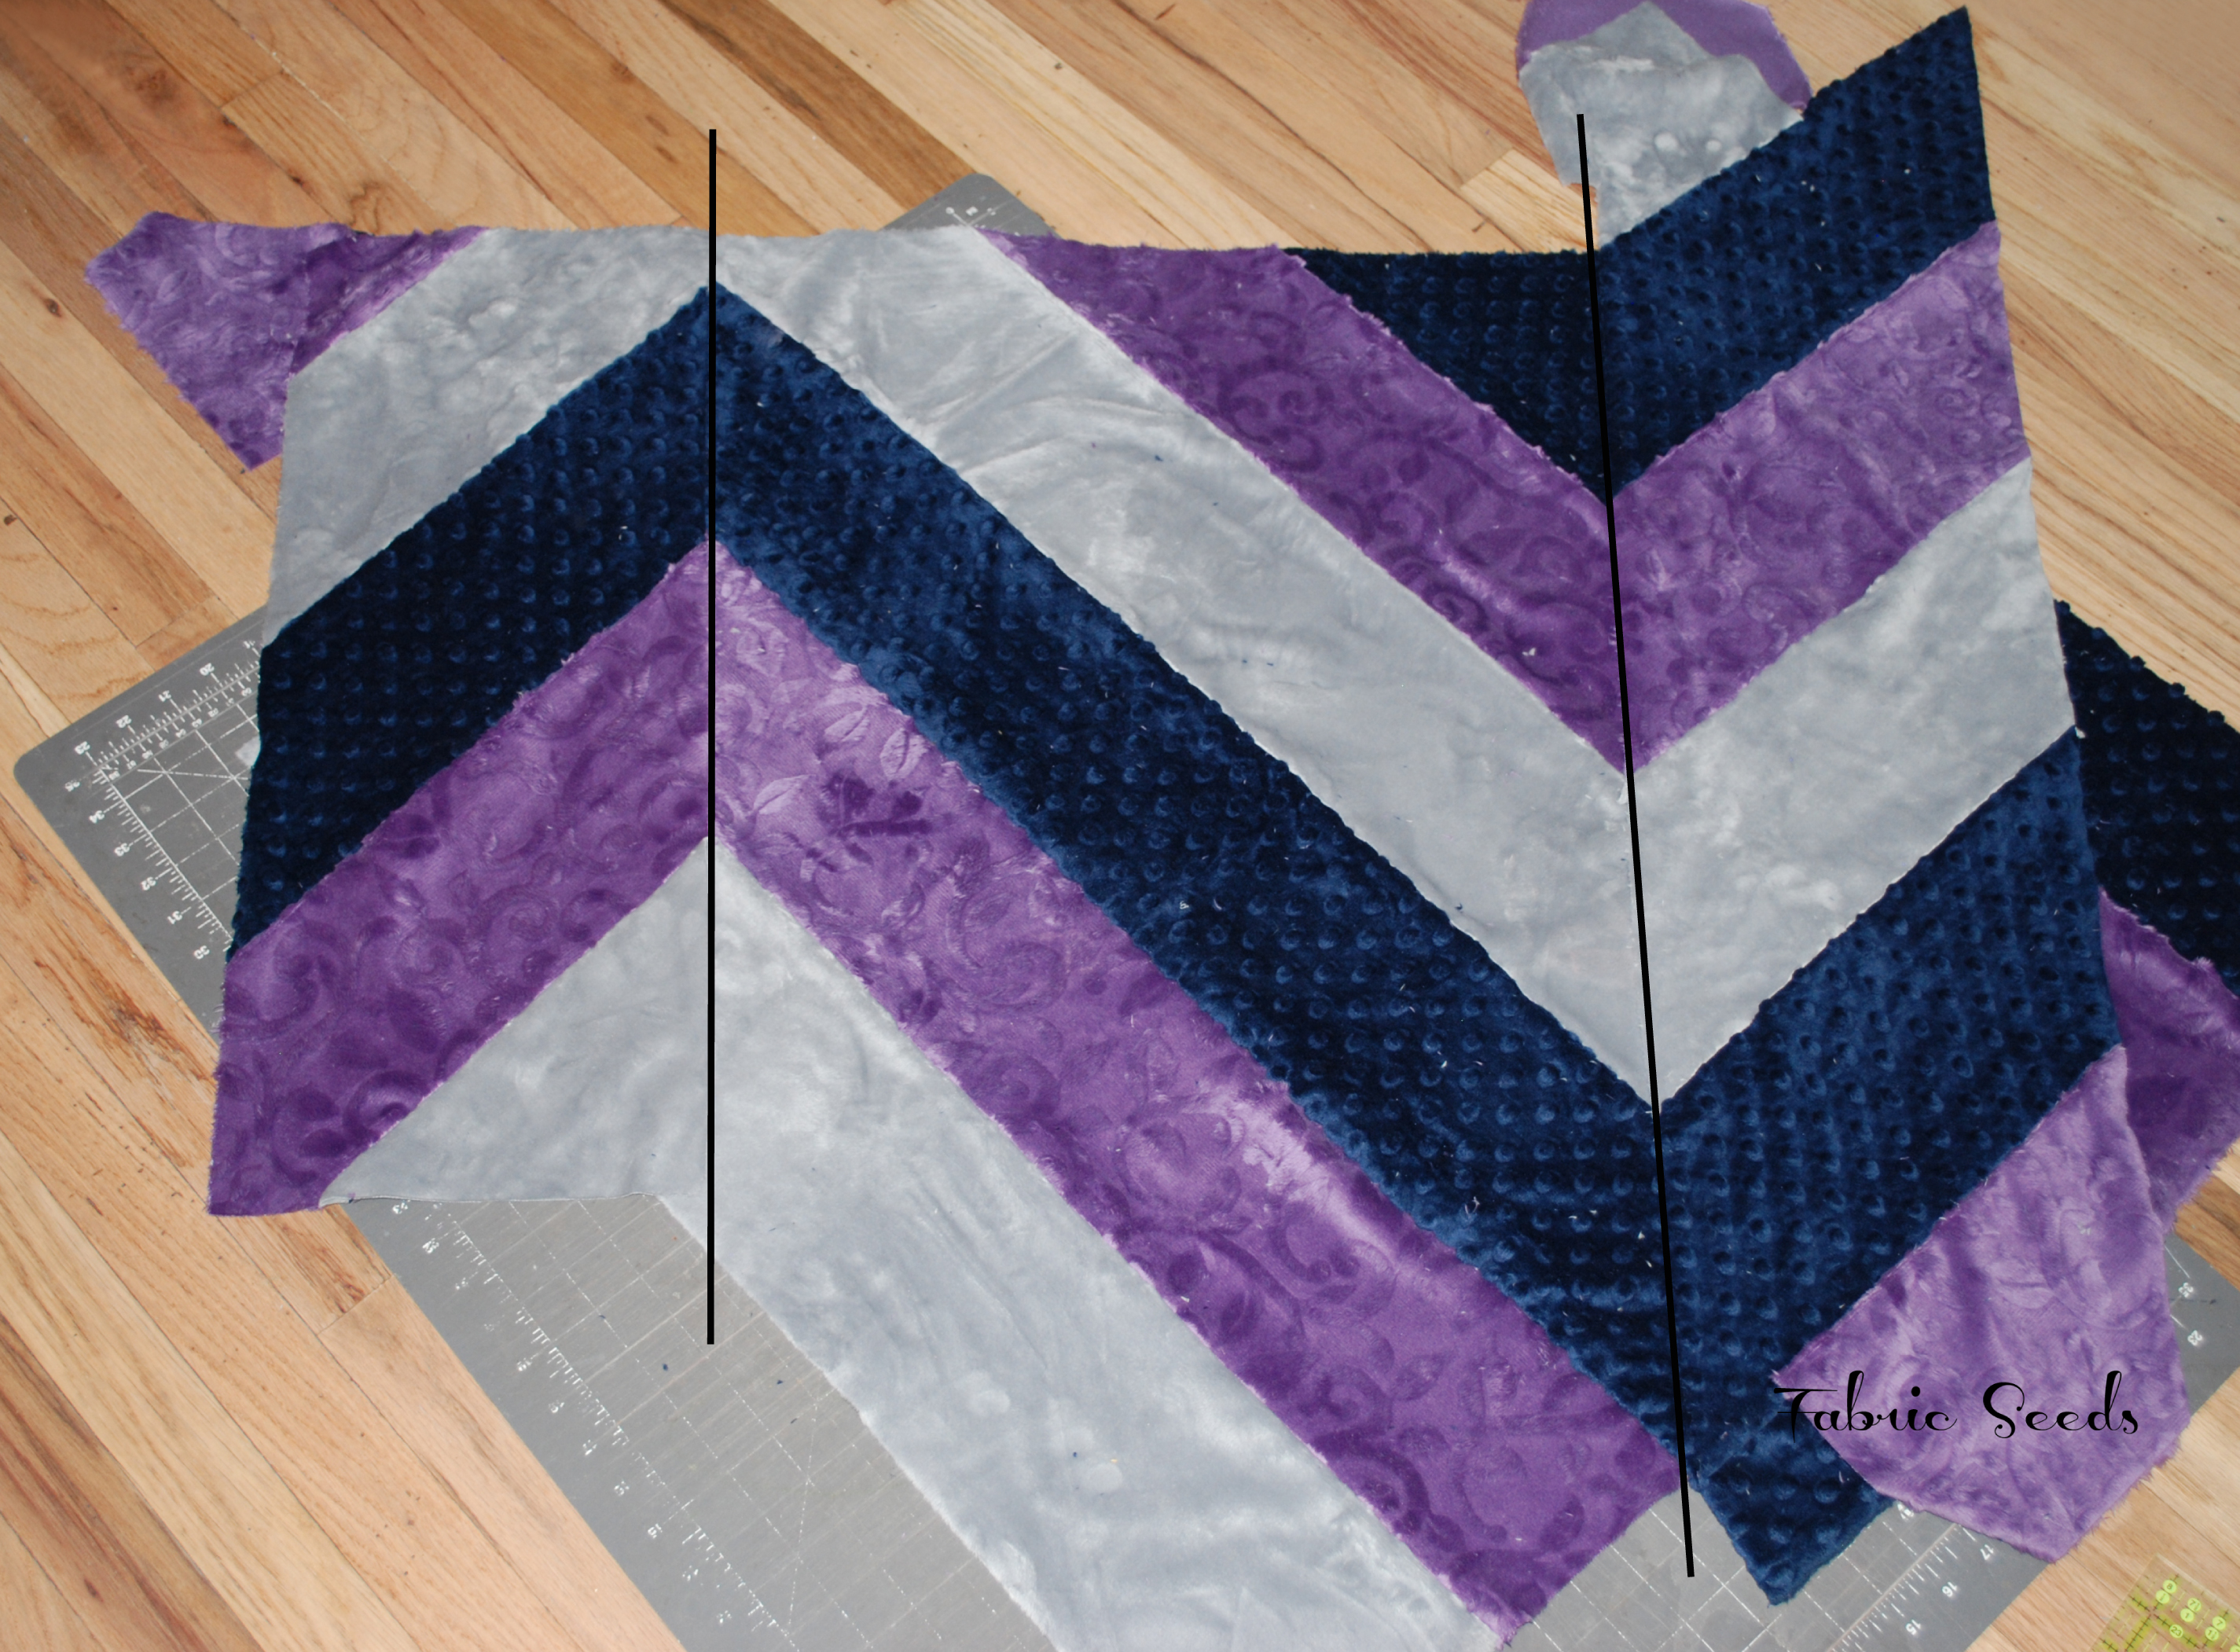
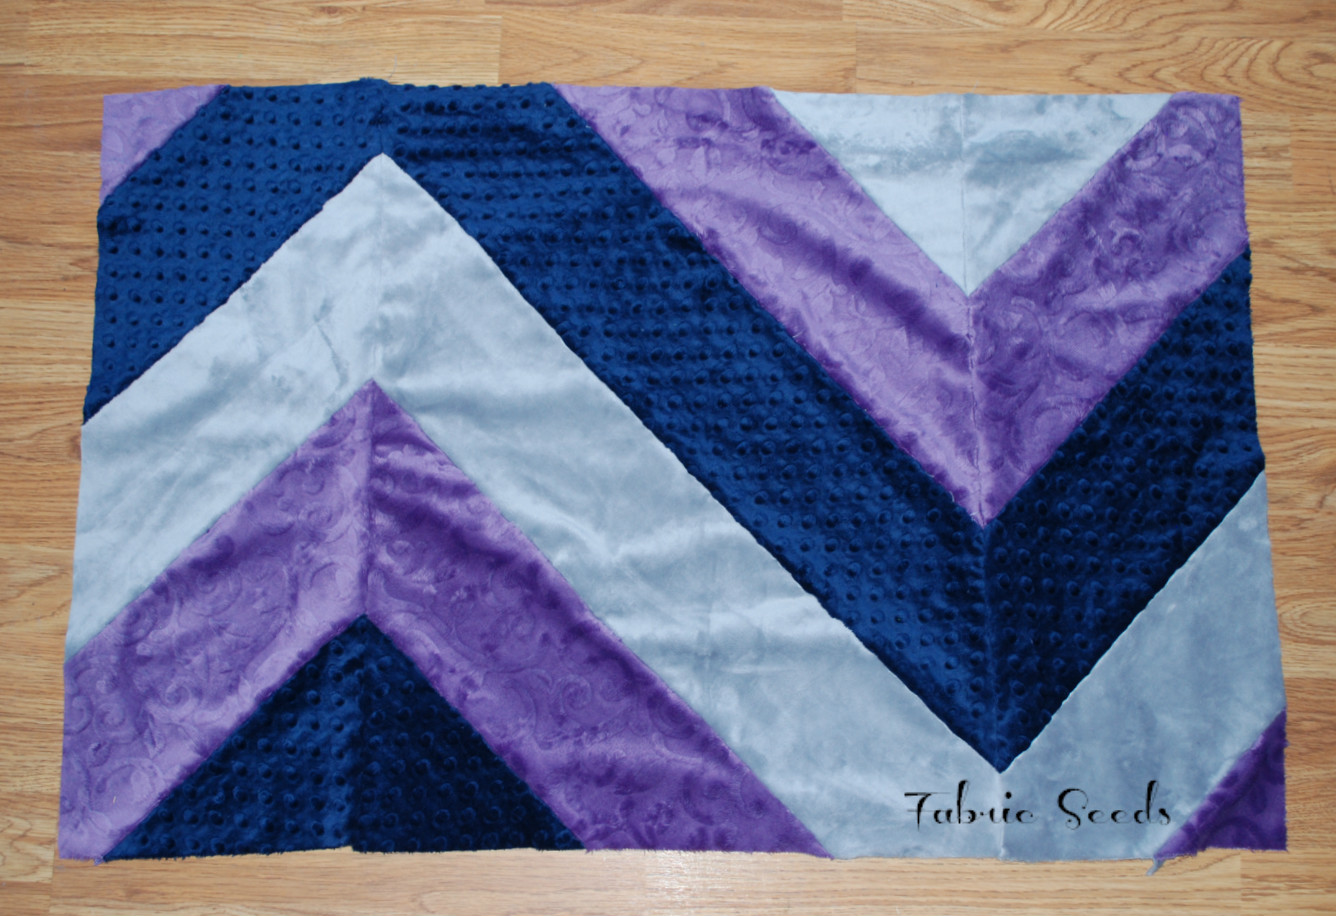
My first rectangle is on the left. My second cut strip is on the right. Line up rectangle pieces with the middle section until the pieces line up correctly, making the chevron corners. Leave a 17" width in the middle. Once you are satisfied with the placement, cut along the edge of your rectangles. This will help you get the presice cut you need for your seams to line up. Trim the sides of both the middle and second rectangle piece to measure 25" long. You can then sew the small rectangles to each side of your middle piece. Your finished top should look as follows:
Quilt as desired. From the leftover backing, cut two 1" strips. Sew along edge with wrong sides together.
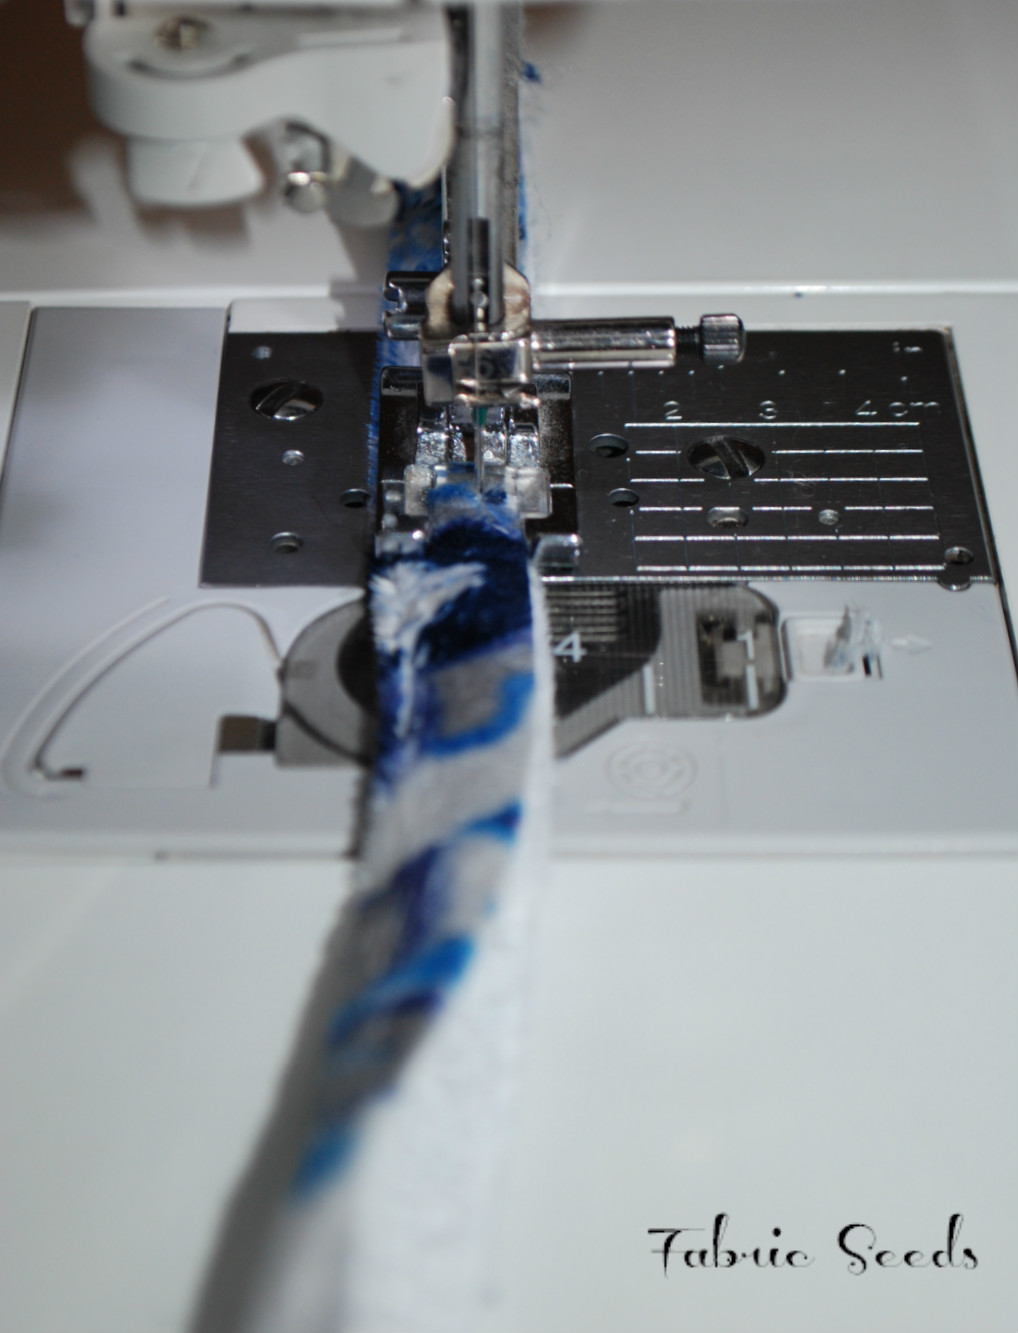

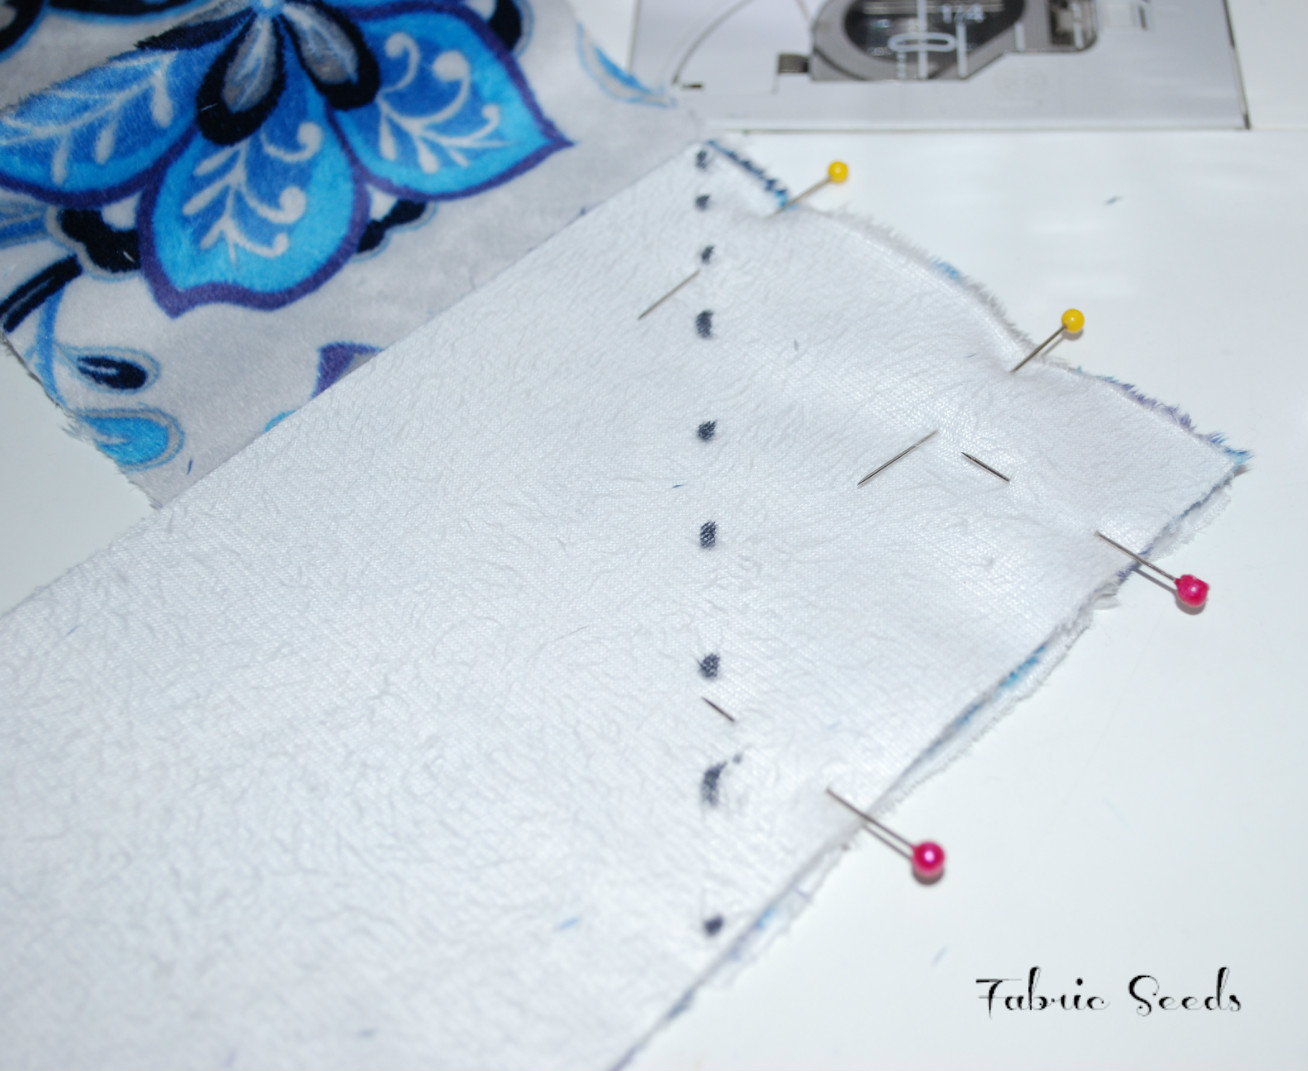
Also cut four 4" strips from the remaining backing fabric, adjacent to the selvege. This will be for your binding. Keeping the nap in the same direction, sew the binding strips together end to end on a 45 degree angle. It may help to pin the sides and draw a line along the fabric as a sewing guide. Trim excess 1/2" from seam.
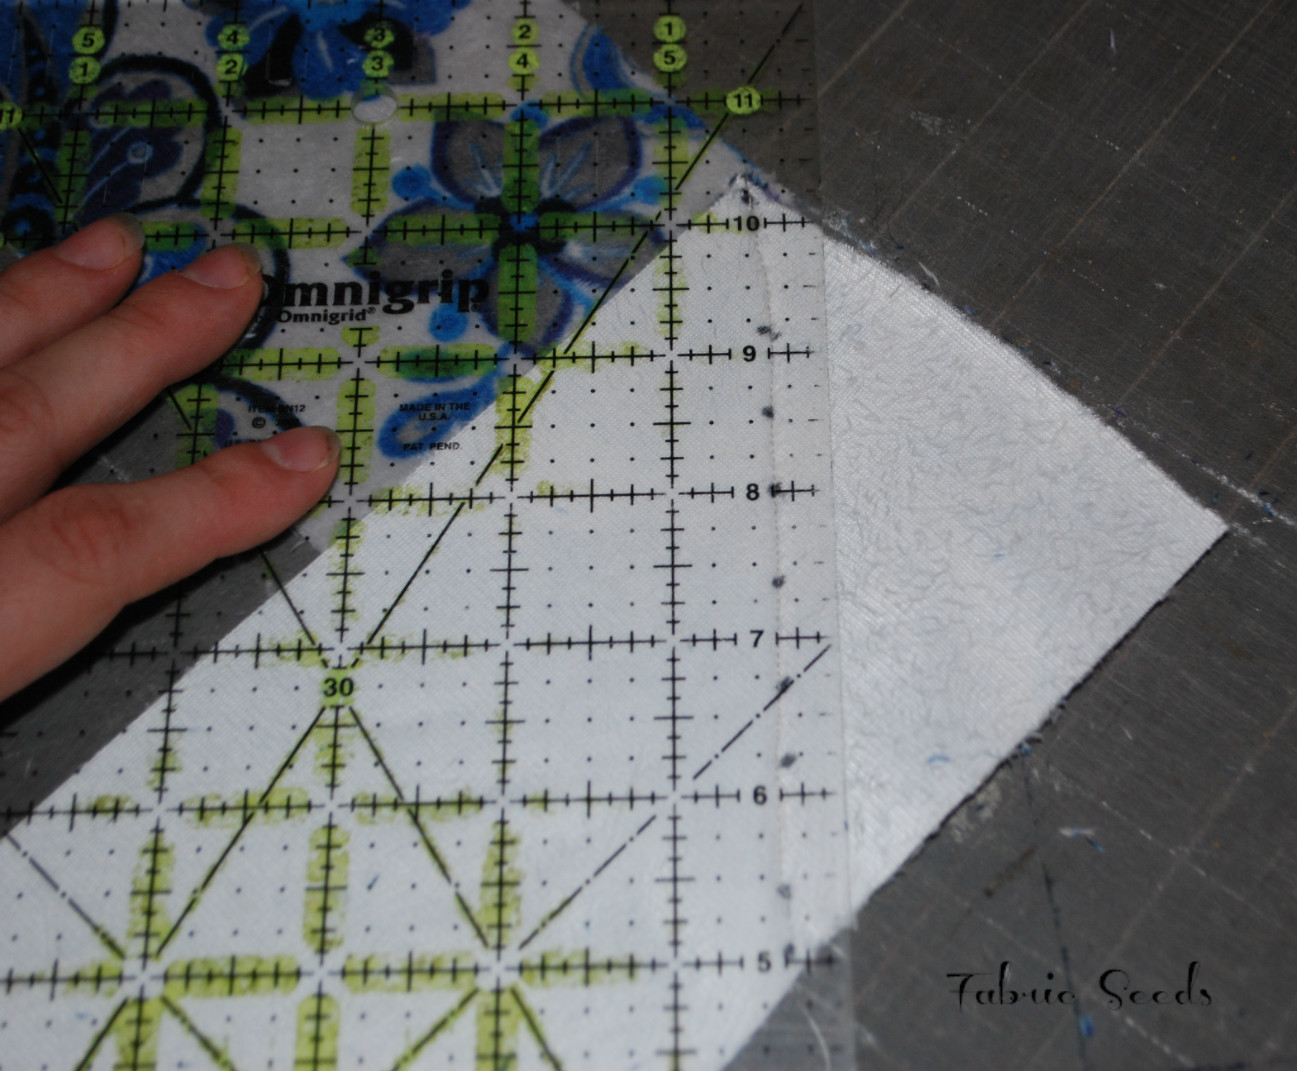
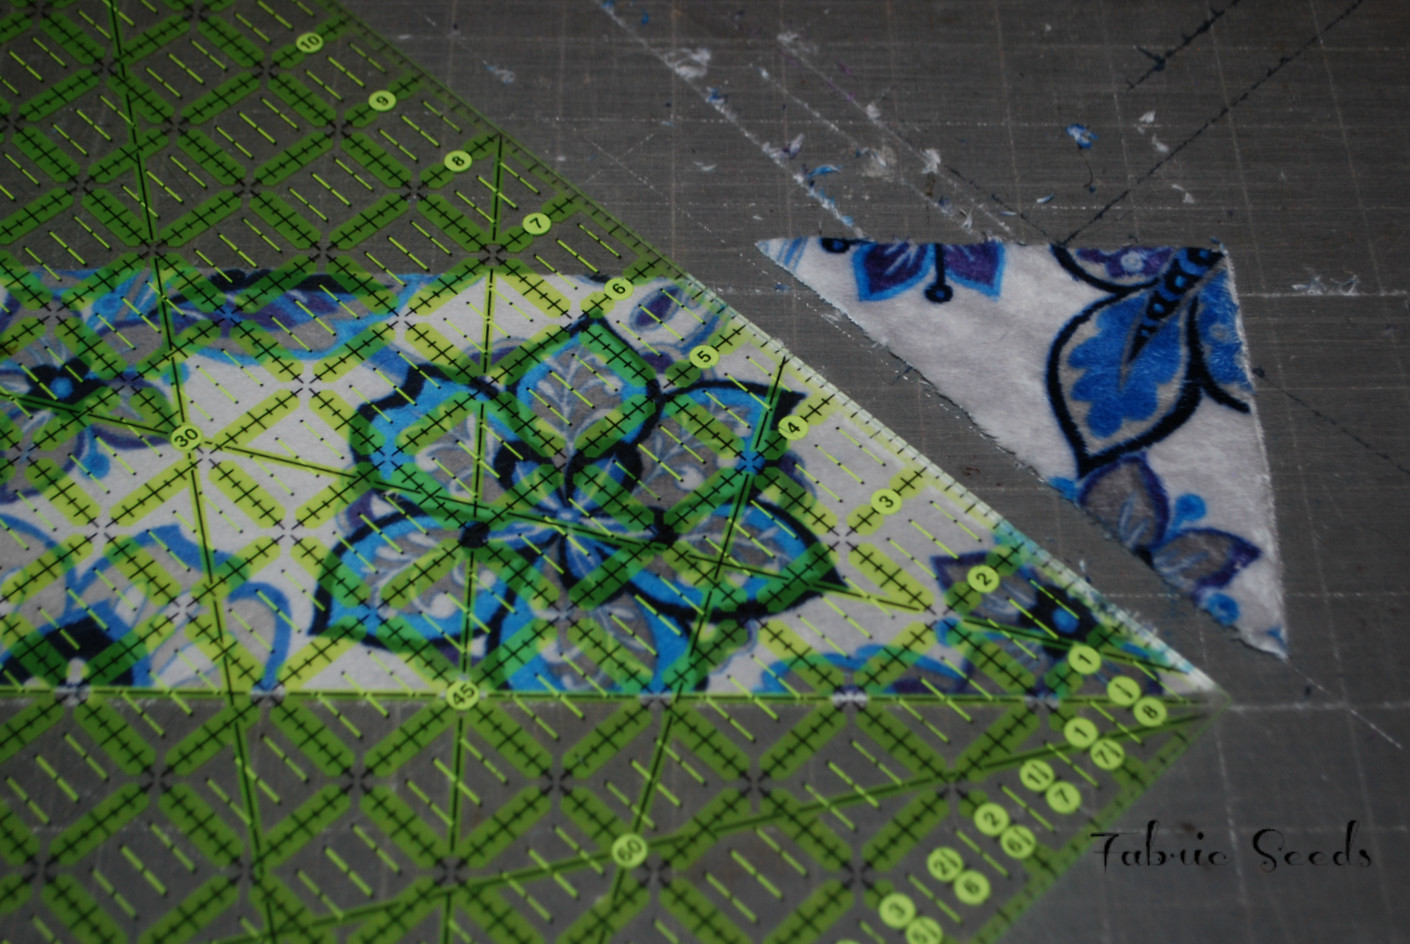
Once all the strips are sewn, cut one end on a 45 degree angle as shown.
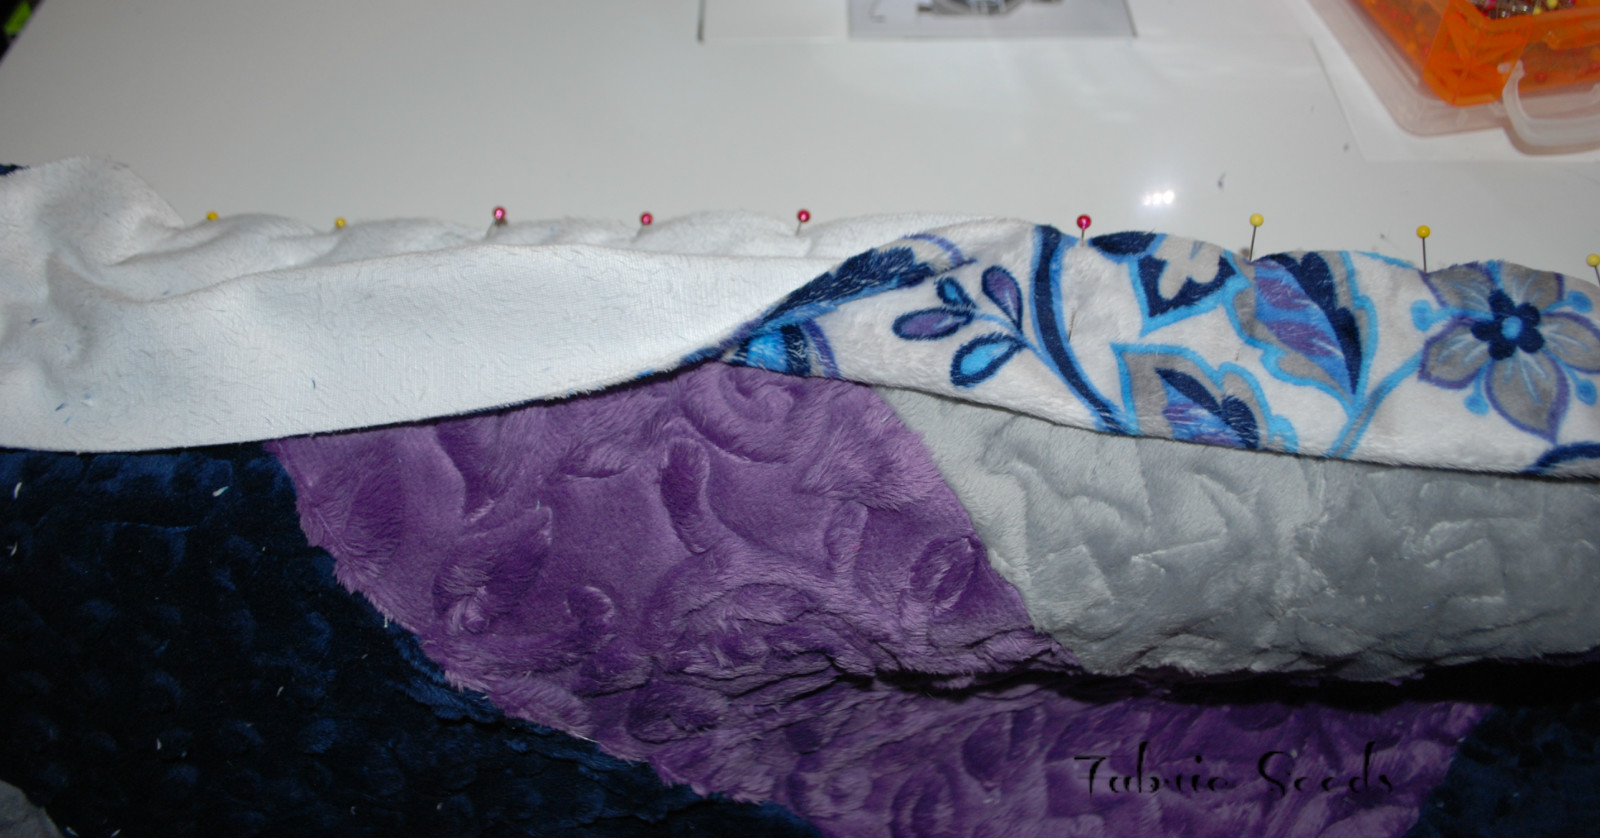
Folding the binding in half with wrong sides together, and starting with the newly cut end, pin to the front of your quilt about 10-12 inches from the end. Start sewing after your pins, stopping 1/4" from the edge of the quilt. Cut threads.
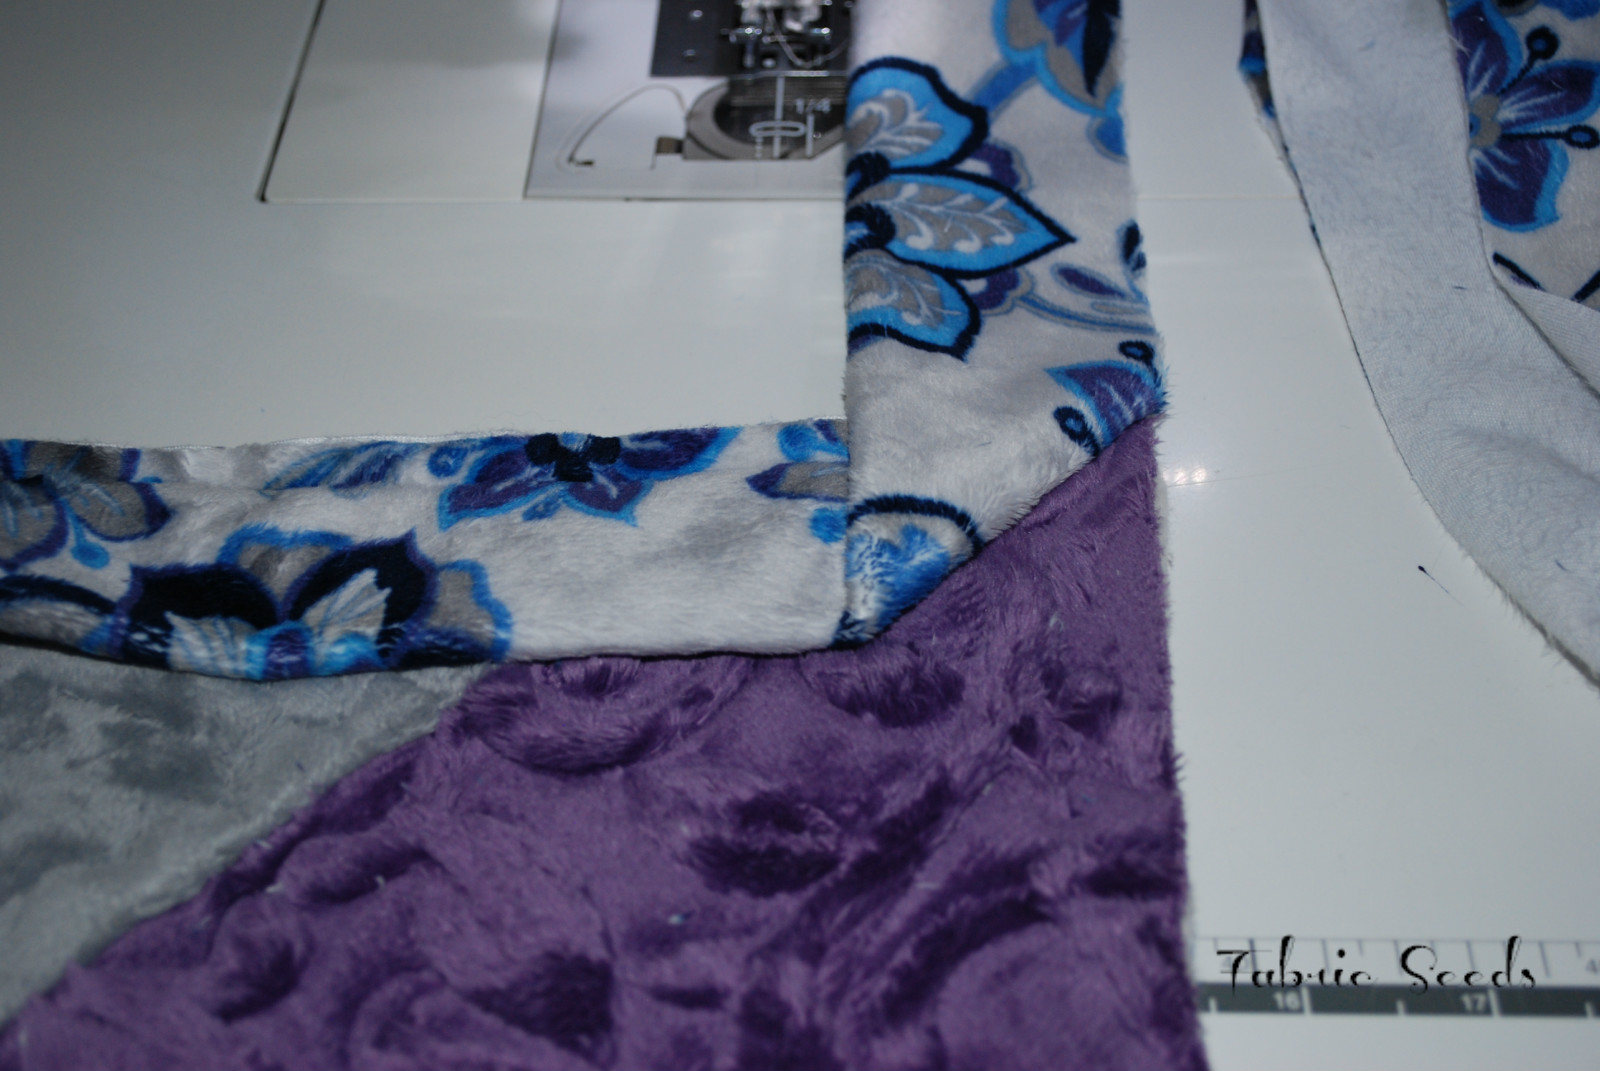
Pull the binding above the quilt, hold sewn binding in place, and bring loose binding back down, aligning raw edges. Repeat for each corner.
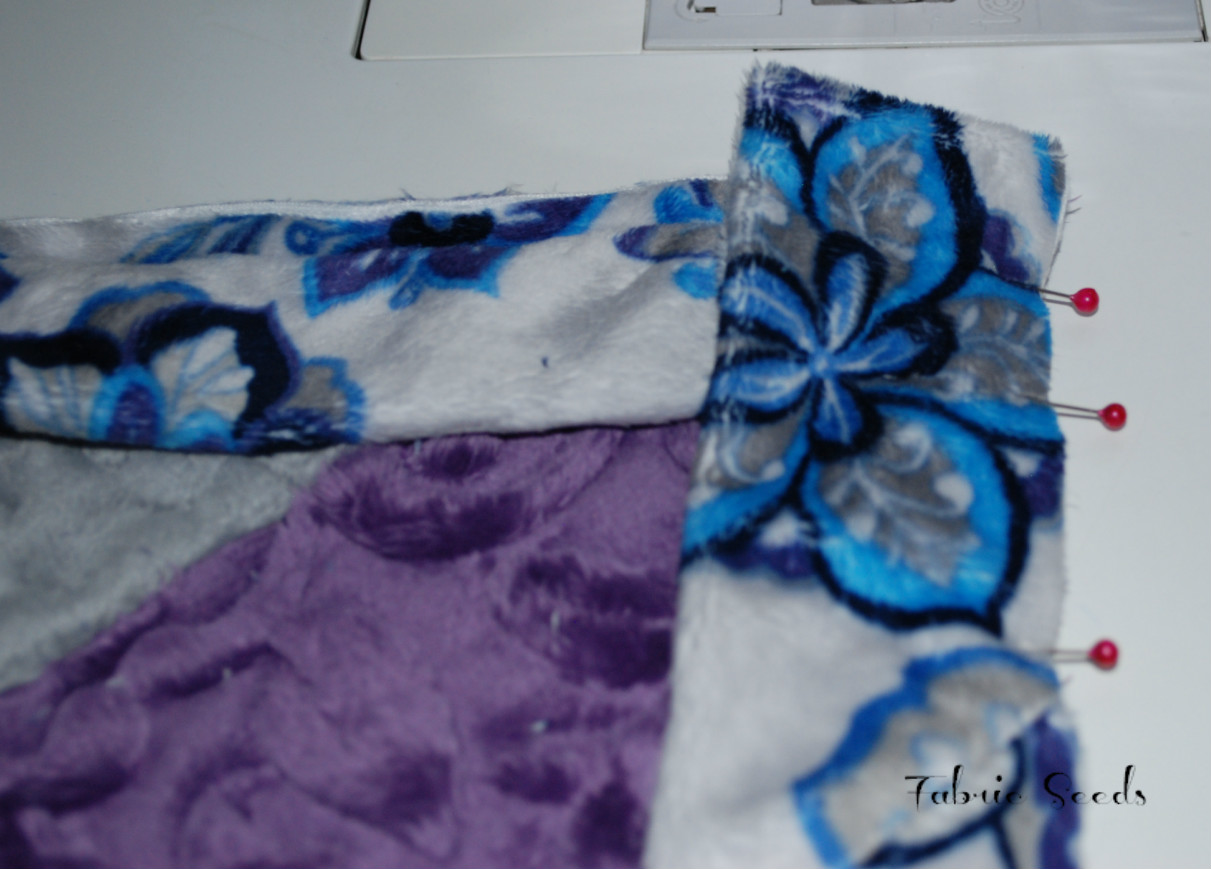
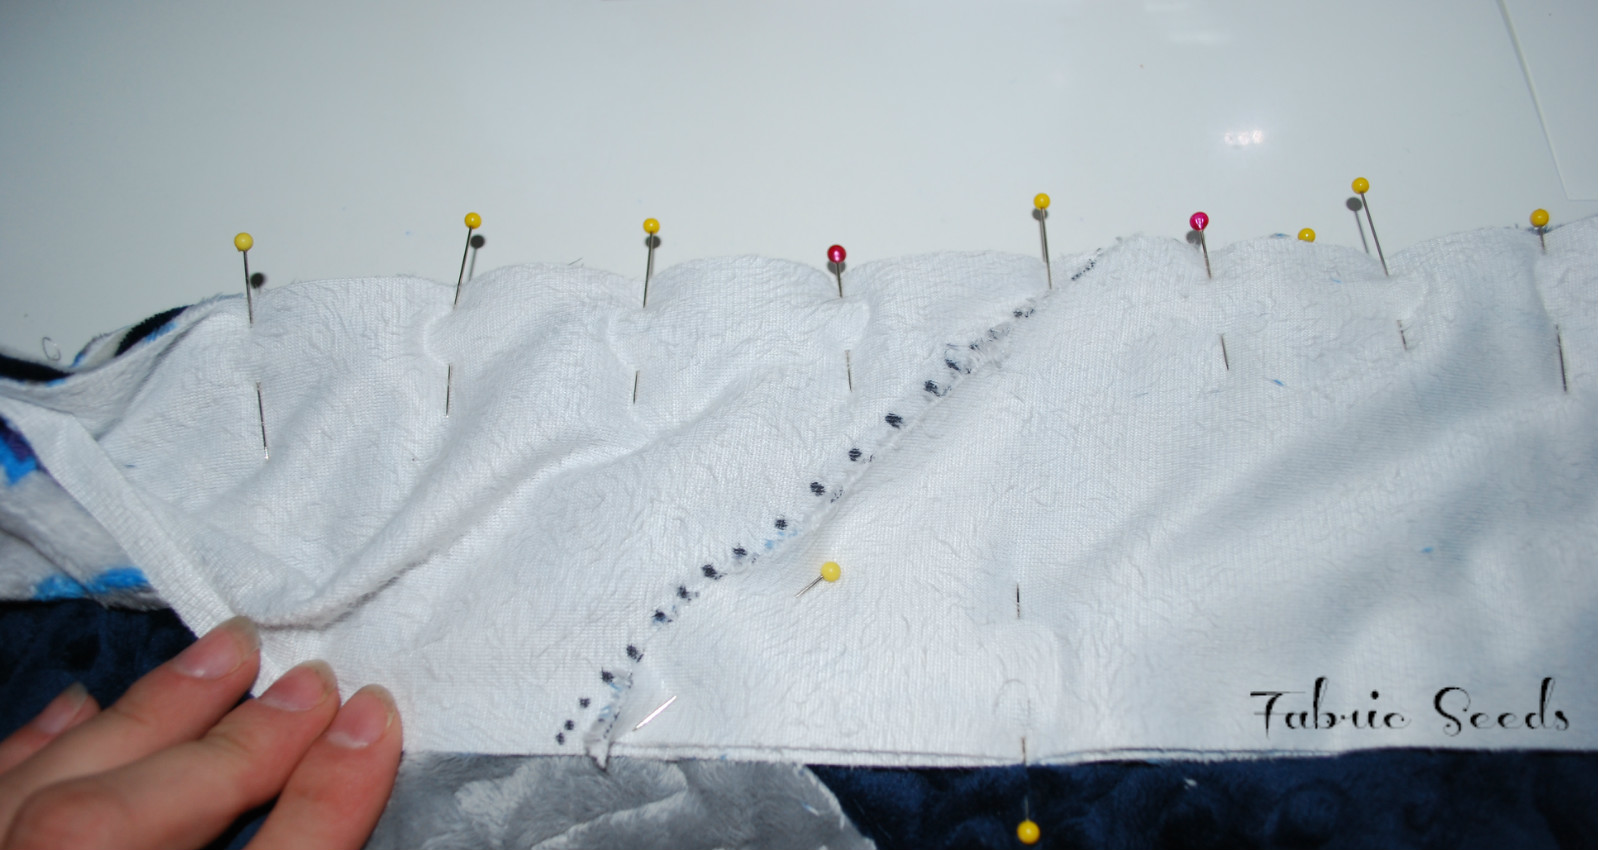
Once back around to the starting end, stop about 10-12" from the end. Pin open along quilt edge, placing under the starting end of the binding. Pin the starting edge down, and trace a line along the edge. Remove pins. measure 1/2" to the right of your line, and draw a second line. Cut along the second line. Pin and sew binding ends together. This will give you the perfect amount to finish your binding.
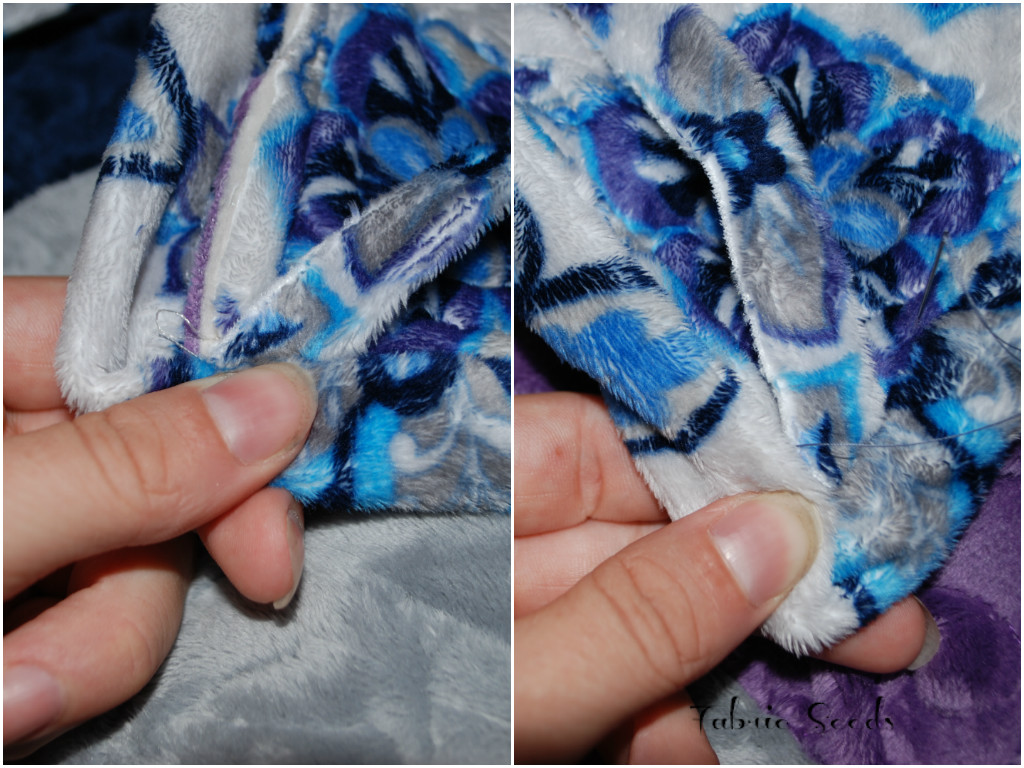
After the binding is sewn on, attach the straps to each corner on one end of the quilt.
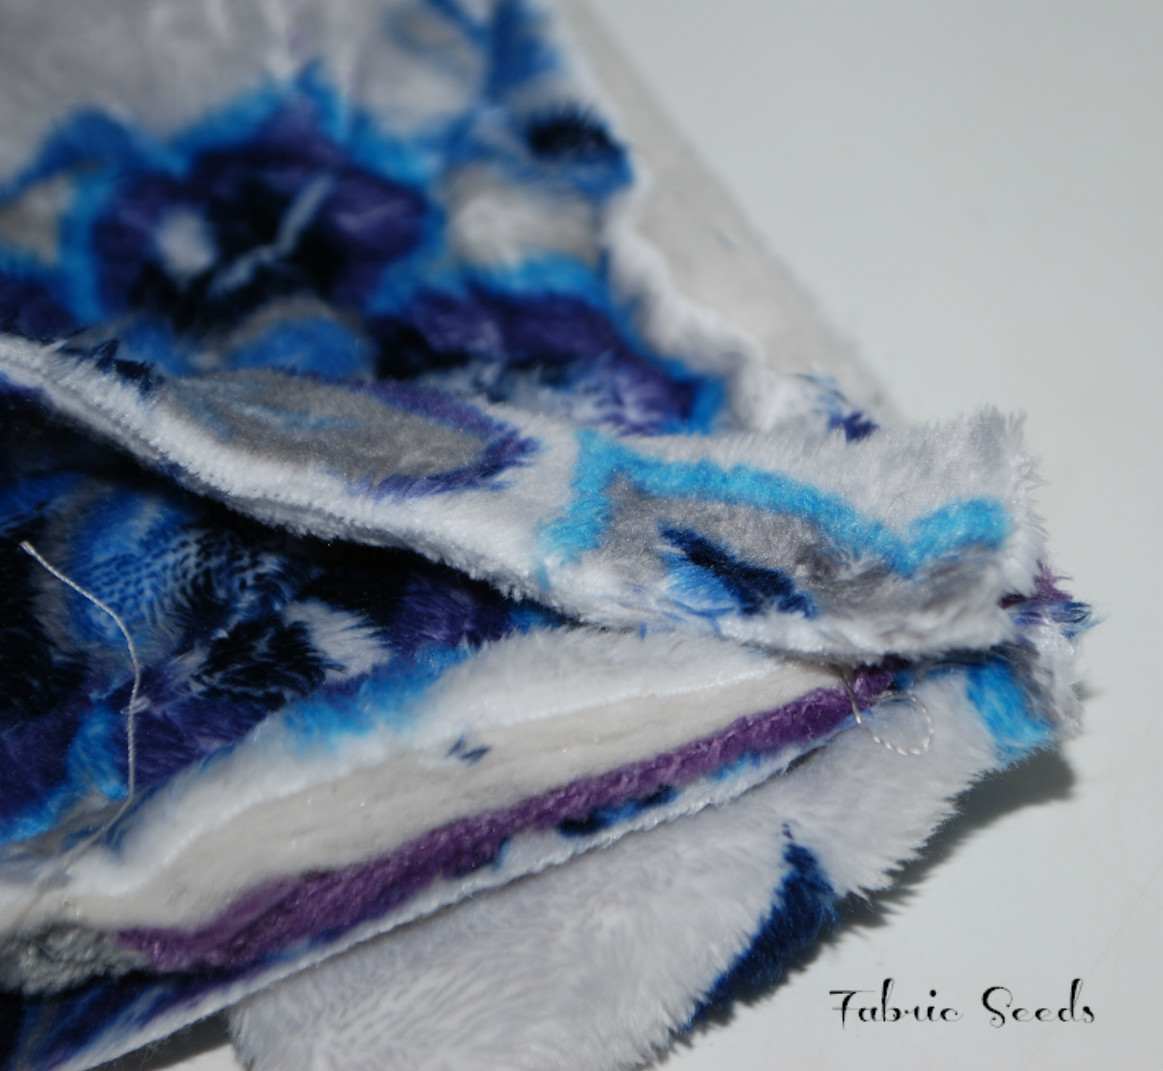
Fold the binding to the back and hand stitch in place. When you get to a corner with a strap, simply sew through the strap to help secure in place.
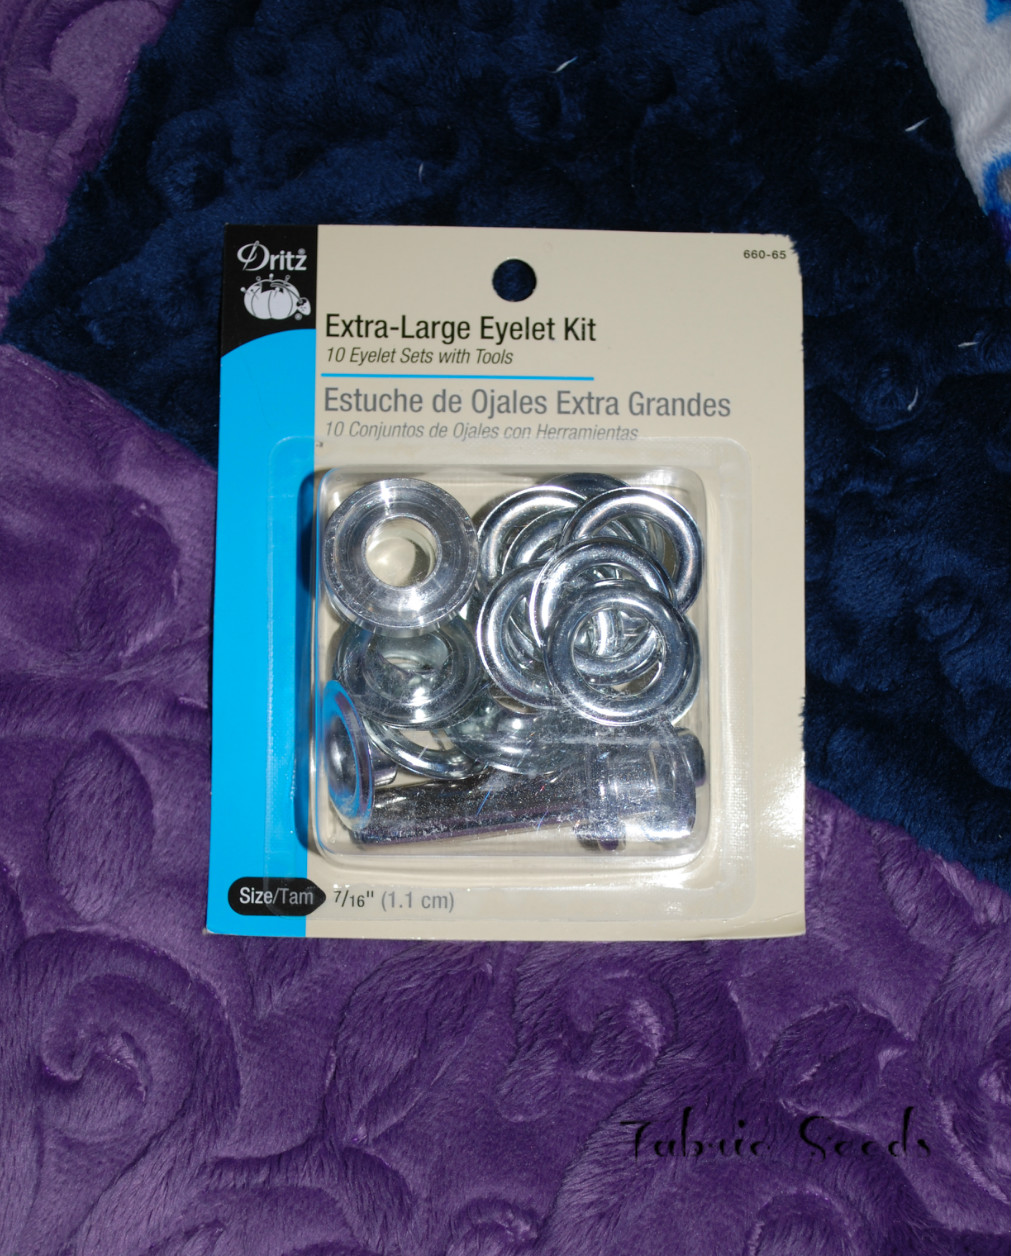
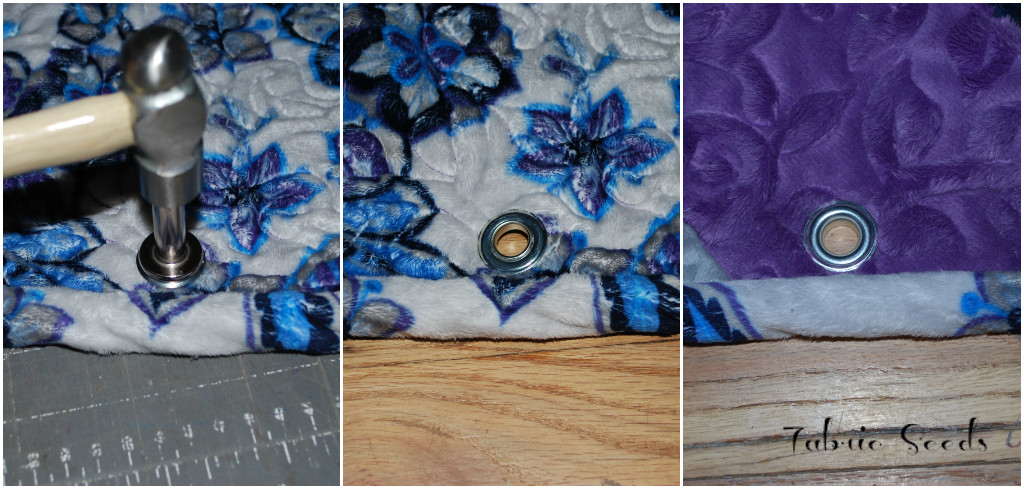
The last step is adding the grommets or eyelets. Originally, I was going to do grommets, but turned out the grommet pliers I had were for smaller grommets, and I didn't have the right size anvil & setter for them either. I ended up buying an eyelet kit. The directions are pretty simple. First, you need to mark where you want your eyelet to go. I measured mine just below the half way mark, at 15 1/2" inches from the bottom.
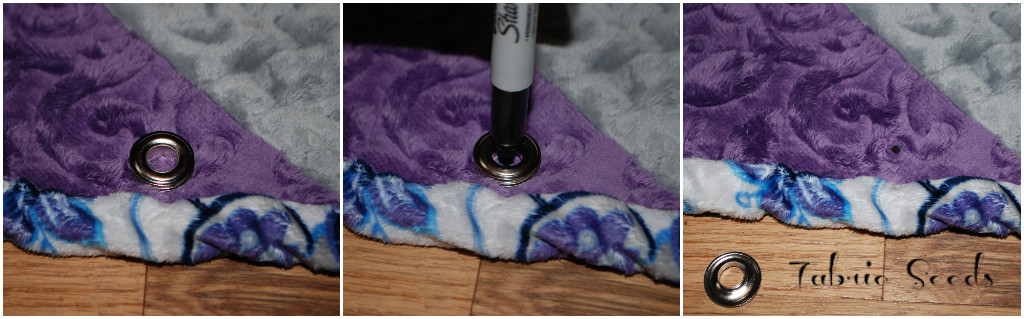
Cut a hole just big enough for your eyelet to go through, inserting from top to back. With the top side down, the eyelet will rest inside the anvil. Place the washer over the back side of the eyelet and place setter inside eyelet. Hammer fiercely in place.
And, you're done!
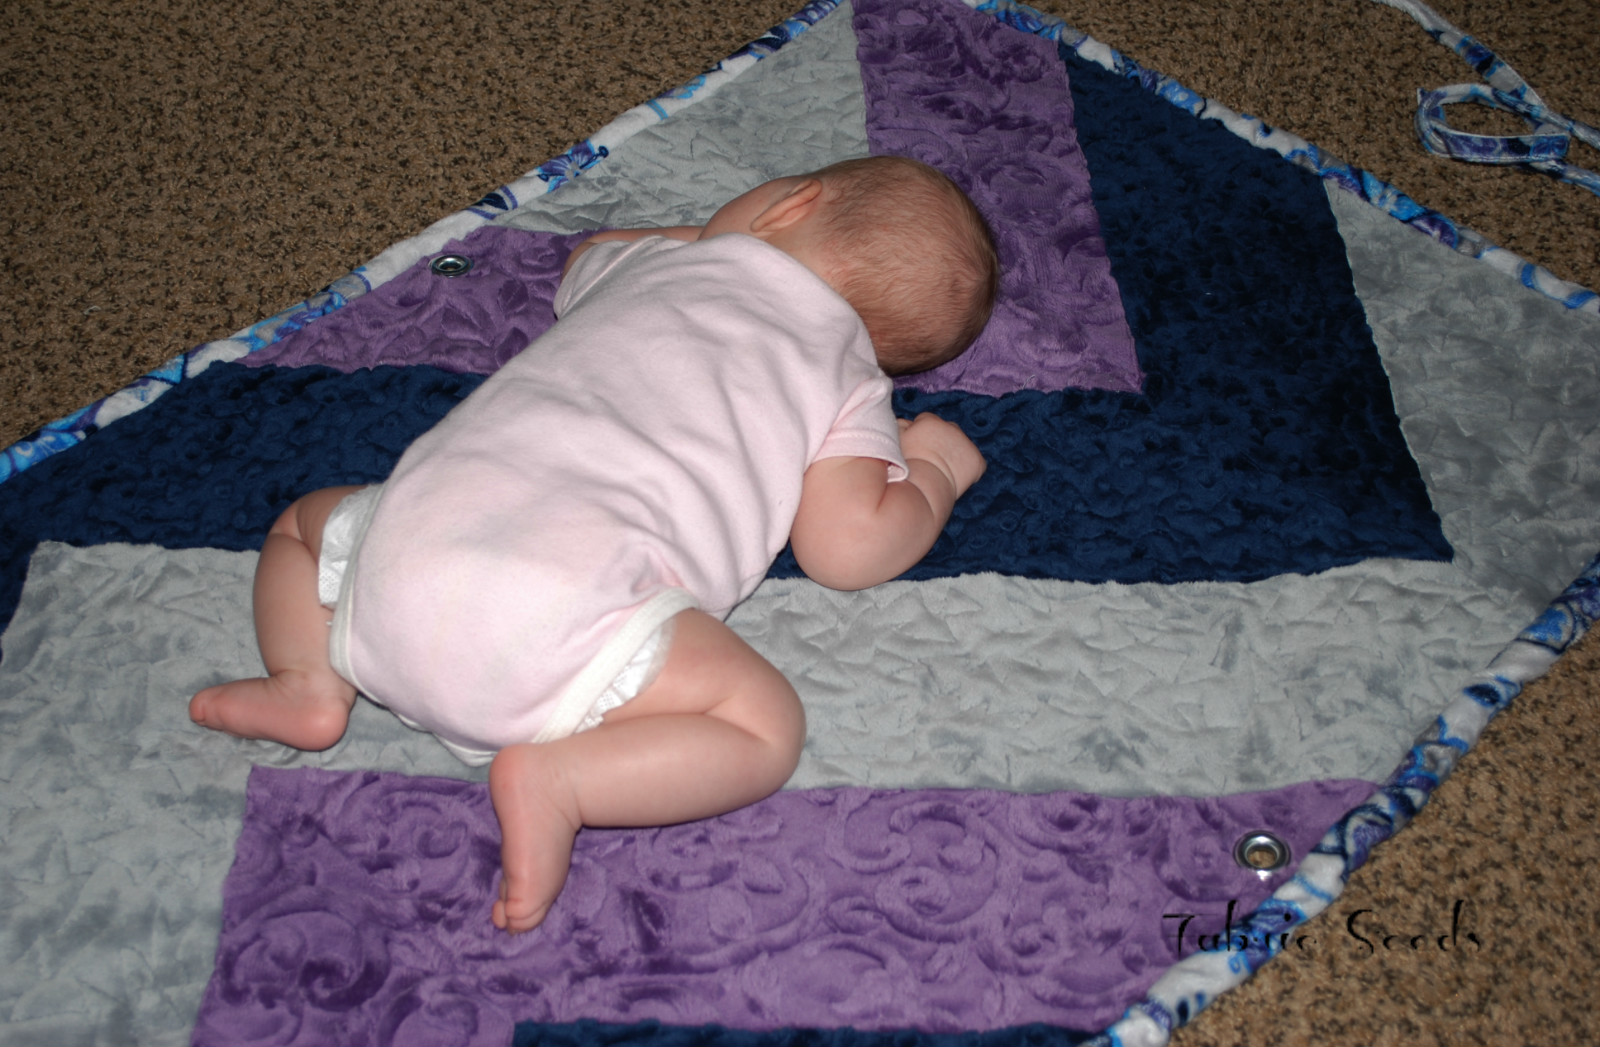
My little neighbor girl tested this out for me and loved it! She couldn't stop snuggling it!
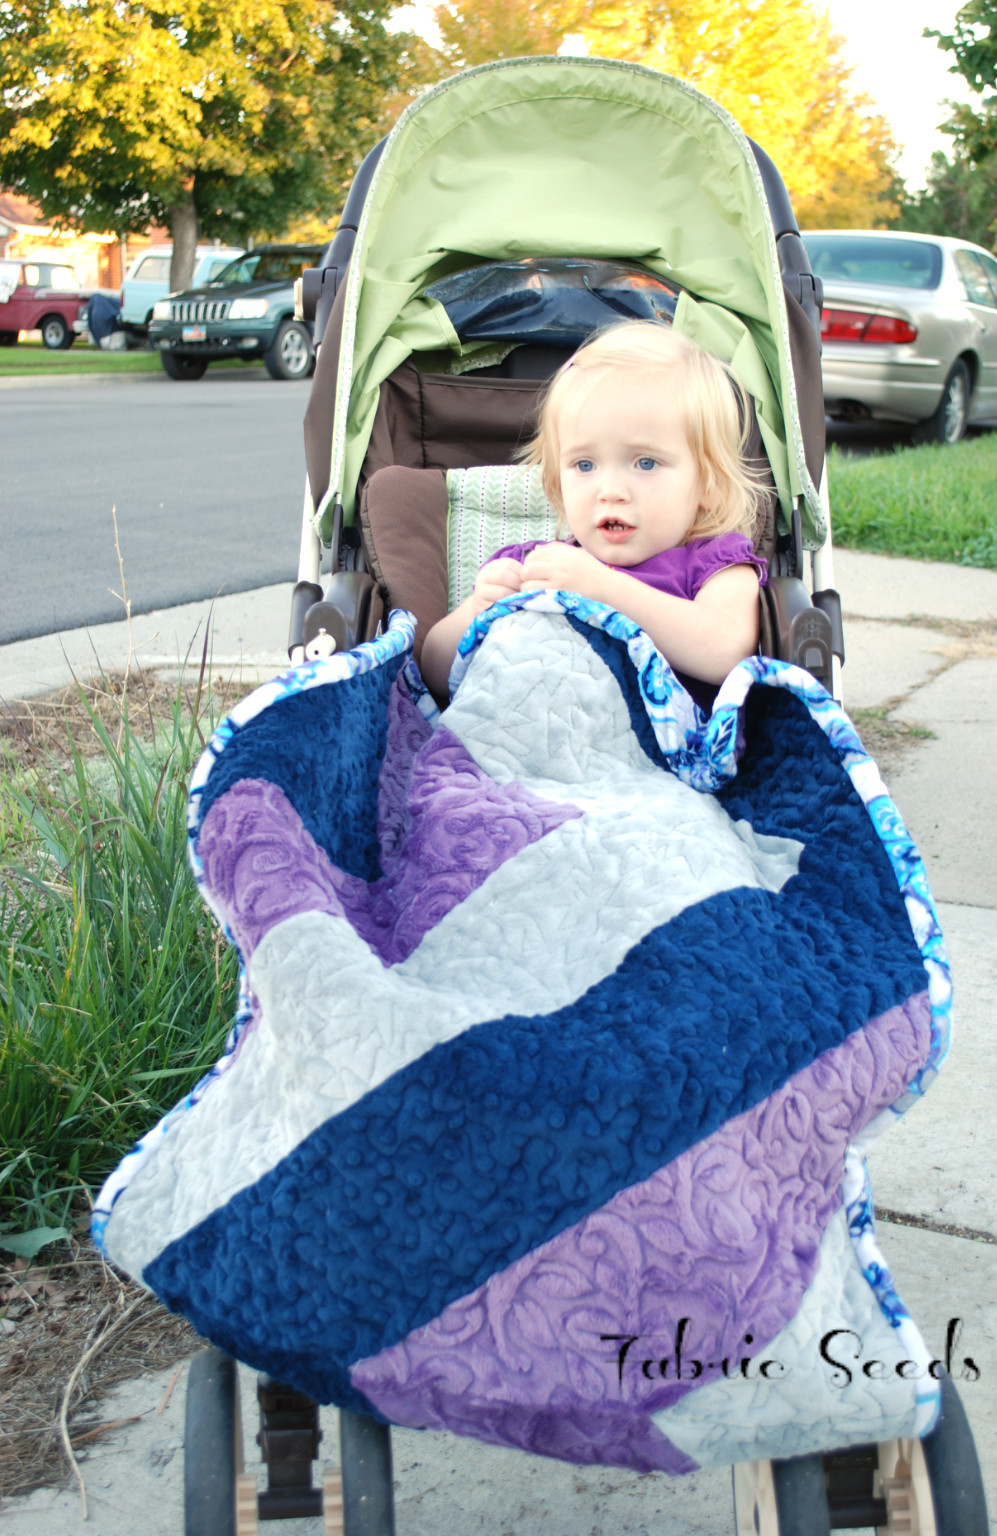
AND, this is not just a stroller quilt! This can also be used as a nursing cover for a quick cover up, or simply a play mat for the little one.
Many thanks to Shannon Fabrics for letting me share this tutorial with you.
Be sure to follow Shannon Fabrics on Facebook and subscribe to the Shannon Fabrics blog, so you won't miss out on any great tutorials!
You can also see what I am up to over on my blog, or follow me on Facebook.
Happy Sewing Y'all!


.jpeg?width=640&name=Image%20(5).jpeg)

-Dec-11-2025-10-58-46-1415-PM.png?width=640&name=Untitled%20design%20(3)-Dec-11-2025-10-58-46-1415-PM.png)


.png?width=640&name=SEW%20TOGETHER%20livestream%20promo%20images%20(4).png)
.jpg?width=640&name=gencoreA%20(1).jpg)
-Oct-06-2025-07-25-25-9749-PM.png?width=640&name=SEW%20TOGETHER%20livestream%20promo%20images%20(1)-Oct-06-2025-07-25-25-9749-PM.png)

-4.png?width=640&name=SEW%20TOGETHER%20livestream%20promo%20images%20(3)-4.png)


.jpg?width=640&name=spring%20tea%20party_049%20(1).jpg)


.png?width=640&name=12%20Days%20of%20Cuddle%C2%AE%20(8).png)
.png?width=640&name=12%20Days%20of%20Cuddle%C2%AE%20(3).png)
-2.png?width=640&name=12%20Days%20of%20Cuddle%C2%AE%20(2)-2.png)

-2.png?width=640&name=12%20Days%20of%20Cuddle%C2%AE%20(4)-2.png)
.png?width=640&name=12%20Days%20of%20Cuddle%C2%AE%20(7).png)
.png?width=640&name=12%20Days%20of%20Cuddle%C2%AE%20(2).png)
.png?width=640&name=12%20Days%20of%20Cuddle%C2%AE%20(6).png)


.jpg?width=640&name=P1400457-Edit%20(1).jpg)

.jpg?width=640&name=self%20binding%20blanket%20c3%20caramel%20Image%20from%20iOS%20(5).jpg)


Leave a Comment