Hello everyone. I'm Monika. Today I'm sharing a tutorial for a Cuddle Children's Pillow Mattress. I know you'll want to make one!
My love of sewing started a few years ago when I asked my husband for a sewing machine and sewing classes for Christmas (I ended up taking classes from Bia, another Blog contributor for Shannon Fabrics!). I have been sewing ever since! I especially love sewing unique things for my boys who are ages 2 and 4 (and my adorable models for this project). For anybody that has boys and sews, you will understand that there just isn’t much out there as far as sewing goes. One of the things I have made for them recently are these awesome pillow mattresses. I saw different versions of these mattresses on Pinterest, but none of the tutorials had measurements, so I decided to write up a tutorial with complete directions and measurements.
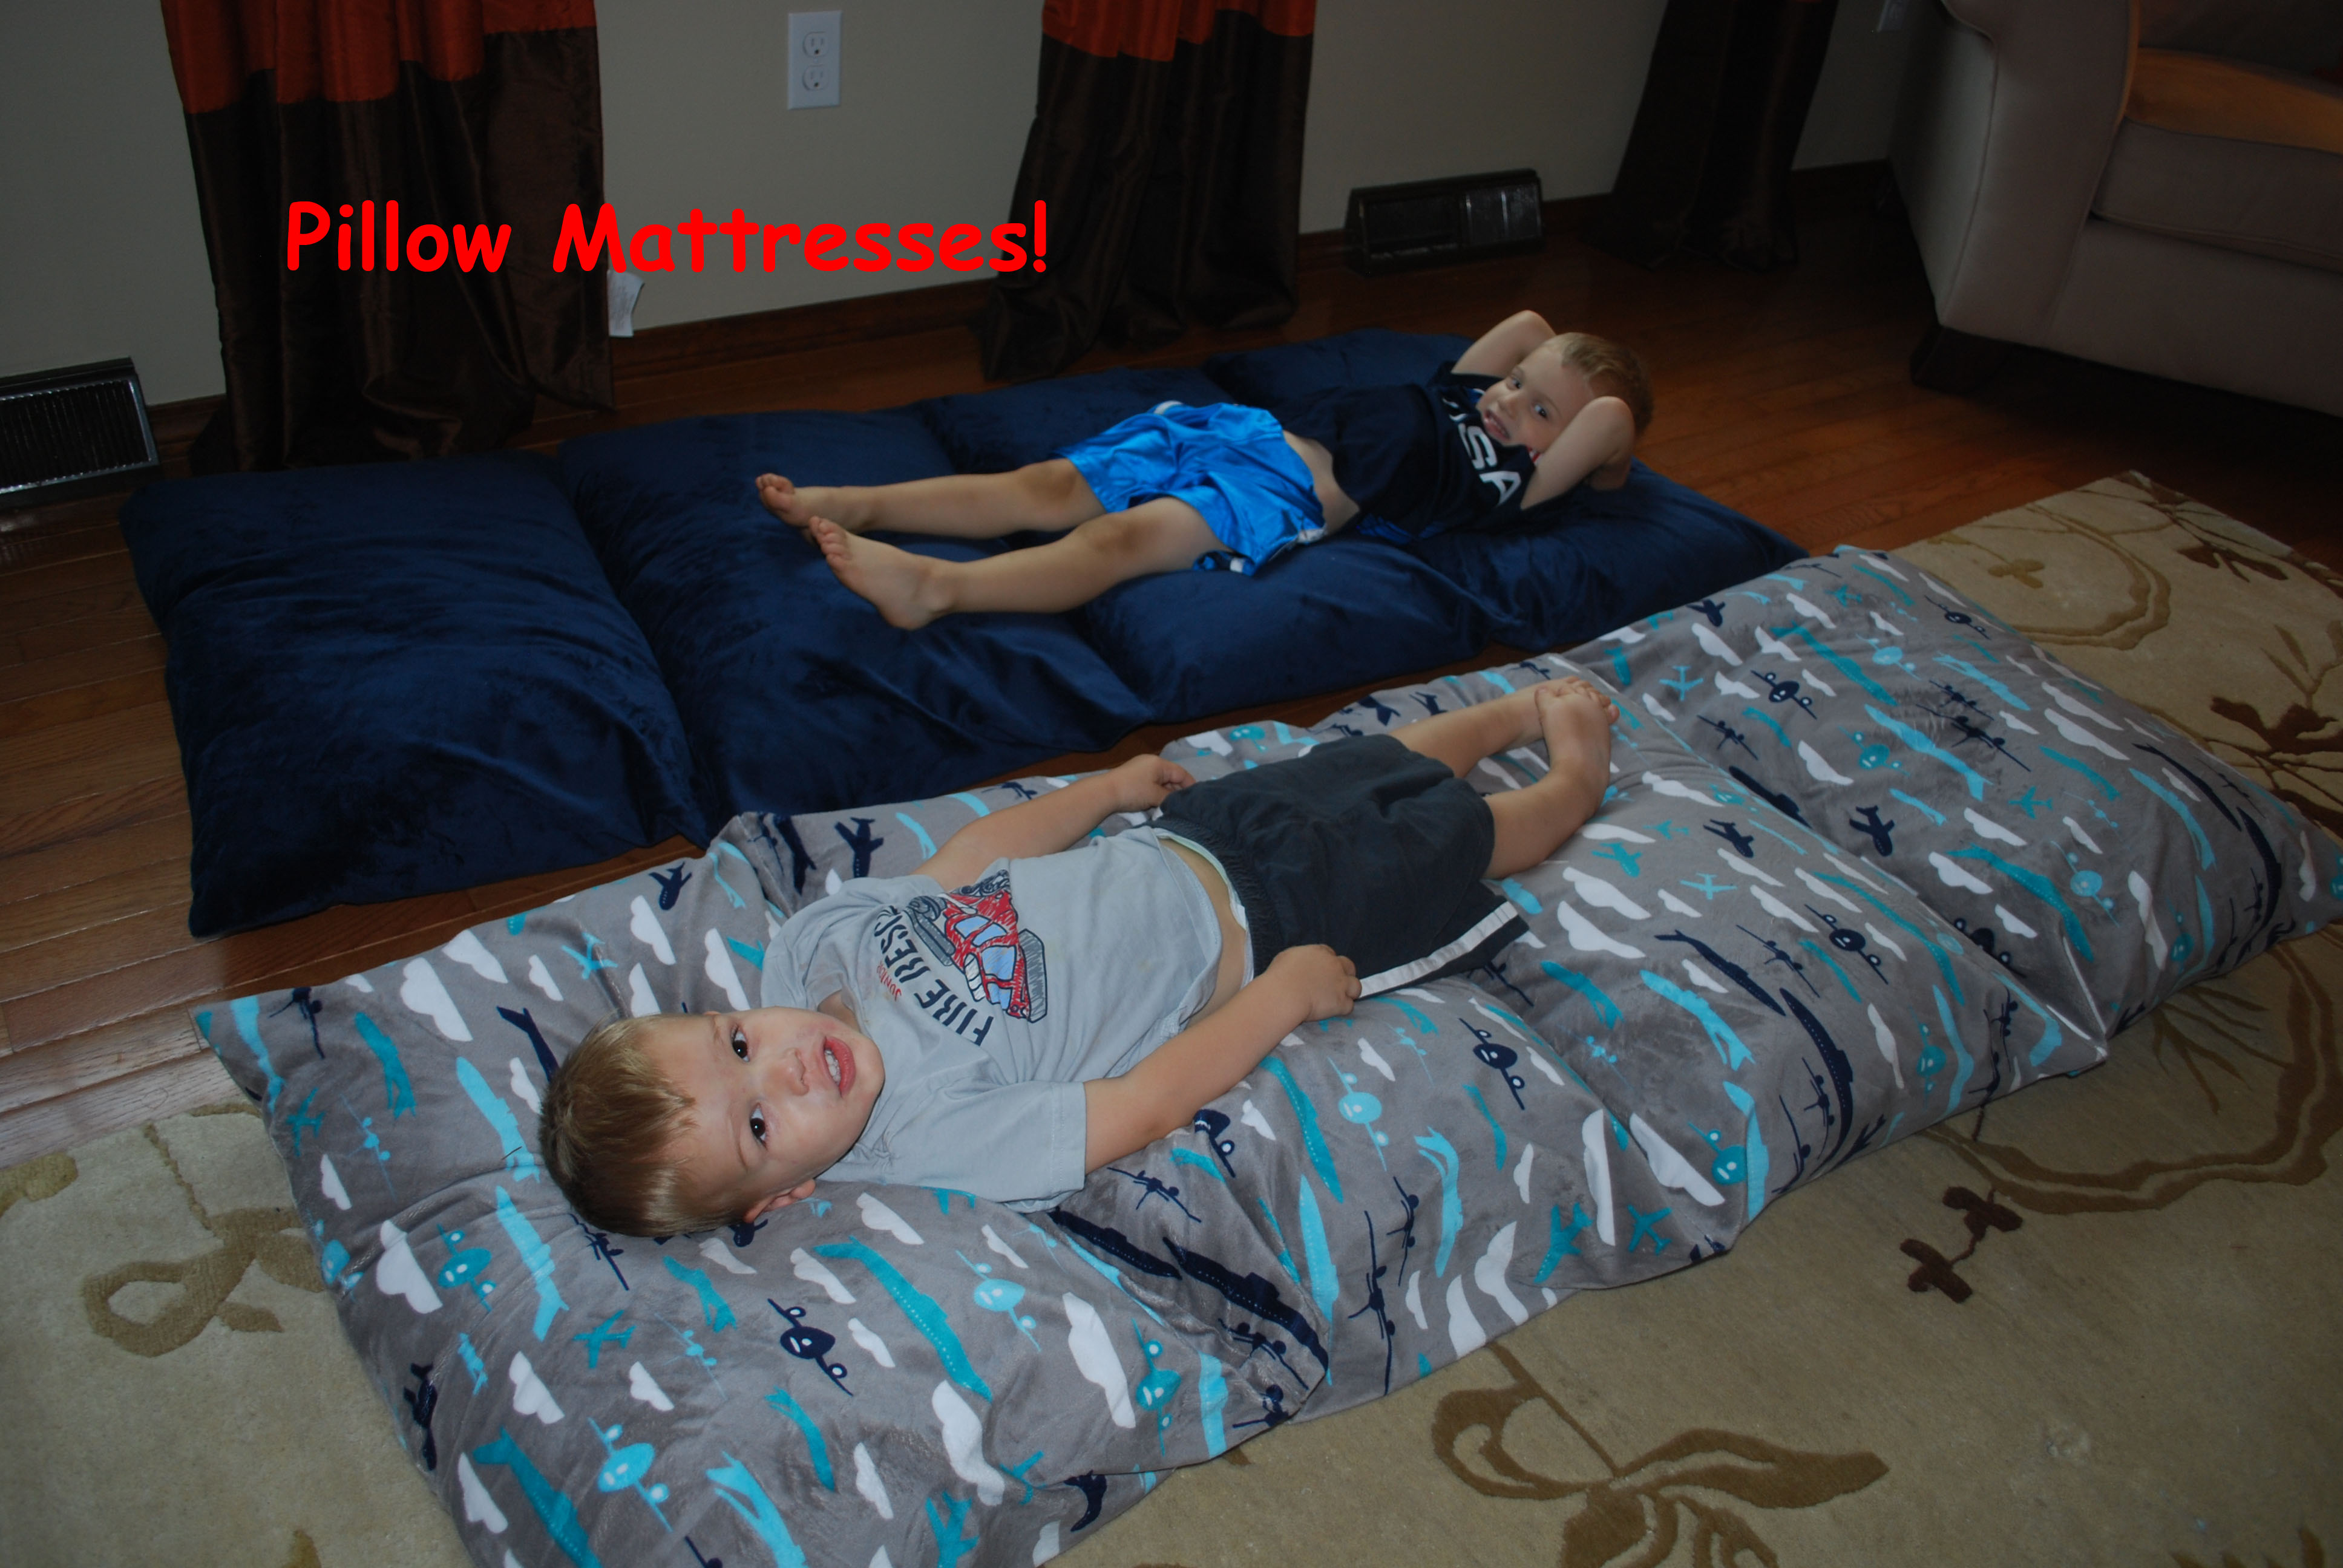
These mattresses are perfect for relaxing at home, but especially perfect for traveling. We take them with us when we stay in a hotel, because our boys prefer to sleep on these than anywhere else! They make awesome gifts because they are so unique and can be made for a boy or girl.
What is extra special about the pillow mattress is that they are made out of Shannon Fabric’s Cuddle Fabric. The fabric is so soft which makes sleeping on it super comfy. I wish that they made bigger pillows so I could make adult-sized ones!
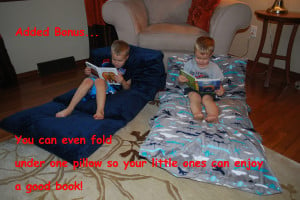
This pillow mattress is made for 4 pillows. I think that 4 pillows work really well, because it is long enough to sleep on even for older children and as you will see from the pictures, you can fold one of the pillows under which will prop their head up for reading or watching T.V. You can also adjust the length and make one with 5 pillows if you want your mattress to be longer.
Another awesome aspect of the pillow mattress is that the pillows can be taken out so that the mattress can be washed (we all know how messy kids can be!).
Supplies:
- 3 yards of Cuddle fabric
- Universal needle size 80/11
- Coordinating all-purpose thread (if you are using a patterned fabric, go with the main color)
These are the fabrics I used:
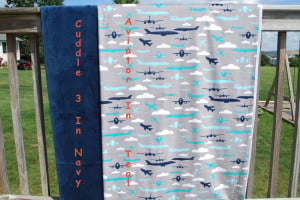
I used Aviator Teal, from Boy Toys by Prints & Patterns, a Robert Kaufman Cuddle Collection and Cuddle 3 Navy from the Kozy Cuddle Solids Collection.
Directions:
This project is very similar to making an envelope pillowcase. If you have ever made one of these, you will understand how simple this project is!
I made 2 of these pillows for this tutorial. Look how gorgeous the fabric is! My 2-year-old loves airplanes, so the Aviator fabric in teal was a perfect match!
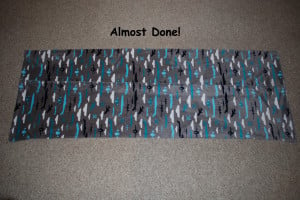
You will use the full width of the fabric (between 58 and 60 inches). Cuddle fabric comes in the perfect width for this project and you will have just enough and won’t have to cut anything width-wise!
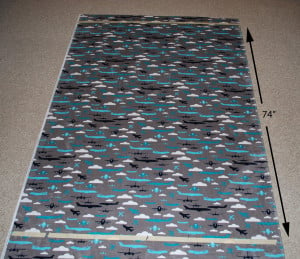
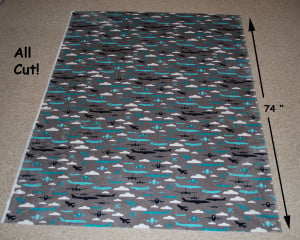
Cut your length to approximately 74 inches. I think that this is the most important step of the process, so make sure that you cut very evenly. If you are using a patterned fabric, this will be easy. For the first pillow mattress I made for this tutorial, I used the airplane fabric, so I picked part of the pattern that was close to 74 inches and used that as my line of reference. The other trick that helps with this fabric is to use masking tape. At 74 inches, I taped all the way across the width of the fabric. This makes it very easy to cut. Also, you will notice that Cuddle fabric sheds a little when you cut, and the masking tape will help to pick up the little fly-aways and prevent a mess to pick up afterwards.
Using a ½ inch seam allowance and a straight stitch, hem both sides of the fabric (lengthwise). You will want to pin a lot to prevent sliding.
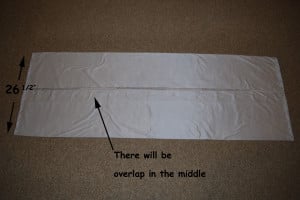
With fabric right side up, fold the fabric over on each side (lengthwise) so that the width is now 26 ½ inches. The fabric will overlap in the middle, which will be where you will insert the pillows in the end.
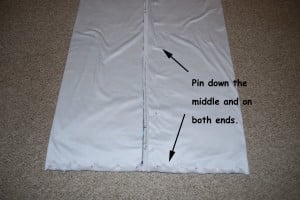
Now, pin down the middle and on both ends.
Using a ½ inch seam allowance, sew the ends only.
Take out the pins, and turn inside out so that the right side is on the outside.
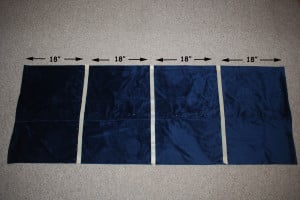
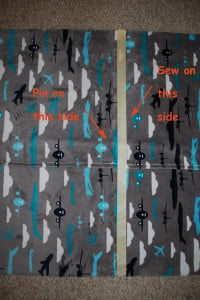
Your mattress should now be approximately 72 inches long, but it’s ok if you are off a little bit. Divide your length by 4 (mine ended up being 18 inches). Mark every 18 inches (again I used masking tape). You will have 3 lines. Pin on one side of the masking tape and sew on the other.
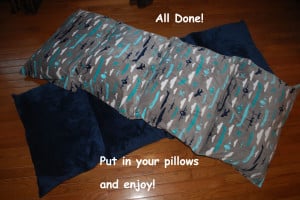
Insert 4 pillows and enjoy!
 I hope your boys enjoy this (...or your girls too). Be sure to follow Shannon Fabrics blog for more tutorials like this. Follow Shannon Fabrics My Cuddle Corner blog by email to keep informed of the latest posts! Click here to follow by email: Follow blog by email.
Thanks! Monika

%20-%20Copy%20copy.png?width=143&height=69&name=Black%20logo%20(002)%20-%20Copy%20copy.png)


-Dec-11-2025-10-58-46-1415-PM.png?width=640&name=Untitled%20design%20(3)-Dec-11-2025-10-58-46-1415-PM.png)


.png?width=640&name=SEW%20TOGETHER%20livestream%20promo%20images%20(4).png)
.jpg?width=640&name=gencoreA%20(1).jpg)
-Oct-06-2025-07-25-25-9749-PM.png?width=640&name=SEW%20TOGETHER%20livestream%20promo%20images%20(1)-Oct-06-2025-07-25-25-9749-PM.png)

-4.png?width=640&name=SEW%20TOGETHER%20livestream%20promo%20images%20(3)-4.png)


.jpg?width=640&name=spring%20tea%20party_049%20(1).jpg)


.png?width=640&name=12%20Days%20of%20Cuddle%C2%AE%20(8).png)
.png?width=640&name=12%20Days%20of%20Cuddle%C2%AE%20(3).png)
-2.png?width=640&name=12%20Days%20of%20Cuddle%C2%AE%20(2)-2.png)

-2.png?width=640&name=12%20Days%20of%20Cuddle%C2%AE%20(4)-2.png)
.png?width=640&name=12%20Days%20of%20Cuddle%C2%AE%20(7).png)
.png?width=640&name=12%20Days%20of%20Cuddle%C2%AE%20(2).png)
.png?width=640&name=12%20Days%20of%20Cuddle%C2%AE%20(6).png)


.jpg?width=640&name=P1400457-Edit%20(1).jpg)


Leave a Comment