Hello! This is Sarah from Bombshell Bling. I am excited to be here with you again today sharing another fun and fab Cuddle Fabric idea.
Please stop by my site for more sewing tutorials, recipes, and other tutorials and ideas. I used the FABULOUS Seuss cuddle for this project, but it can be made with ANY Cuddle Fabric, making it completely customizable!
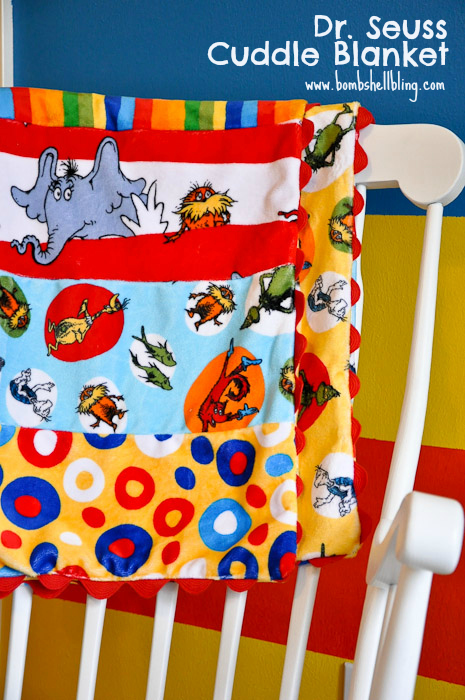
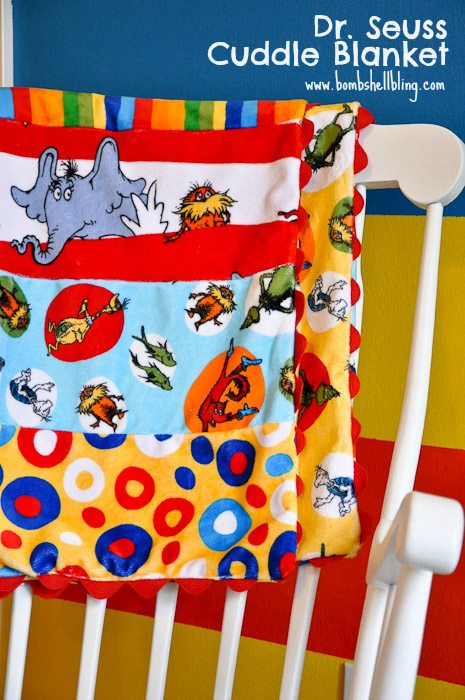
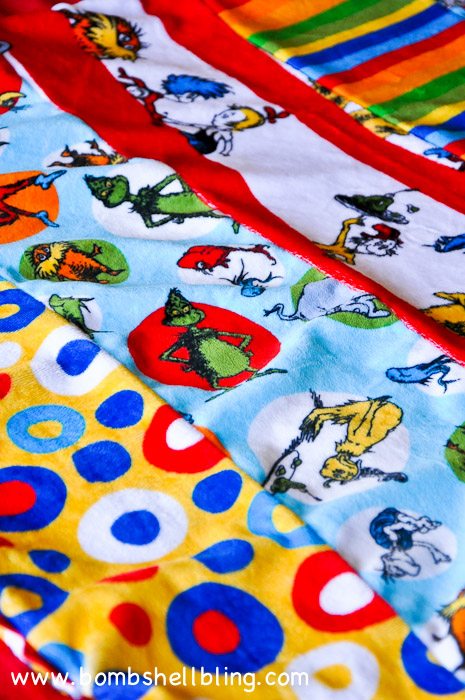
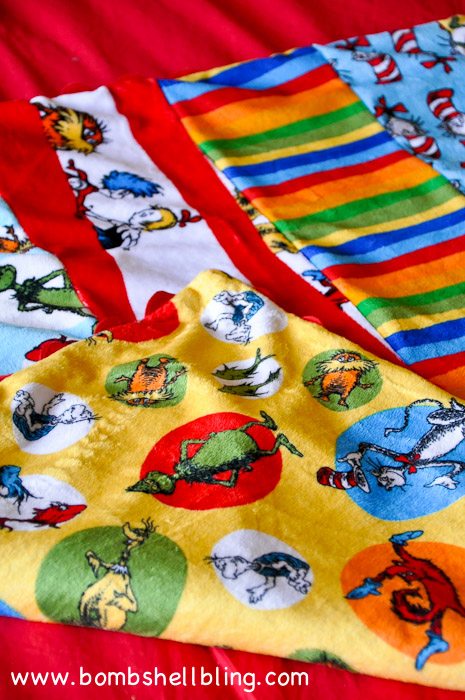
Recently two of my favorite women in the entire world had baby boys, and I knew those boys needed something extra special from Auntie (well, surrogate auntie for one of them) Sarah. Enter the Dr Seuss Cuddle Fabric line from Shannon Fabrics. After all, what could be better than an insanely soft Dr Seuss blanket?! Not much, my friends. Not much!
Let's take a look at how I created these. This tutorial can be done using ANY cuddle/minky fabrics, or even cotton! It is all straight lines and very straightforward. However, Cuddle Fabric is a bit tricky to work with because, as my son would say, it's "as slippery as an eel." BUT . . . it's worth it!! What baby doesn't want to snuggle their little body into a deliciously soft blanket? Just account for the slippery nature of the fabric by using loads of pins and sewing slowly and carefully. It is so SO worth it.
Now let's get started!
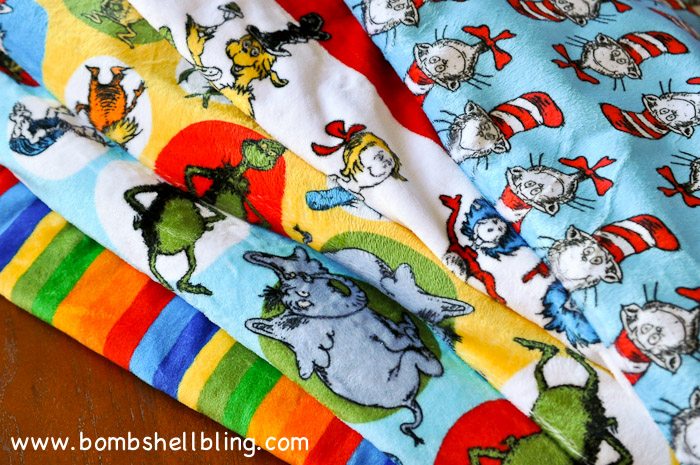
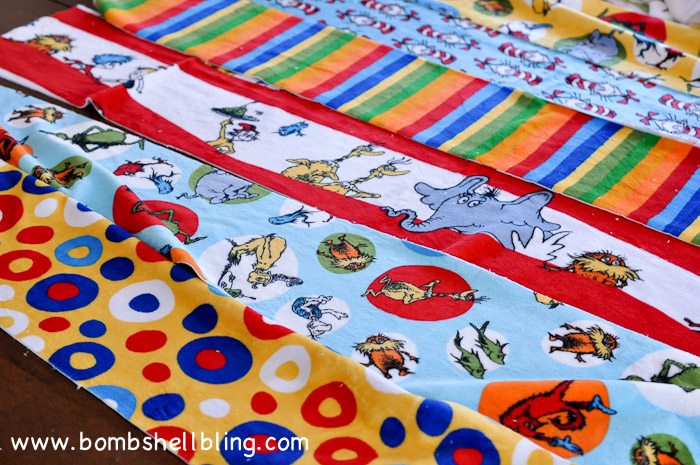
Here is my glorious stack of Dr Seuss Cuddle. Swoon. First cut your backing square. Lay the fabric out flat and fold it into a huge triangle. Cut along the triangle edge and unfold. It *should* be a square. I didn't take a picture of this step, sorry.
My blanket ended up being about 37 inches across when it was finished (you need to allow wiggle room for seams). In short, I think 1 1/2 yards for backing would be plenty, and then the equivalent of that much fabric plus extra seams for the front. I used six different patterns in strips that were 6 3/4" wide, so I needed a bit of each type of Seuss Cuddle, but if you used less fabric patterns you would just buy more fabric of each pattern that you did use. Do the math for precise measurements, or just order 1/2 yard of each if you stink at the planning and measuring part of sewing, like I do. Ugh. It's the worst! That and the cutting, of course.
You will also need about 4 1/2 yards of jumbo ric rac (I got mine at The Ribbon Retreat online) in order to make this blanket.
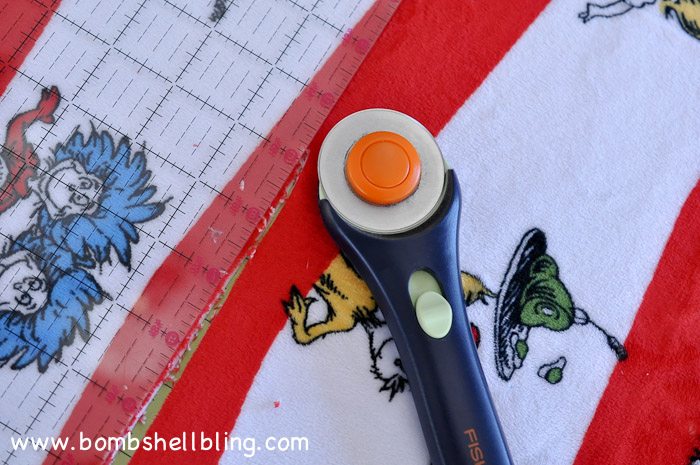
Cut six strips that are 6 3/4 inches wide. Prepare yourself for a mess, because cutting Cuddle is a messy affair. Lots of fibers flying. Use your sharpest scissors/rotary cutter. It's thick fabric.
Lay your strips on the table and rearrange the order until they are the way that you like them.
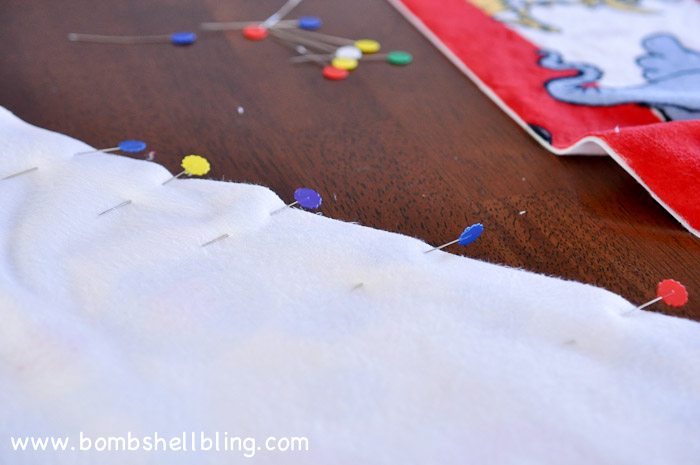
Lay one of the strips on top of the strip next to it, right sides together, and carefully pin one of the sides together.
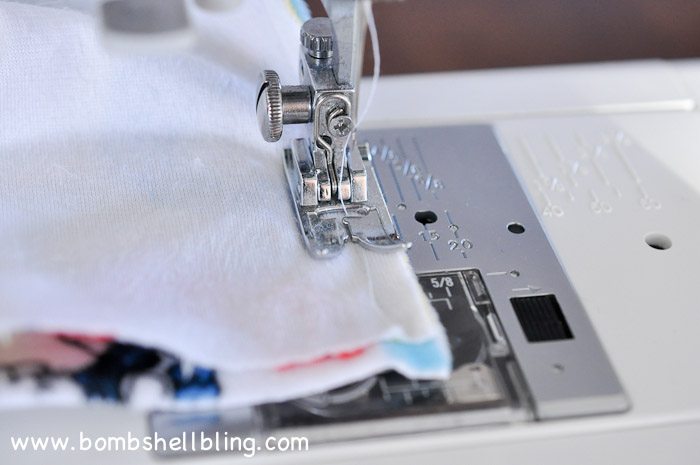
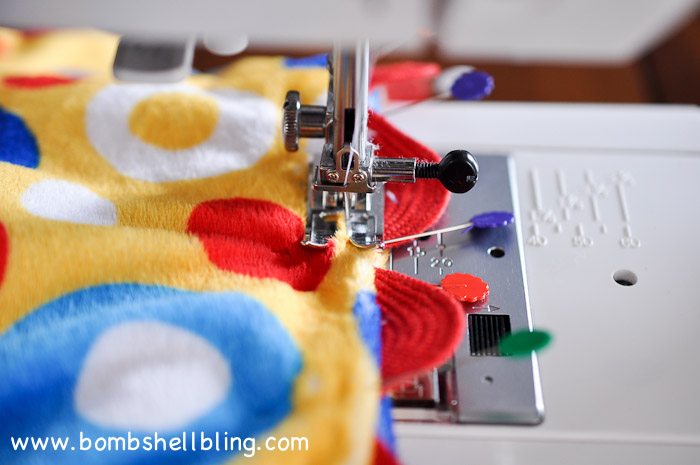
Sew carefully. (I used a 3/8 inch seam allowance.)
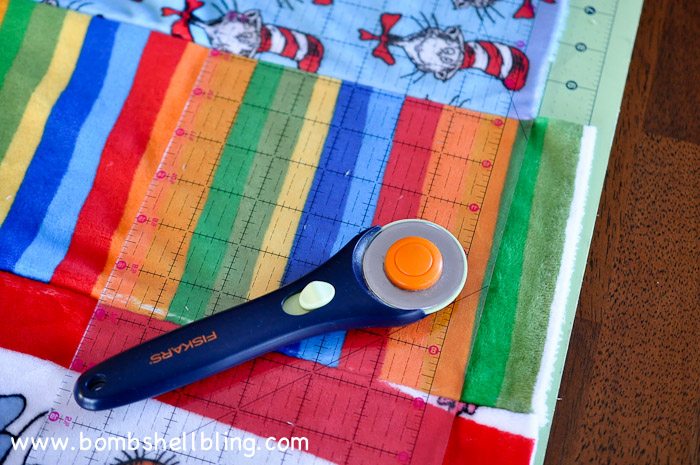
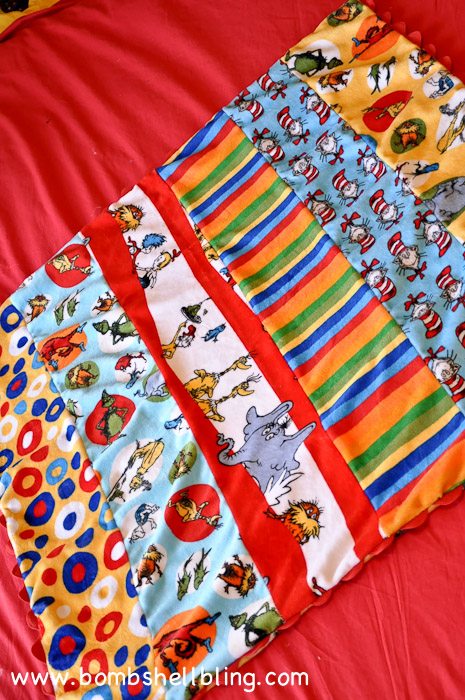
Open up the two strips. They are now attached, so you will repeat this process of sewing up the side with the next strip, as shown. Repeat over and over until the top of your blanket is finished.
Because of imperfect cutting and the stretchy nature of this fabric, my strips were not all perfectly the same length. Once I had finished sewing them all together I used my rotary cutter to trim around the square and make the edges even.
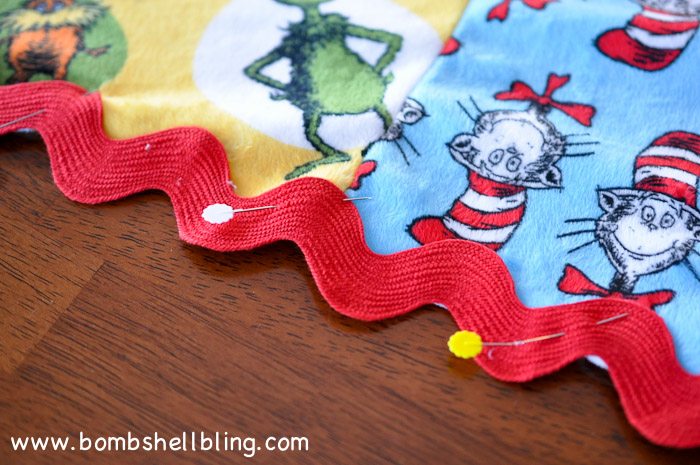
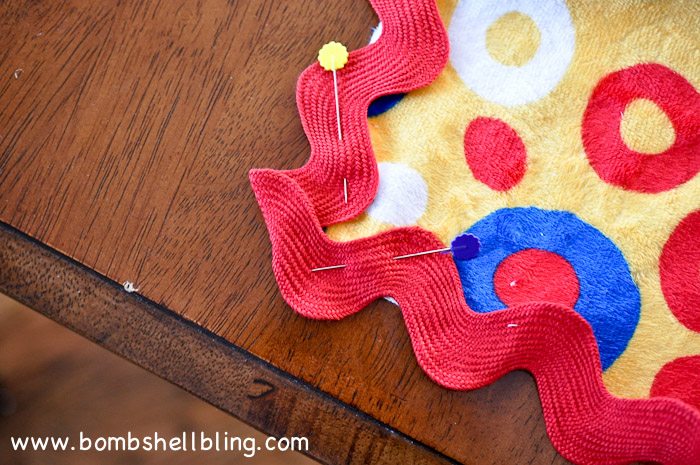
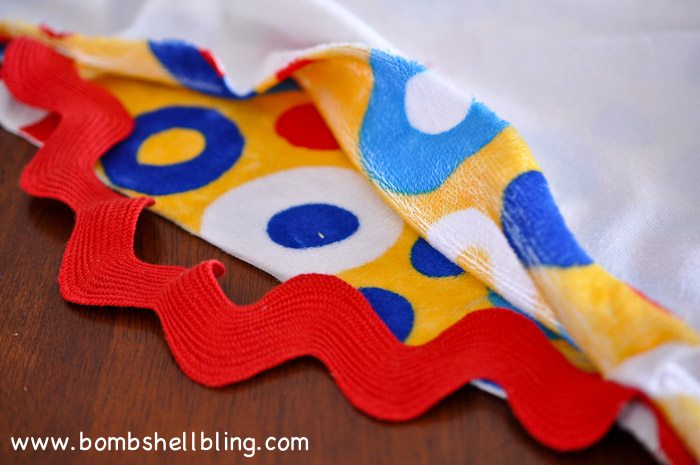
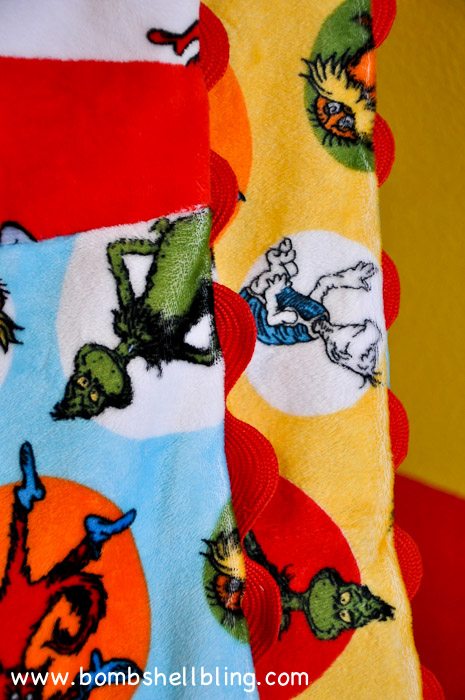
Now you lay the jumbo ric rac out all around the outside of the front of the quilt and carefully pin it in place. You can see how I dealt with the corners in the picture above.
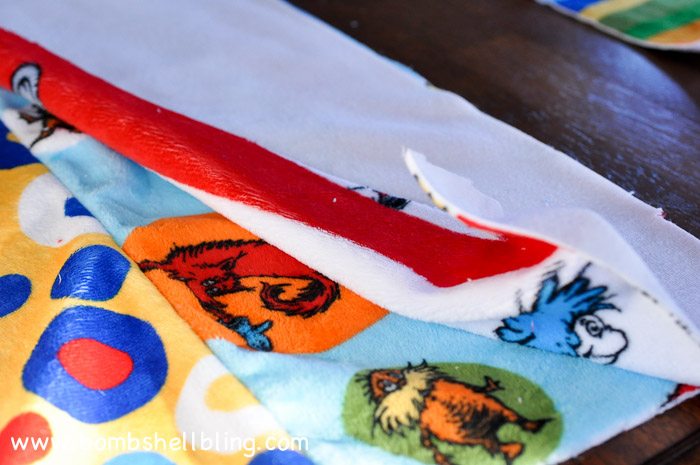
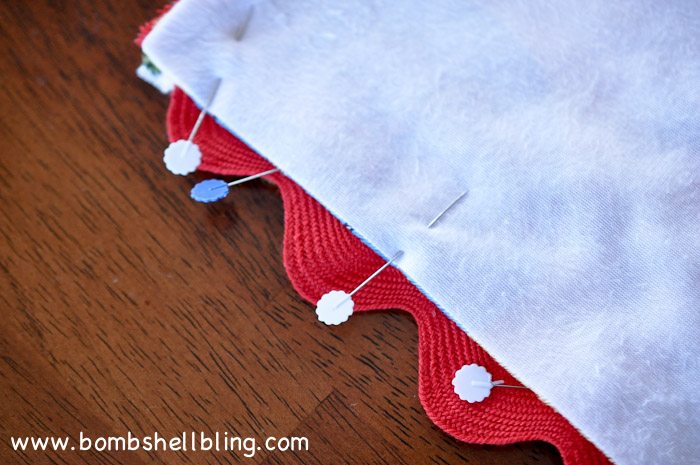
Lay the backing piece of fabric on top of the pieced front, right sides together, and pin around the sides. Now slowly and carefully sew around the side. BE SURE TO LEAVE A SPACE OPEN SO THAT YOU CAN TURN THE BLANKET RIGHT SIDES OUT, as shown below!
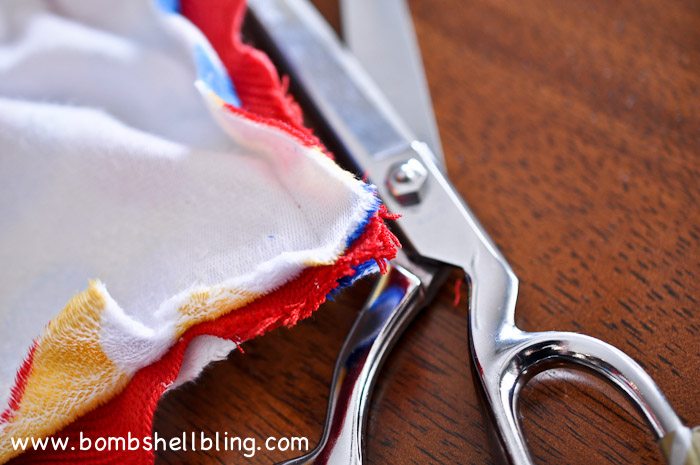
Prior to turning the blanket right sides out, trim along the sides of the blanket and the ric rac to remove excess fabric, especially on the corners.
Time to turn the blanket right sides out!
Remove the pins and carefully pull the blanket out through the open space.
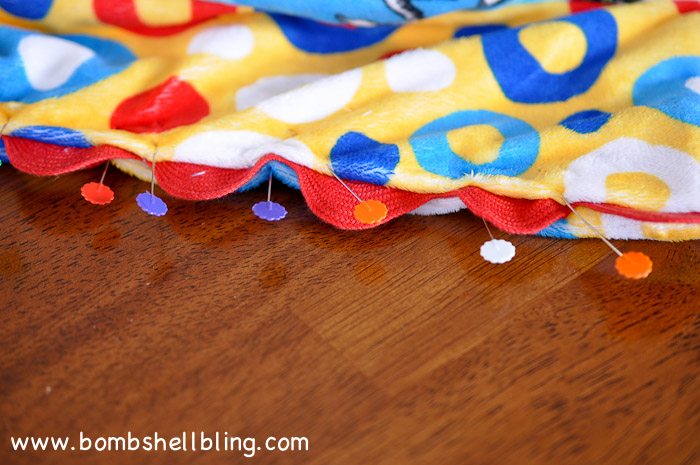
Close the open gap in the blanket by tucking the edges under and pinning in place, as shown above.
Slowly and carefully sew the opening shut, staying close to the edge of the blanket.
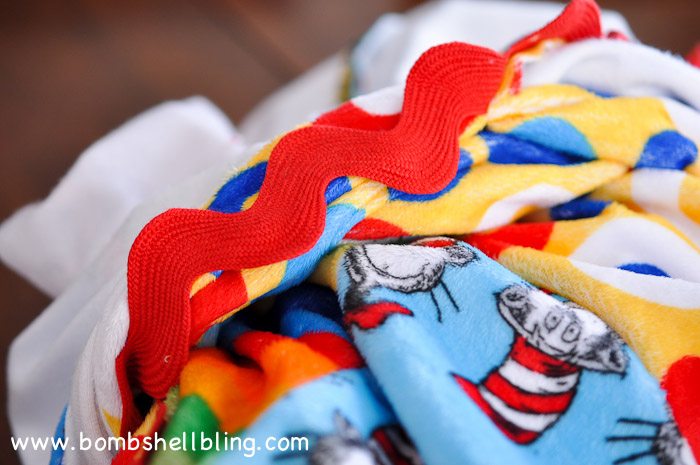
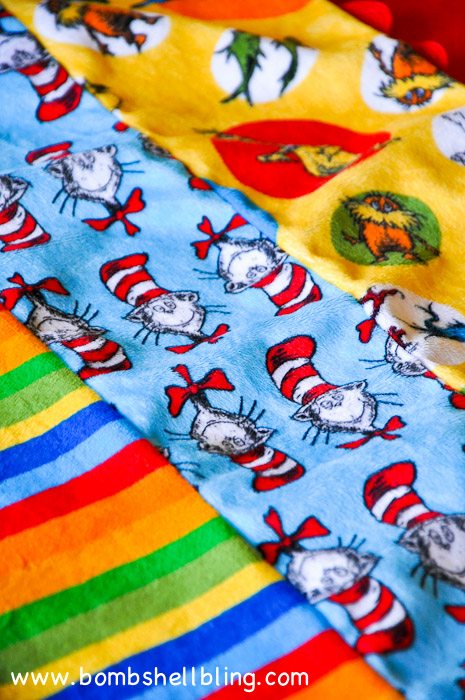
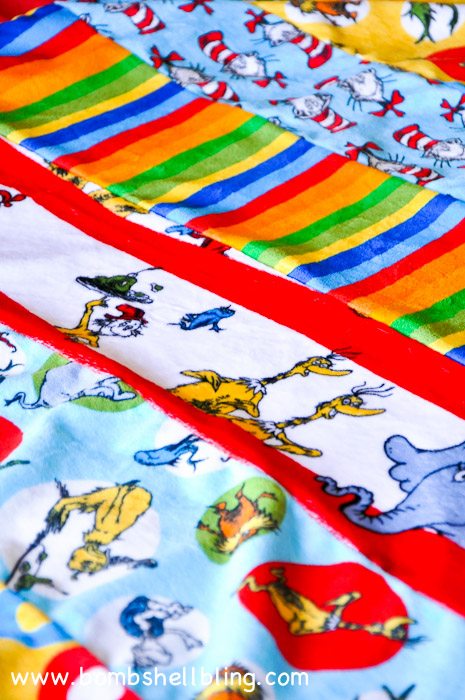
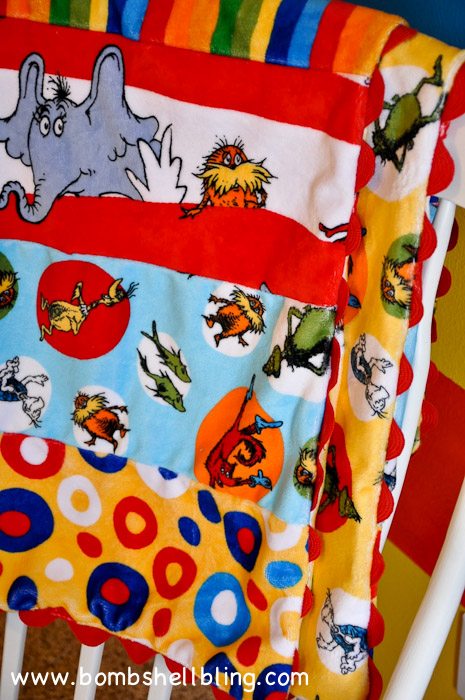
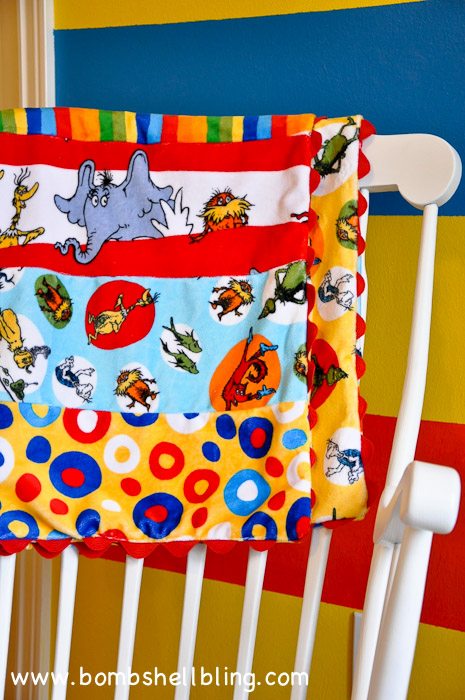
ALL DONE! Let's take a closer look at this cute fabric.
How fun is that, right?! Please let me know if you decide to make this blanket, or something similar using this tutorial, for a baby that you love!
Have a Dr. Seuss-y day!

%20-%20Copy%20copy.png?width=143&height=69&name=Black%20logo%20(002)%20-%20Copy%20copy.png)


-Dec-11-2025-10-58-46-1415-PM.png?width=640&name=Untitled%20design%20(3)-Dec-11-2025-10-58-46-1415-PM.png)


.png?width=640&name=SEW%20TOGETHER%20livestream%20promo%20images%20(4).png)
.jpg?width=640&name=gencoreA%20(1).jpg)
-Oct-06-2025-07-25-25-9749-PM.png?width=640&name=SEW%20TOGETHER%20livestream%20promo%20images%20(1)-Oct-06-2025-07-25-25-9749-PM.png)

-4.png?width=640&name=SEW%20TOGETHER%20livestream%20promo%20images%20(3)-4.png)


.jpg?width=640&name=spring%20tea%20party_049%20(1).jpg)


.png?width=640&name=12%20Days%20of%20Cuddle%C2%AE%20(8).png)
.png?width=640&name=12%20Days%20of%20Cuddle%C2%AE%20(3).png)
-2.png?width=640&name=12%20Days%20of%20Cuddle%C2%AE%20(2)-2.png)

-2.png?width=640&name=12%20Days%20of%20Cuddle%C2%AE%20(4)-2.png)
.png?width=640&name=12%20Days%20of%20Cuddle%C2%AE%20(7).png)
.png?width=640&name=12%20Days%20of%20Cuddle%C2%AE%20(2).png)
.png?width=640&name=12%20Days%20of%20Cuddle%C2%AE%20(6).png)


.jpg?width=640&name=P1400457-Edit%20(1).jpg)


Leave a Comment