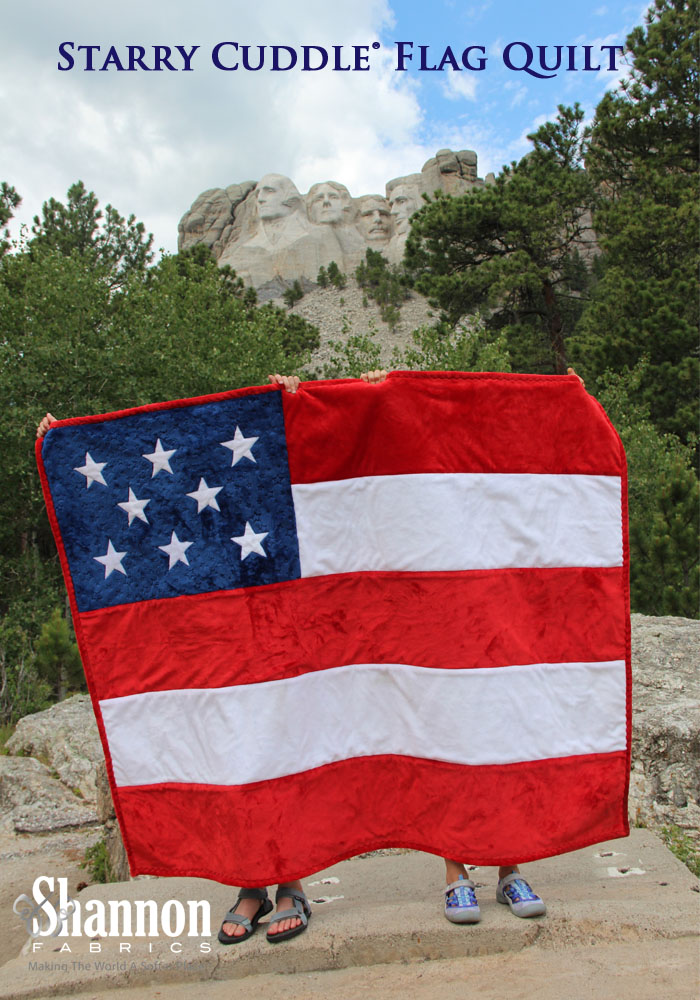
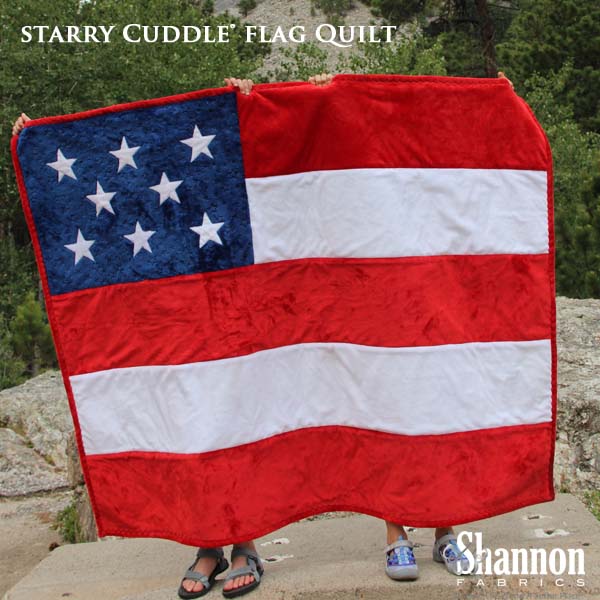
Hello! I’m Emilee, a Shannon Fabrics Sales Rep and Brand Ambassador, and I'm back with the perfect quilt for the 4th of July! This Quilt As You Go QAYG Cuddle® minky American Flag is fast, fun, and much easier than it looks!
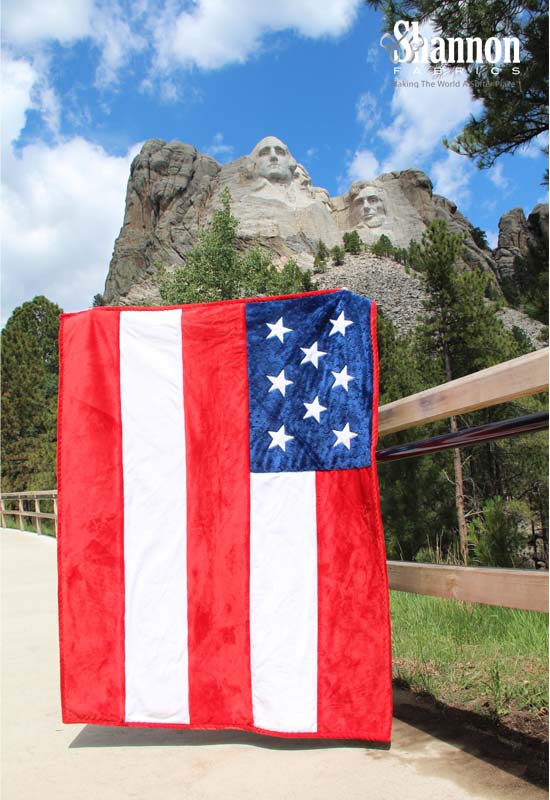
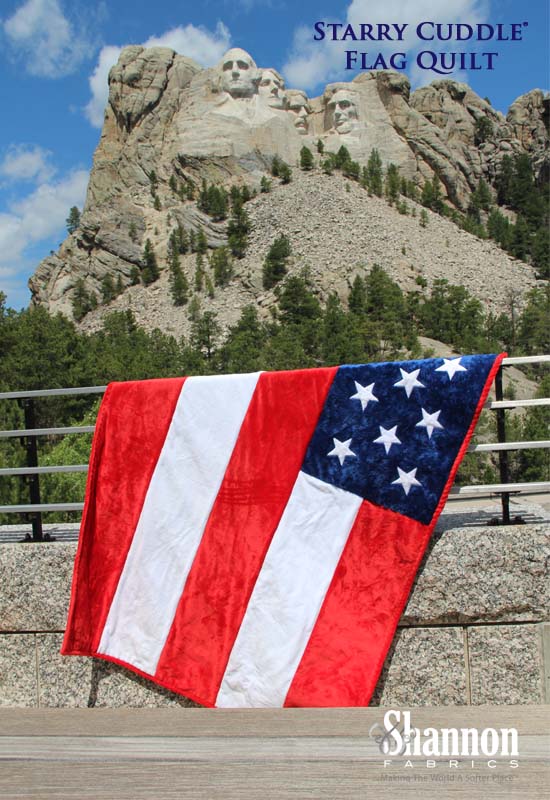
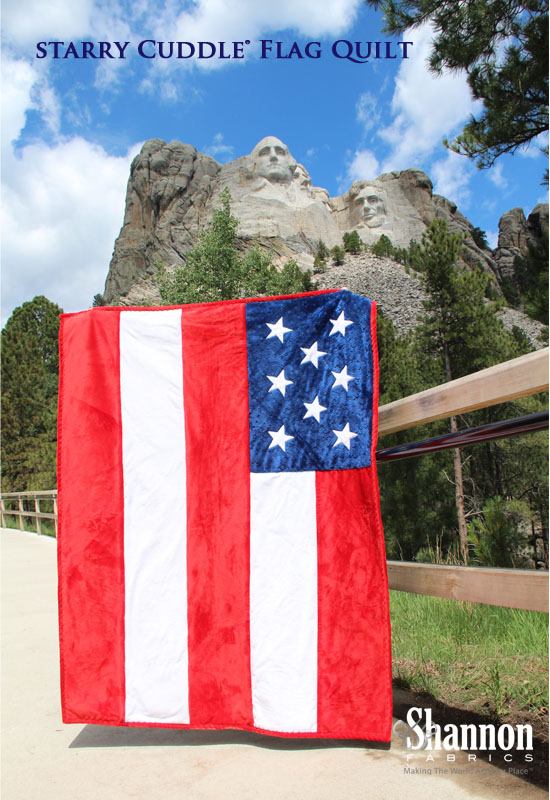
My family took a trip to see Mount Rushmore National Memorial and wow is it amazing! It's a massive sculpture carved into Mount Rushmore in the Black Hills region of South Dakota. We had a great trip and we brought the quilt along for fun.
One note of caution before you start. Red Cuddle® can run so please wash it separately first.
Shannon Fabrics has lots of great tip sheets available! We are basically going to follow the sew and flip method, applique, and binding technique sheets.
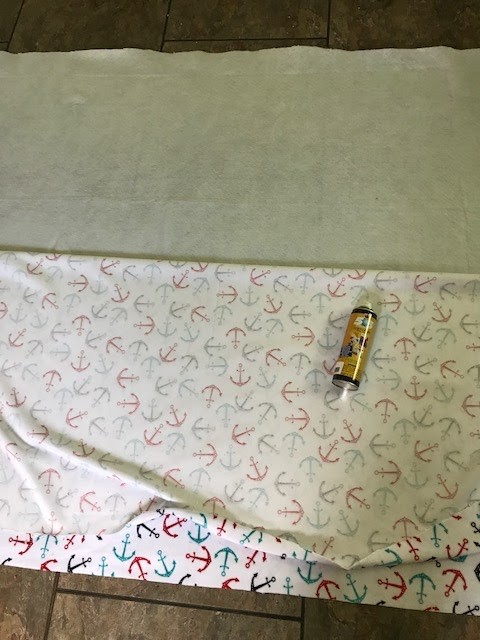
Start by preparing your backing and batting by basting them together with 505® Temporary Adhesive basting spray. I prefer to lay my batting down first and the layer the Cuddle® on top. I always pay attention to the nap. I pull the Cuddle® ½ way back and start in the middle. I work in sections till I reach the edge and then do the other side.
Your backing will be slightly smaller than the batting (54 x 60). I recommend cutting the extra batting away with scissors. 54 is the length and 60 is the width when looking at the flag. The 10 strips will run selvage to selvage--the 60 inch width.
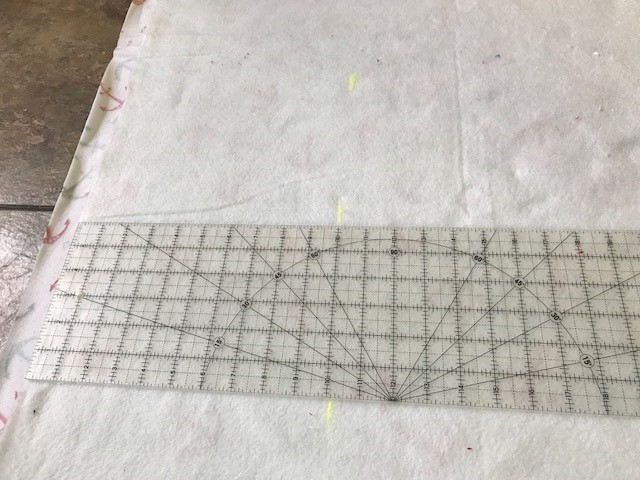
Now flip it over so that the batting is on top. Using a large ruler and the Frixon highlighter mark 10 inches down from the top of the batting (remember 60 is the width).
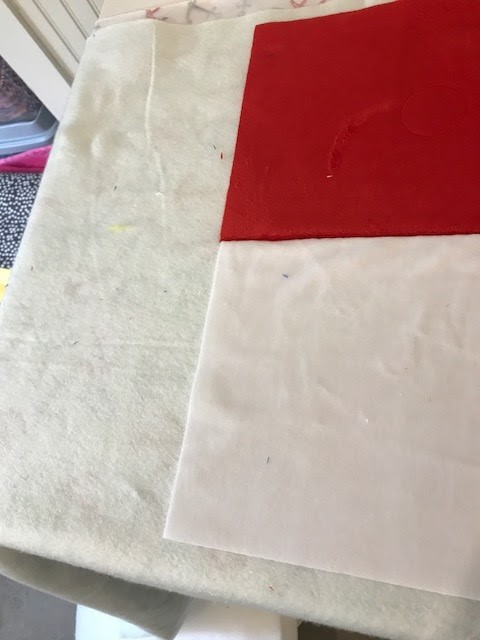
Grab the scarlet and the white 10 strip with the 18 inches cut off. Starting at the RIGHT edge of the batting lay the white strip right side up below the line you have drawn. Use a little bit of 505® to hold it once you are happy with the position. Layer the scarlet strip right sides together on top. Pin well along the edge you highlighted. Sew with a ½ inch seam allowance. Flip the scarlet strip up. Use a little basting spray to hold it once you are happy with the placement.
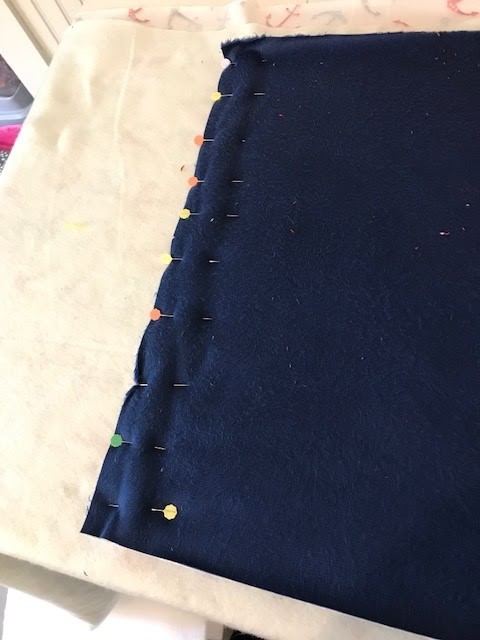
Now grab your midnight blue piece cut to 19 x 26. Place it on top of the scarlet and white strips with right sides together. Pin the left edge and sew with a ½ inch seam allowance. It is a good idea to backstitch at the bottom of the white strip.
Once sewn, flip the midnight blue strip to the left. Once you are happy with the position, use a bit of 505® basting spray to hold it in place.
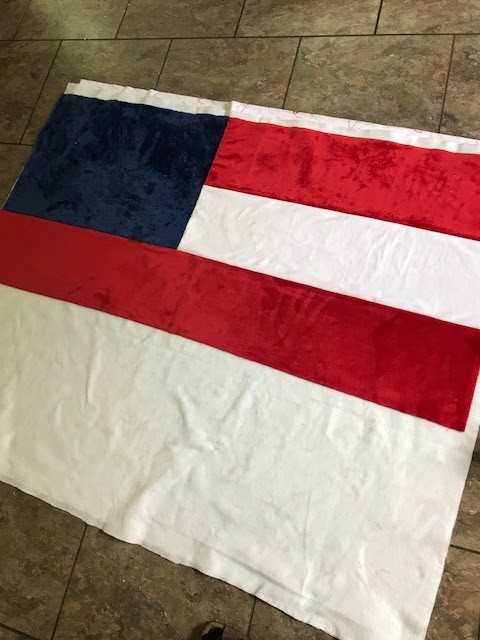
Now you are ready to add the last 3 strips! Using a scarlet strip next, layer and pin the edge. Sew, flip and smooth.
Next add the last white strip in the same manner and then finish with the scarlet strip.
Trim the quilt. I found using my 12 inch square ruler and going slowly worked best for keeping the strips nice and even.
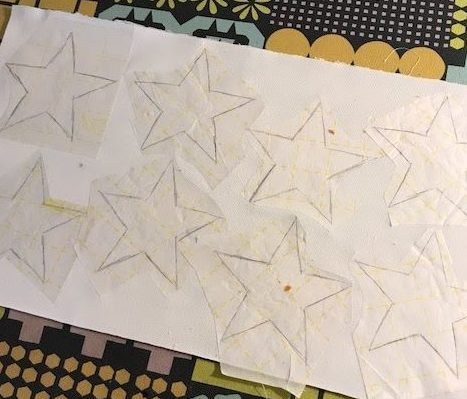
Now to add the stars! Trace 8 of the stars onto the Steam-A-Seam. Fuse them to the 18 inch piece of white cut of the strip. You will also have a bit of yard left if you need more. Make sure to use an applique pressing sheet so you don’t melt the fabric.
Cut out your stars using sharp applique scissors. I like to do this right over a small trash can. Once I have the shapes cut out, I find it is helpful to run my fingers around the edge of the shapes and remove any extra fibers from them.
Place your stars on the quilt and decide on a layout prior to setting them with heat. Once you have pressed them down, use a zig zag or blanket stitch to go around them. I prefer a “smallish” zig zag, but do whatever works best for you and your machine. Applique with Cuddle® is so forgiving and most of the stitching will just disappear into the Cuddle® nap.
Once you have sewn down all of your stars you are ready to bind. The Shannon Fabrics binding tip sheet is awesome!
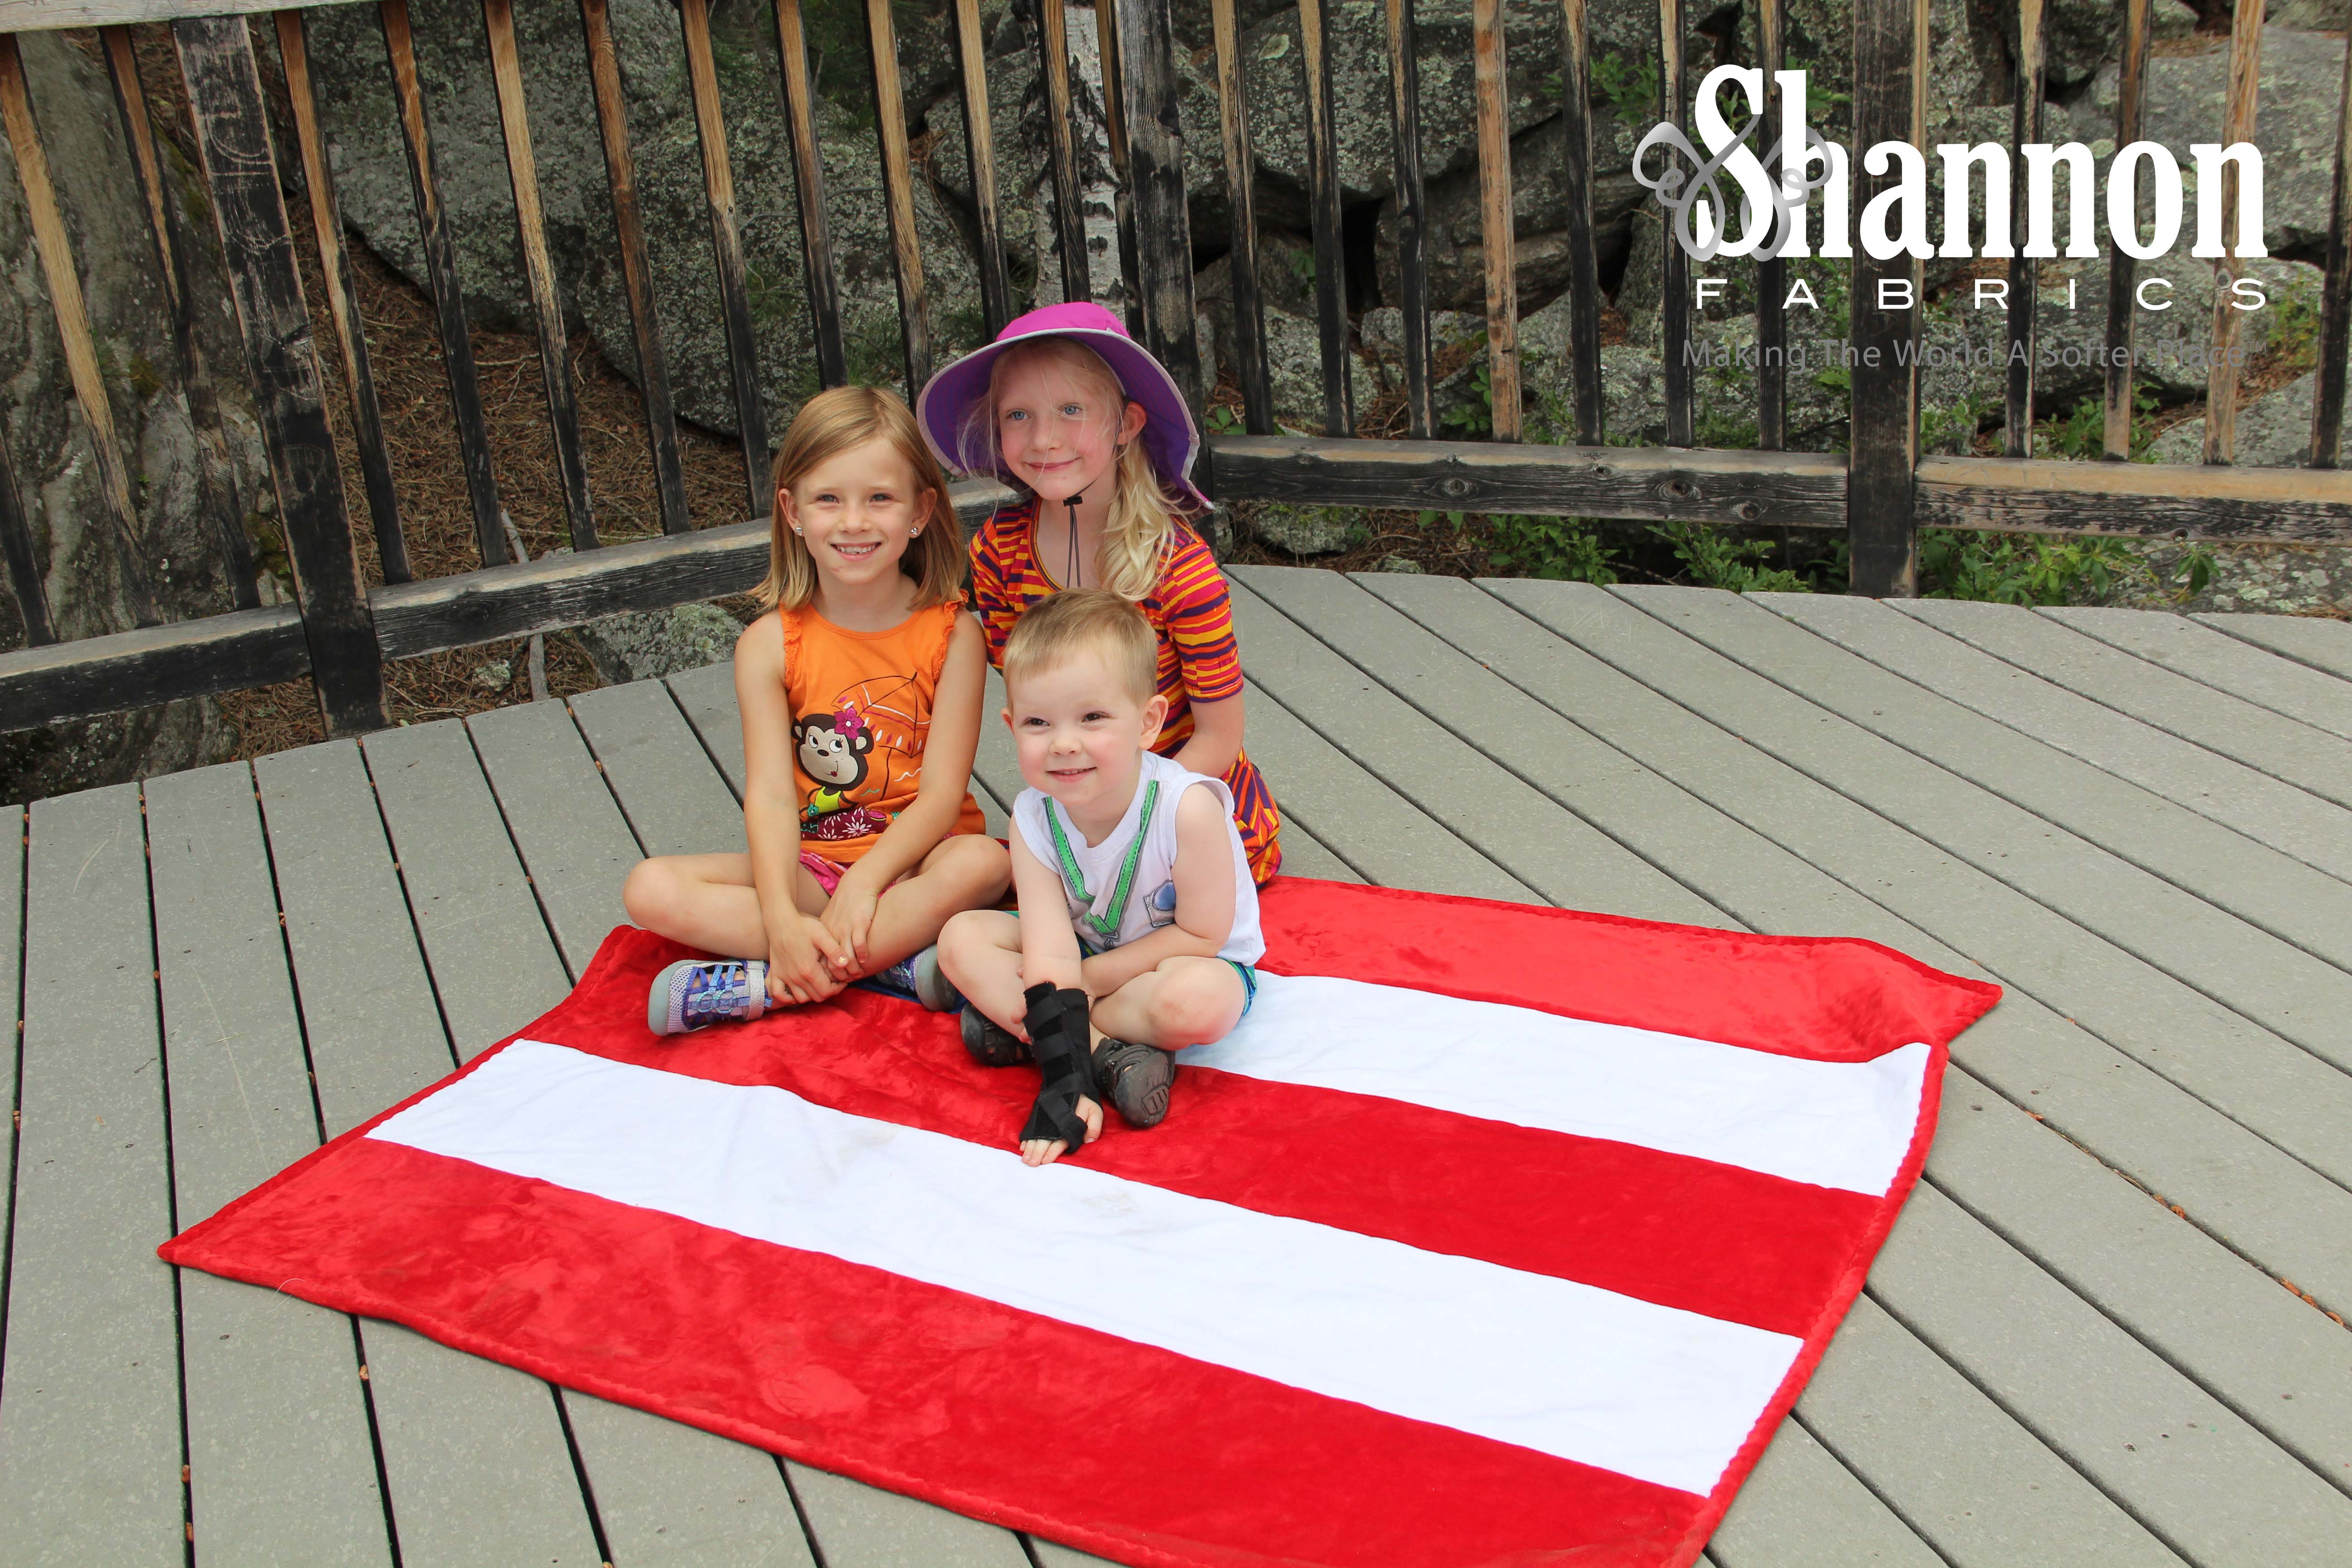
Here's a fun photo of my children- we had a great summer adventure outdoors.
Your Starry Cuddle® quilt is done! Enjoy!
To find your local shop that carries Cuddle® check here.
Some of the shops in my area are Rapid City Sewing, The Fabric Bin, Devils Lake Quilt Shop
To stay in the know on what's happening with Shannon Fabrics: subscribe to their newsletter and follow their blog.
Please let me know what you think of my flag quilt in the comments below.
Thanks for letting me share my project on the Shannon Fabrics blog and I hope to be back with more soon.
Happy Fourth of July!