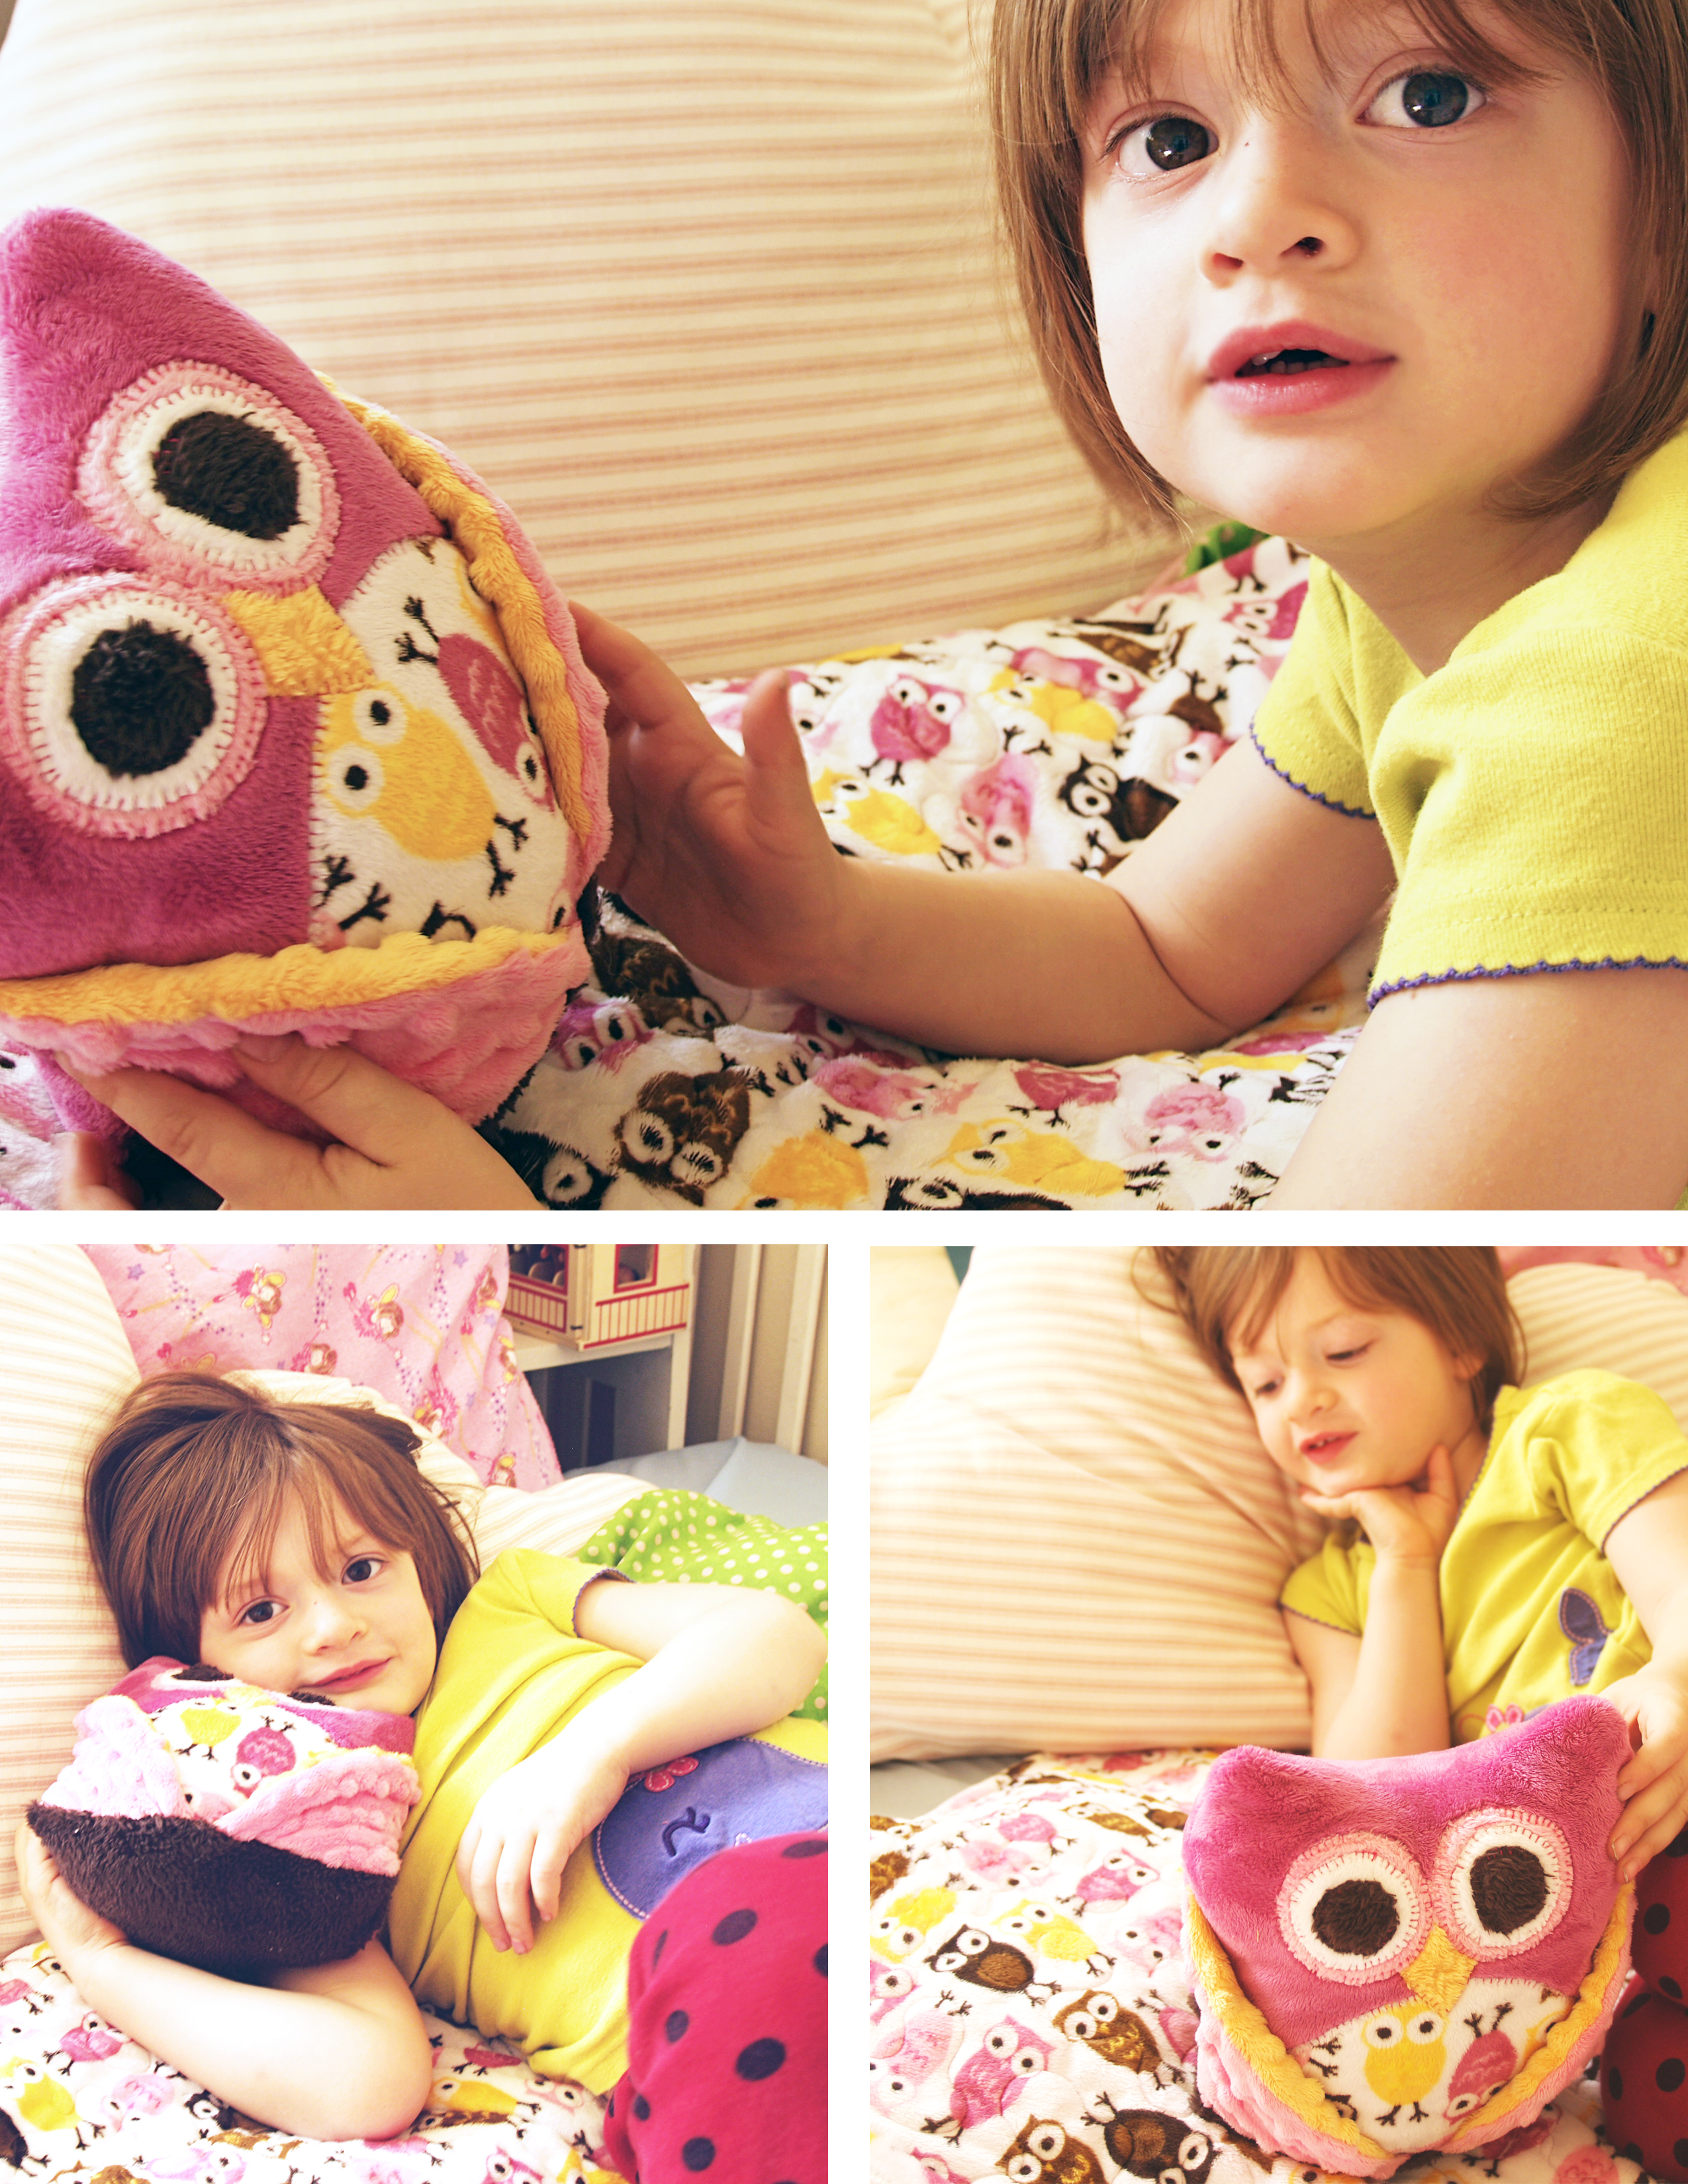
Hi, I'm Jenny Parks from Jenny Kae Quilts. I made this adorable stuffed owl using Cuddle fabric.
The results were so cute and simple, I had to share it. *I also have a few Cuddle fabric secrets that will make the whole process easier.
Get the pattern I used, "Happy Scrappy Whoo" from Mckay Manor Musers. Check them out, they have tons of great stuff. www.mckaymanormusers.com
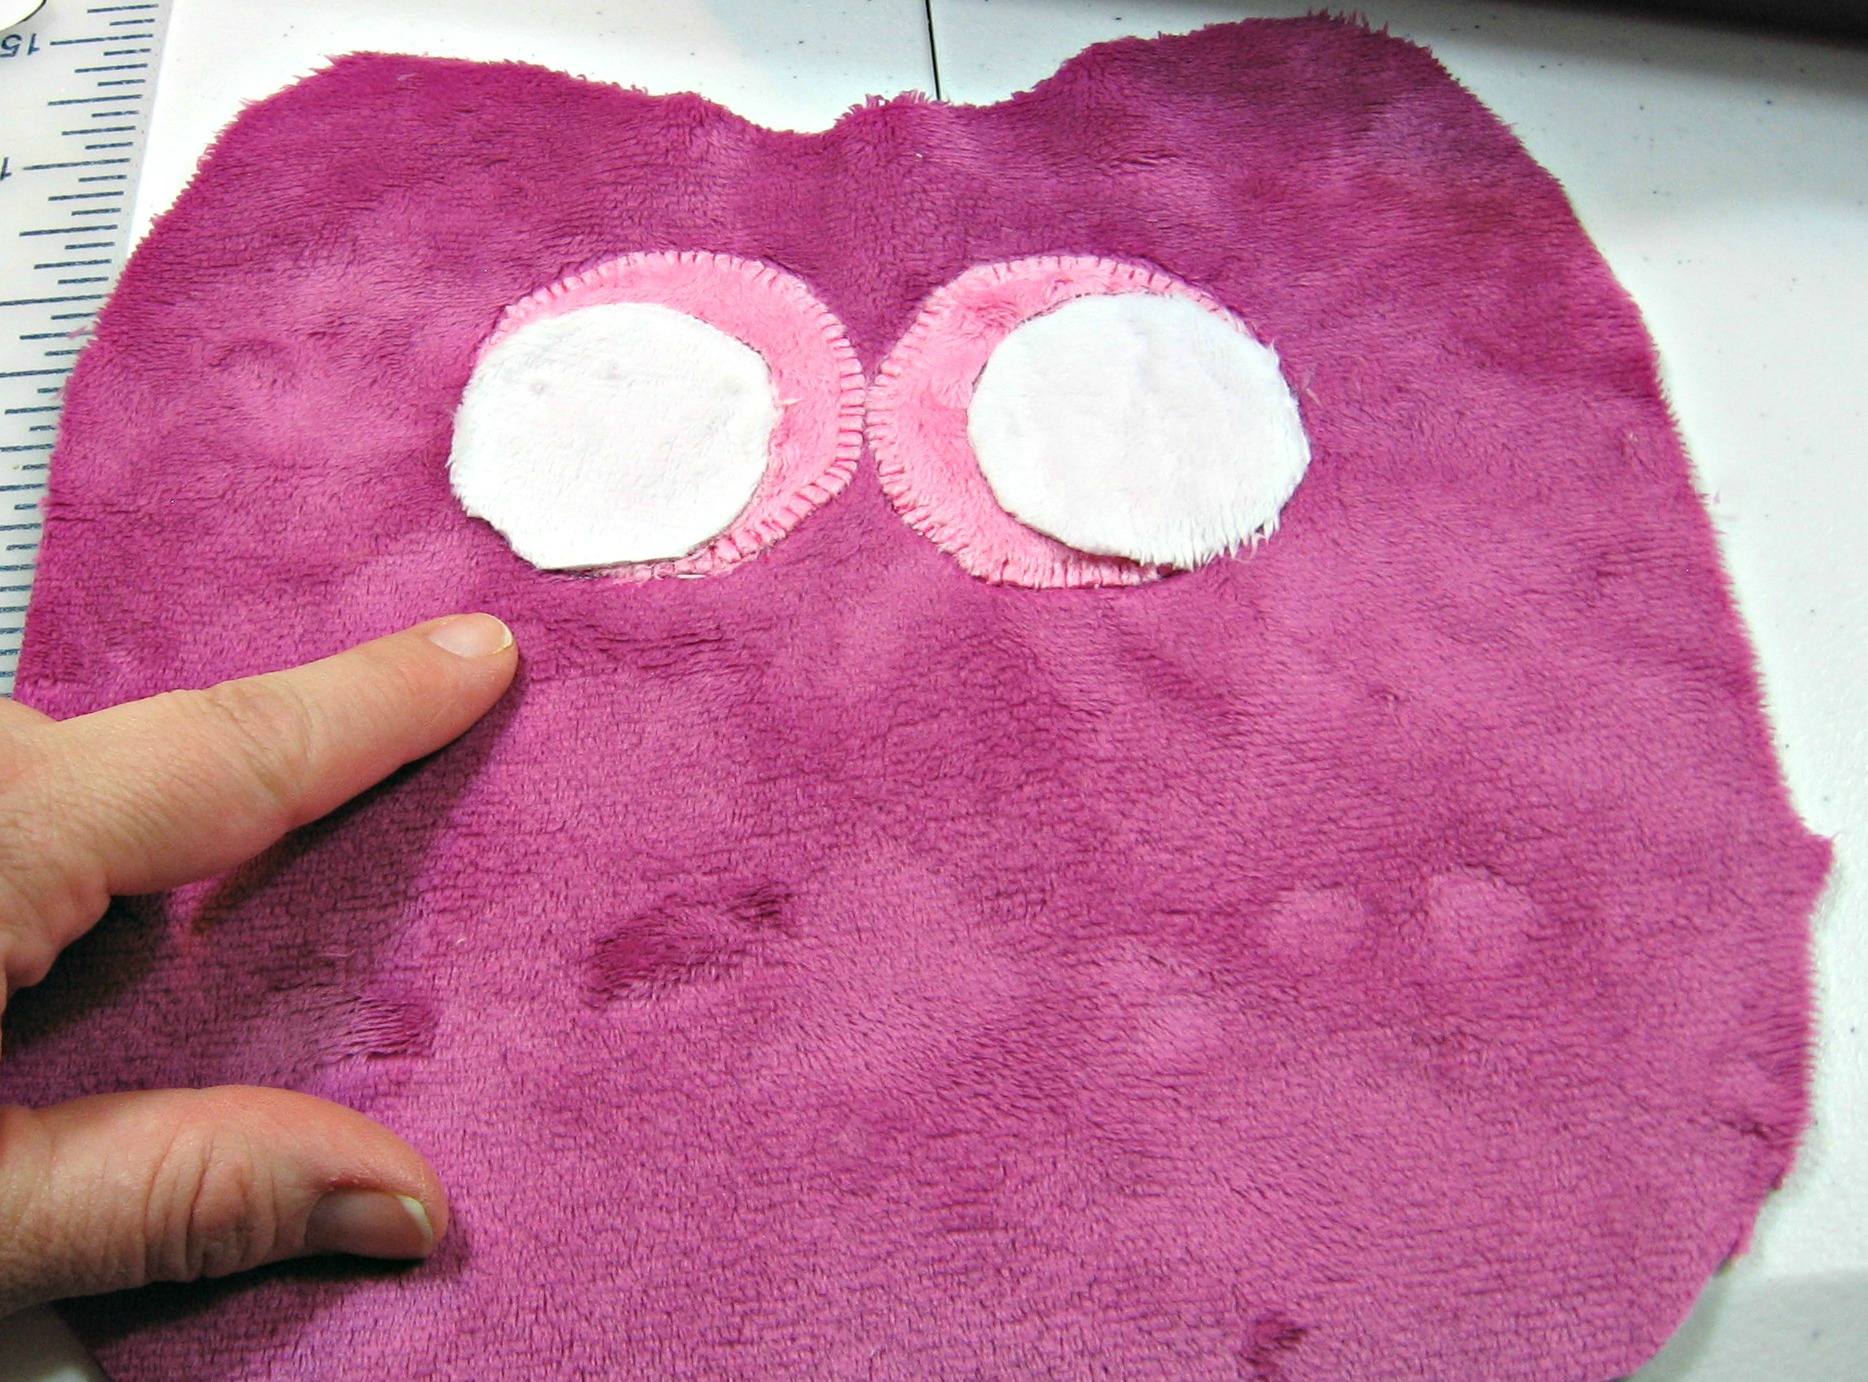
*Great Tip - Many people suggest using a fusible adhesive but I do not! Things move around and the texture can be melted if the iron is too hot. I find that method to be a hassle. Notice the silly eyes I got when I used the fusible!
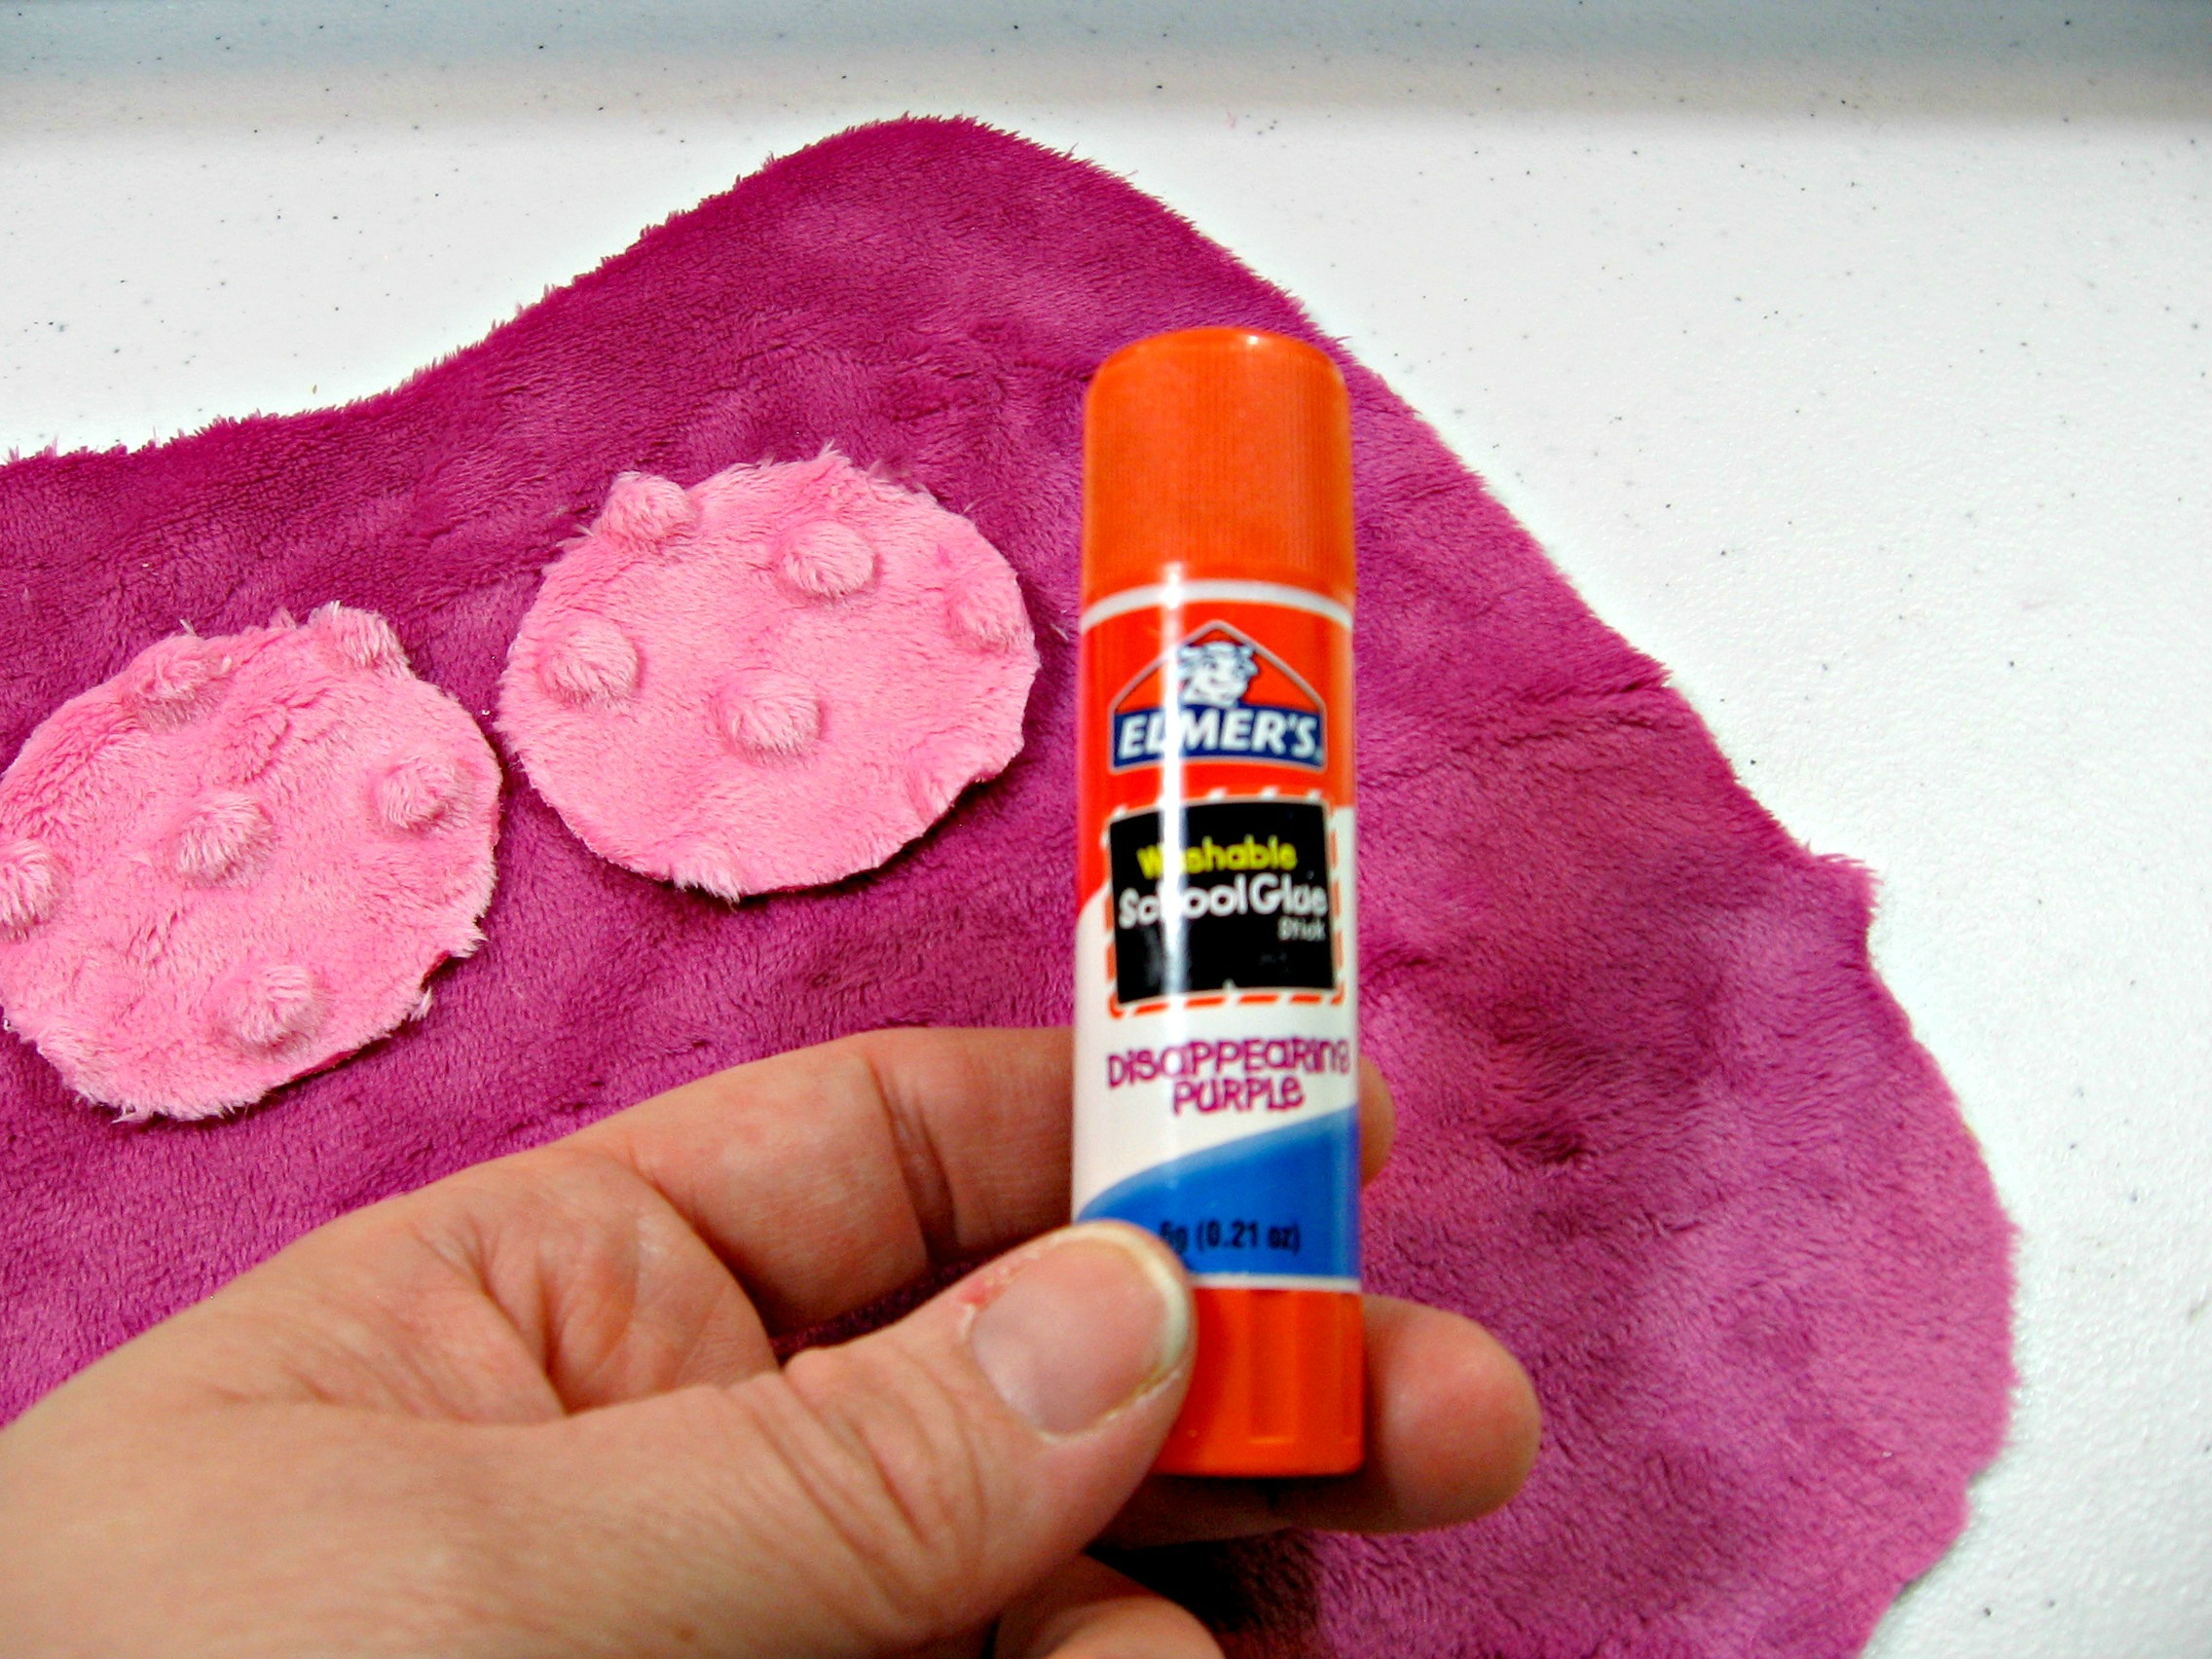
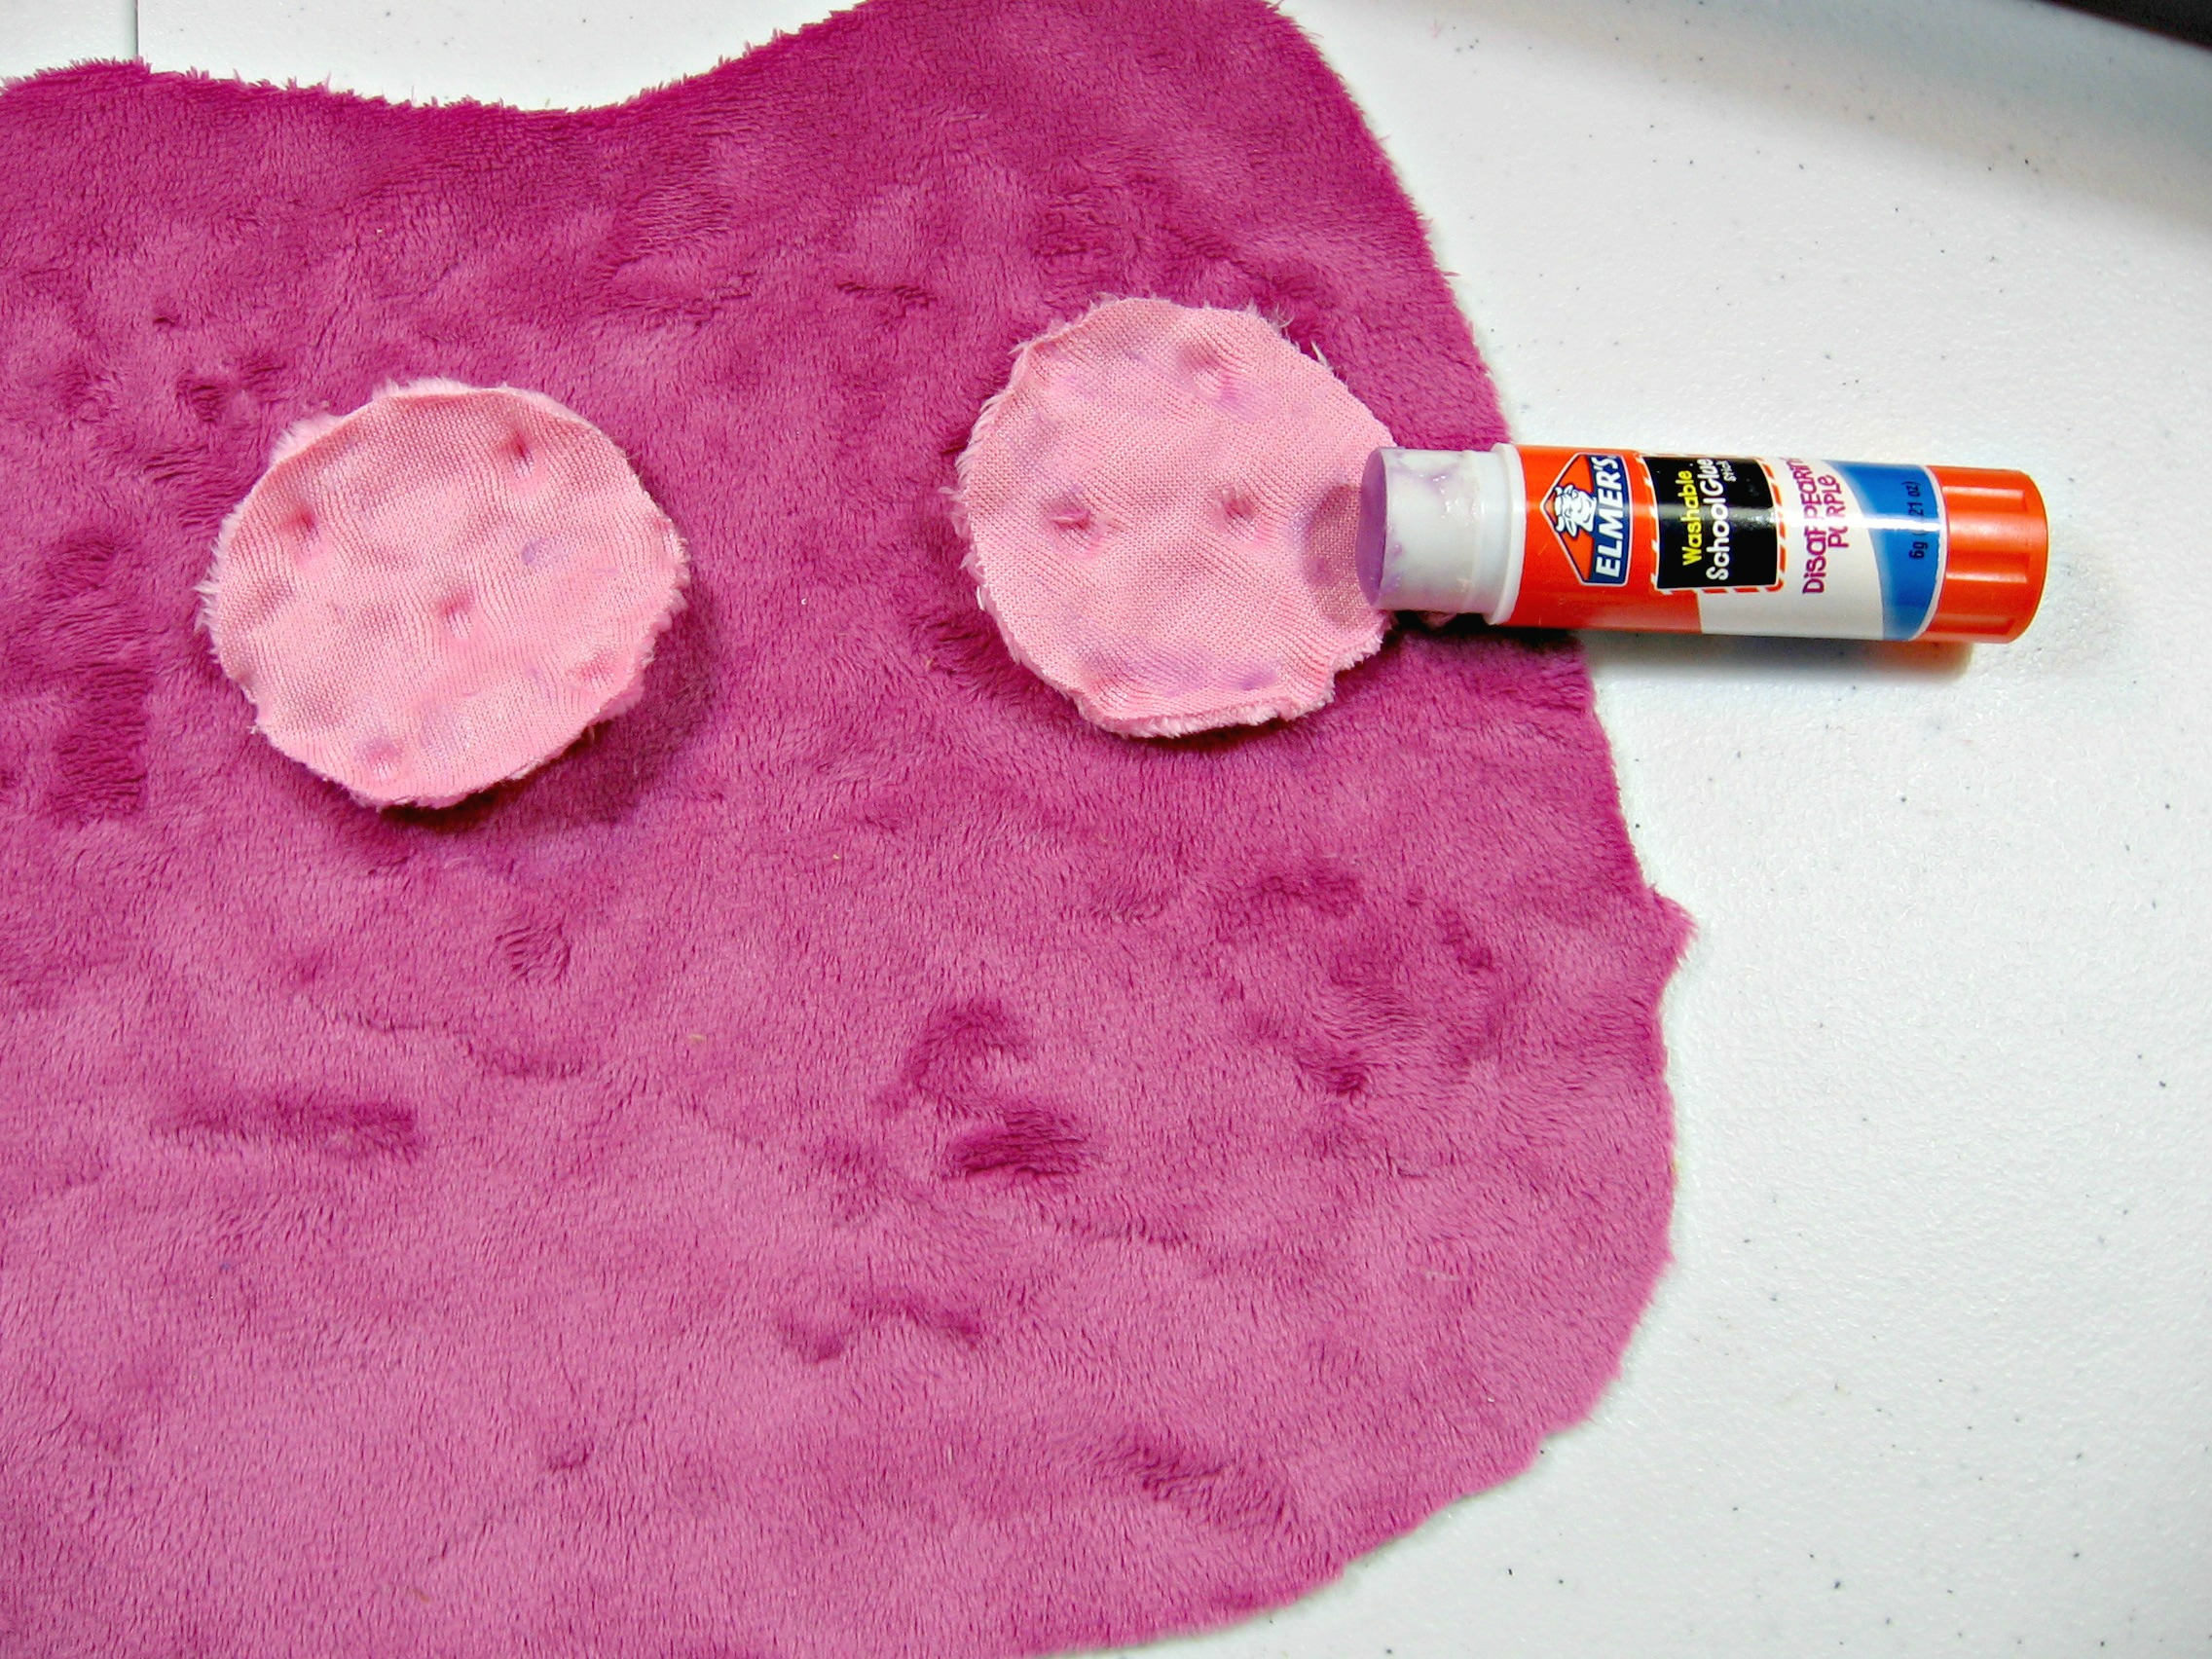
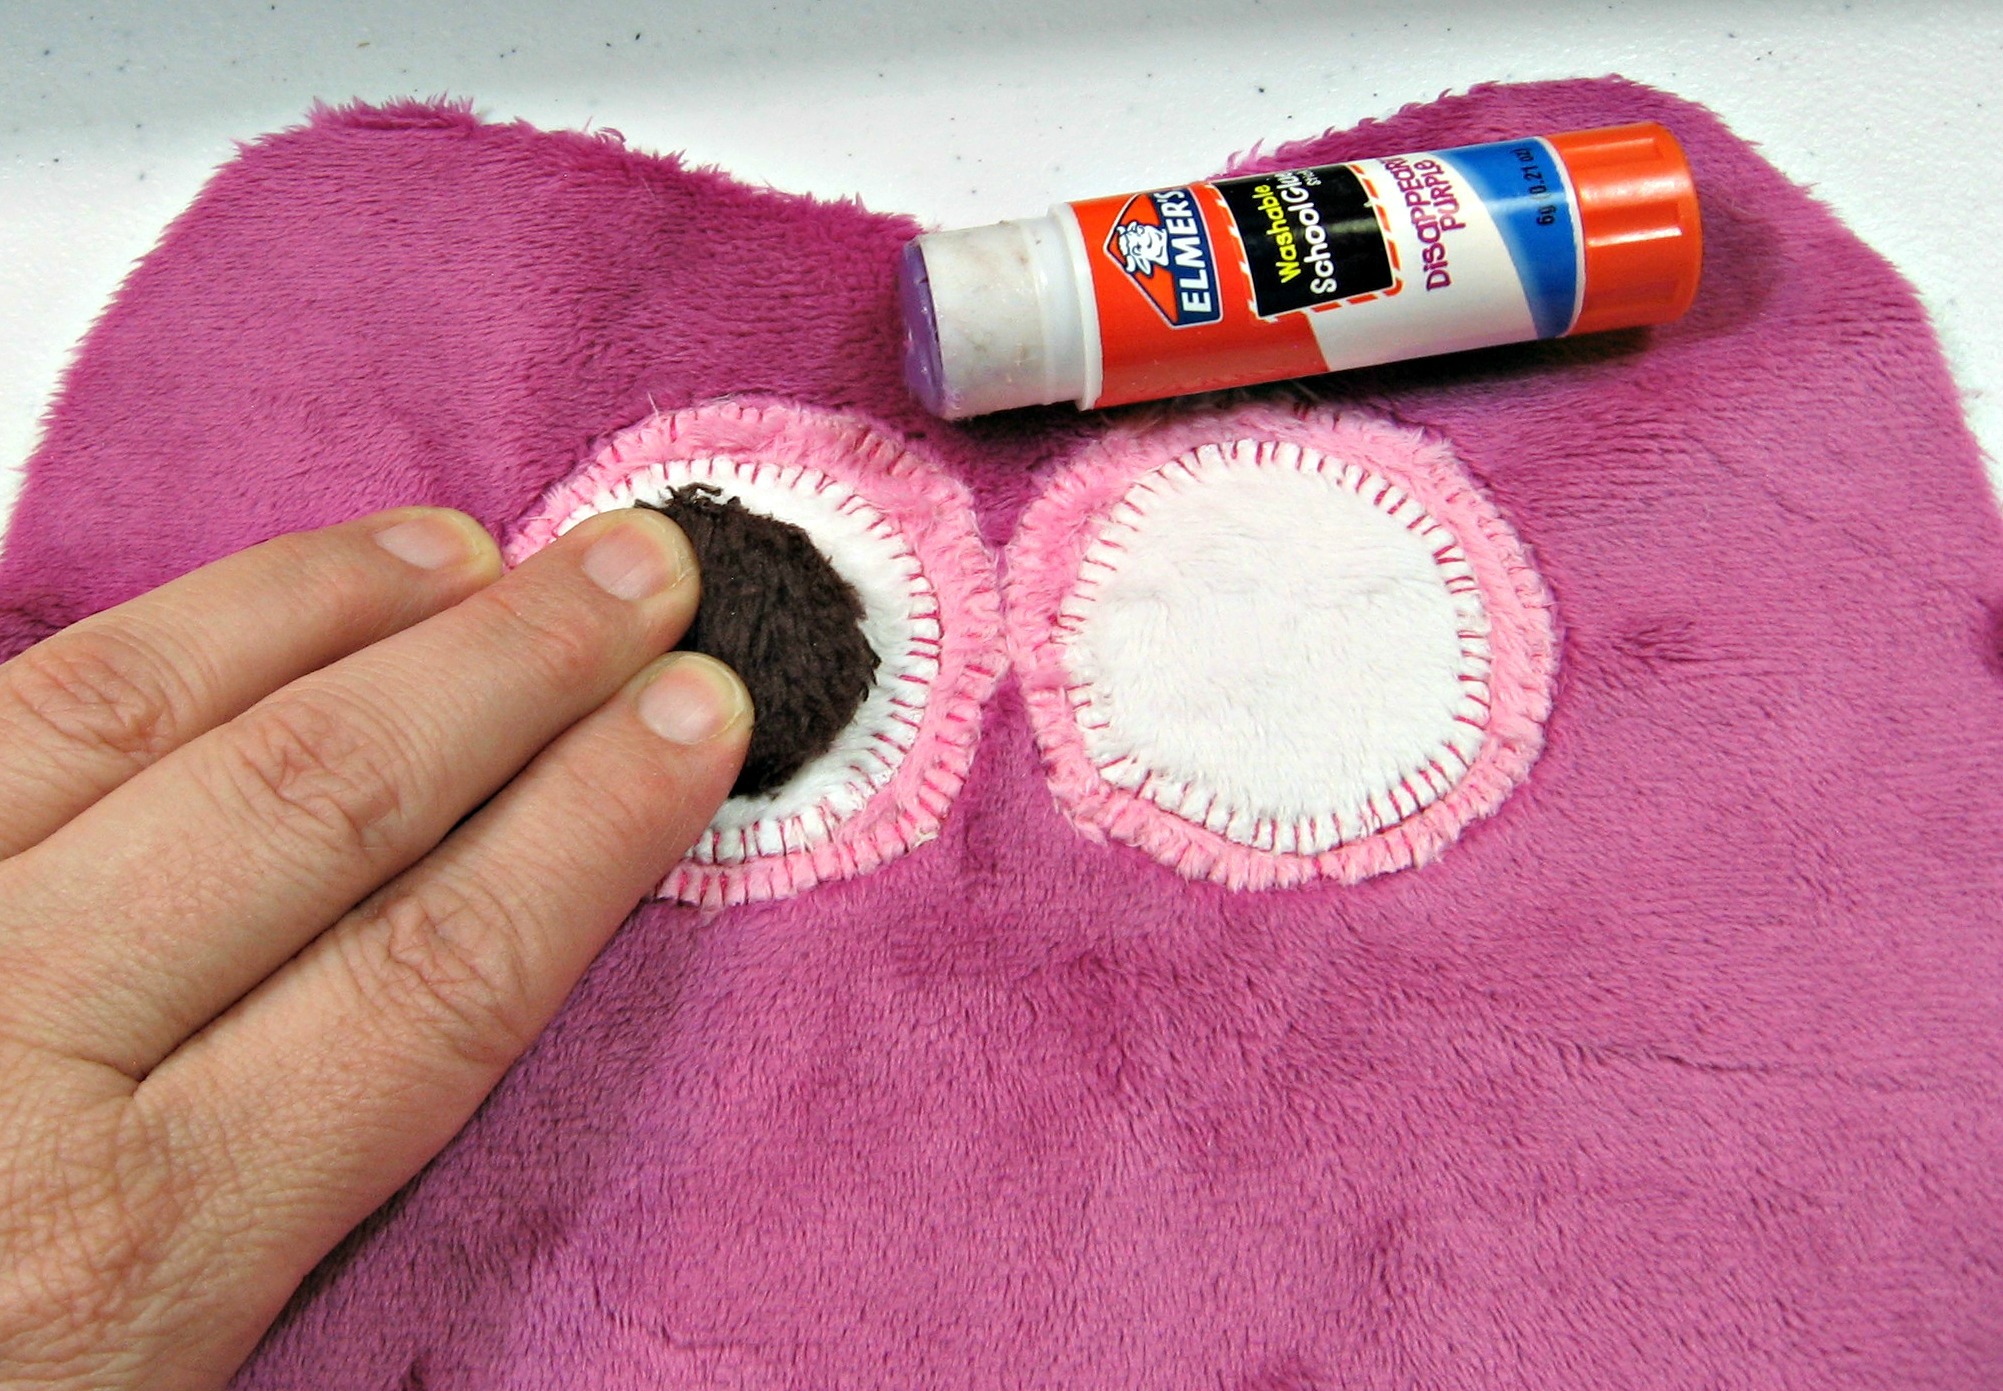
So what is my secret? Glue stick! It works brilliantly on Cuddle fabric. Trust me, no sewing basket should be without glue stick.
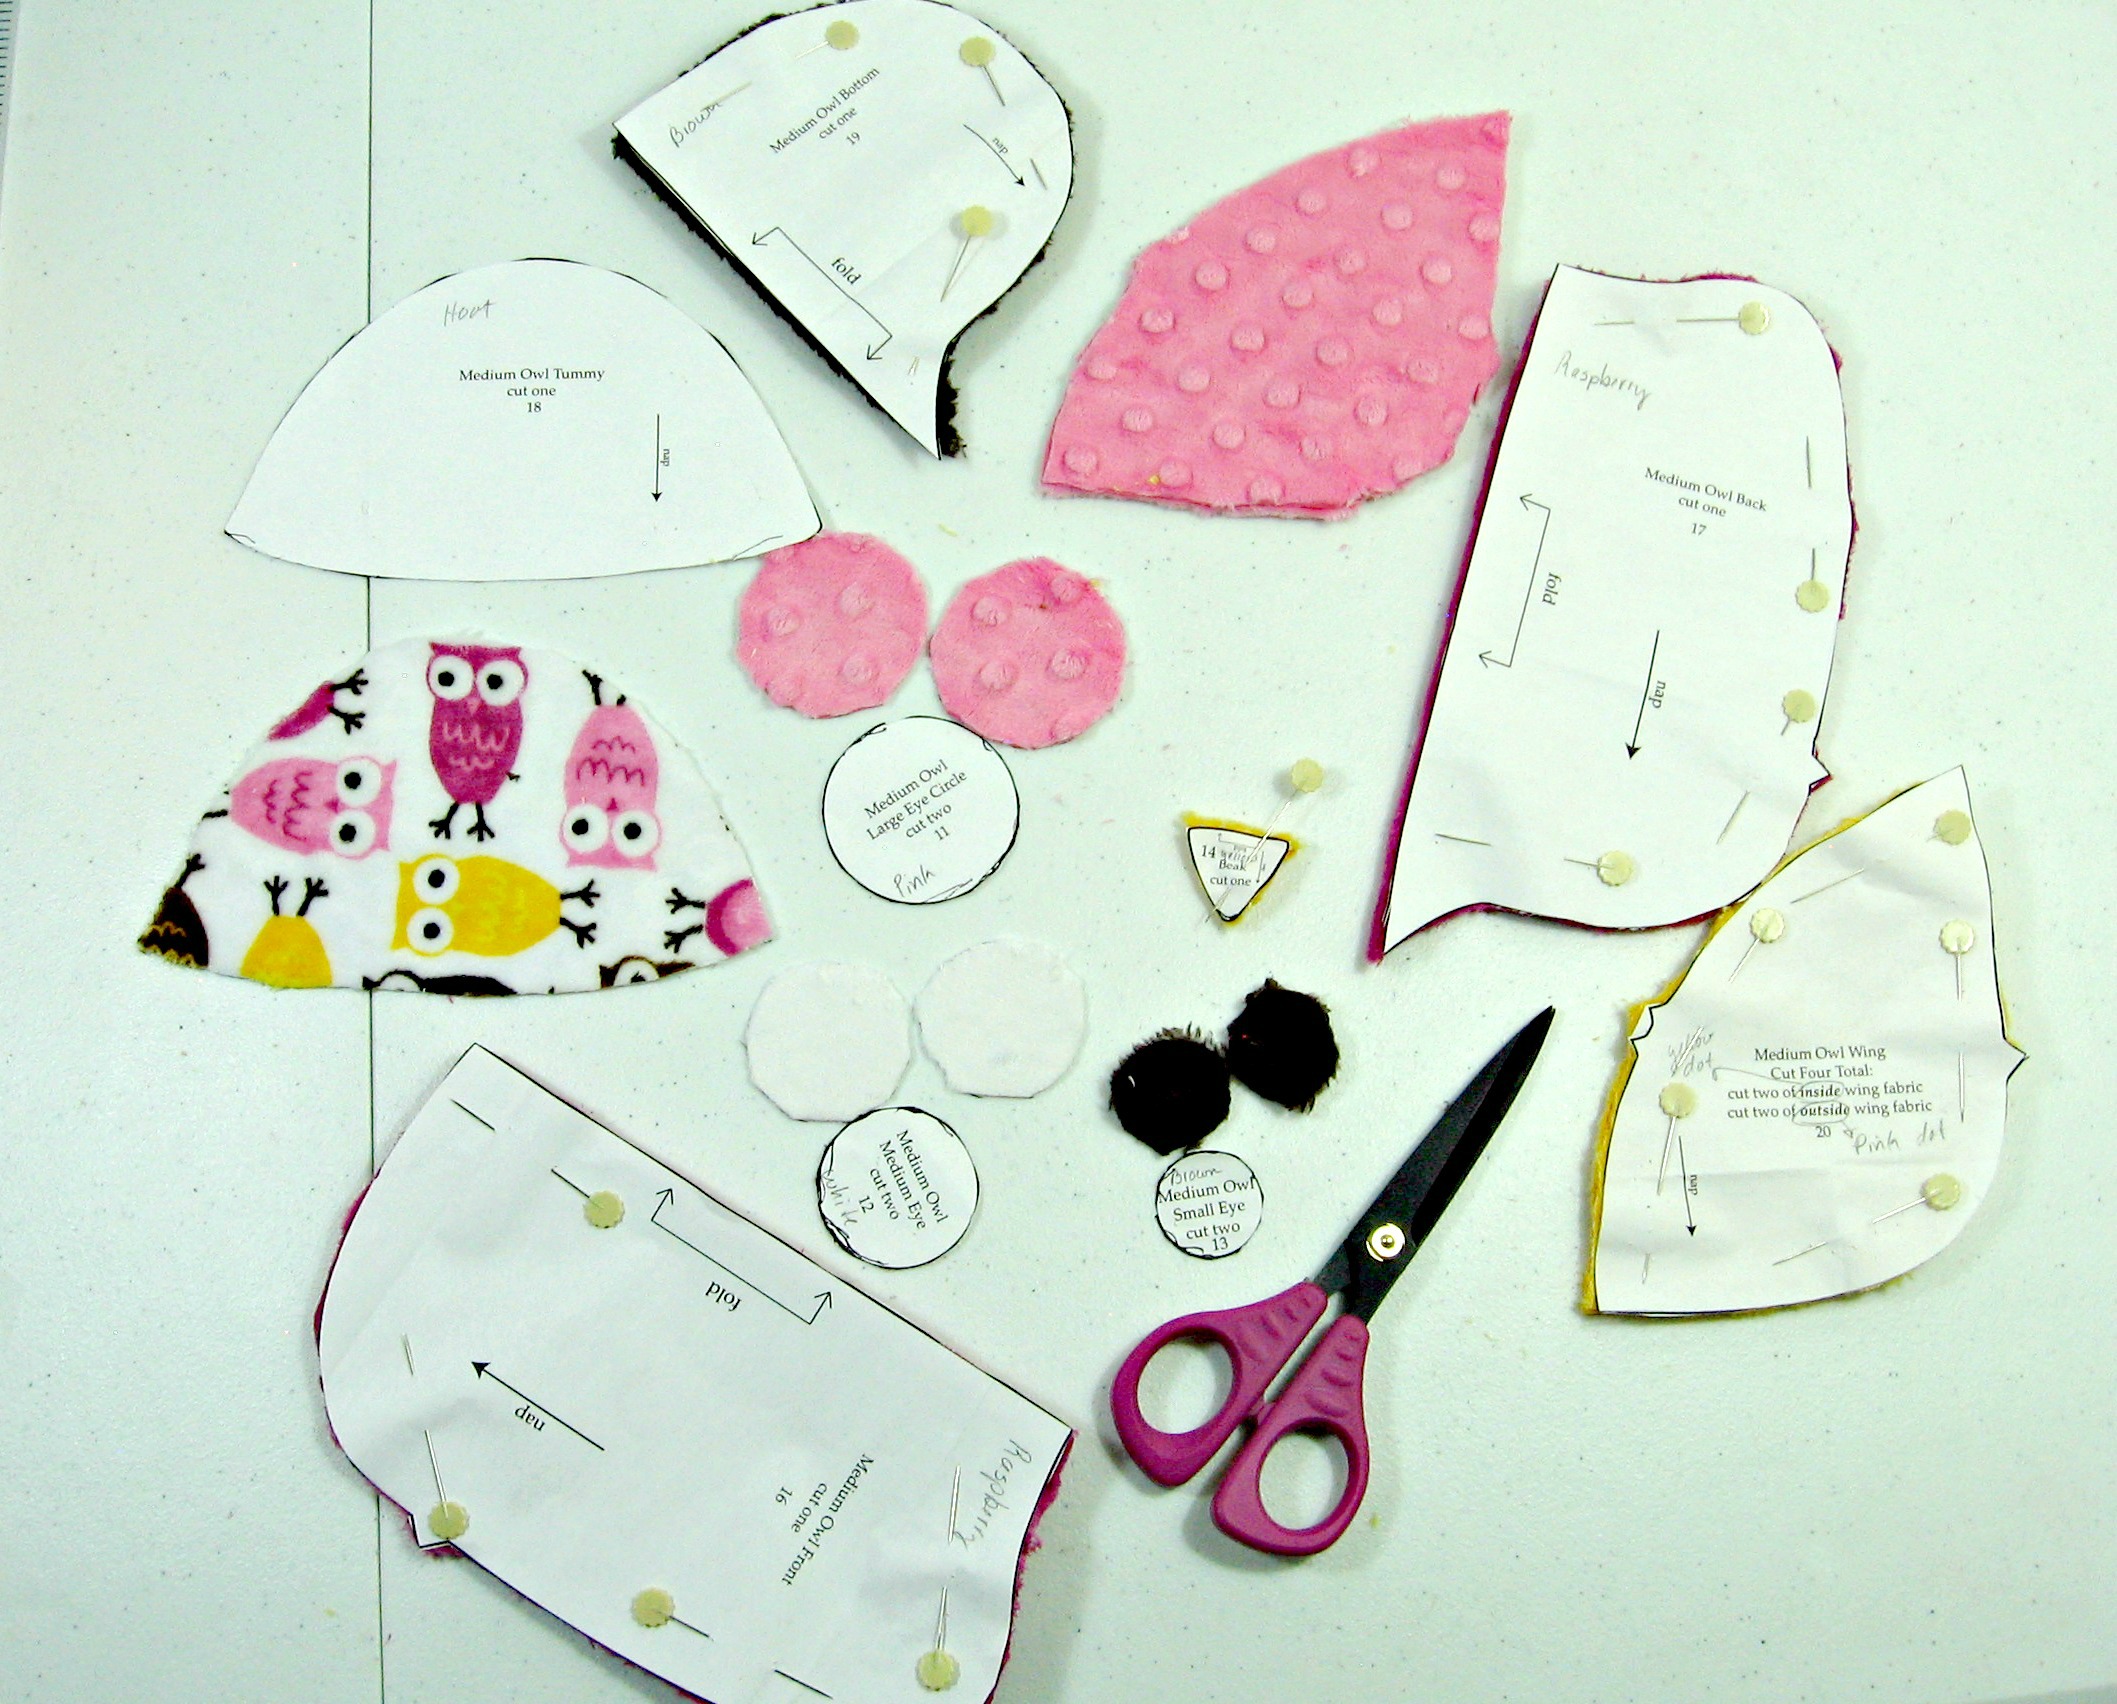
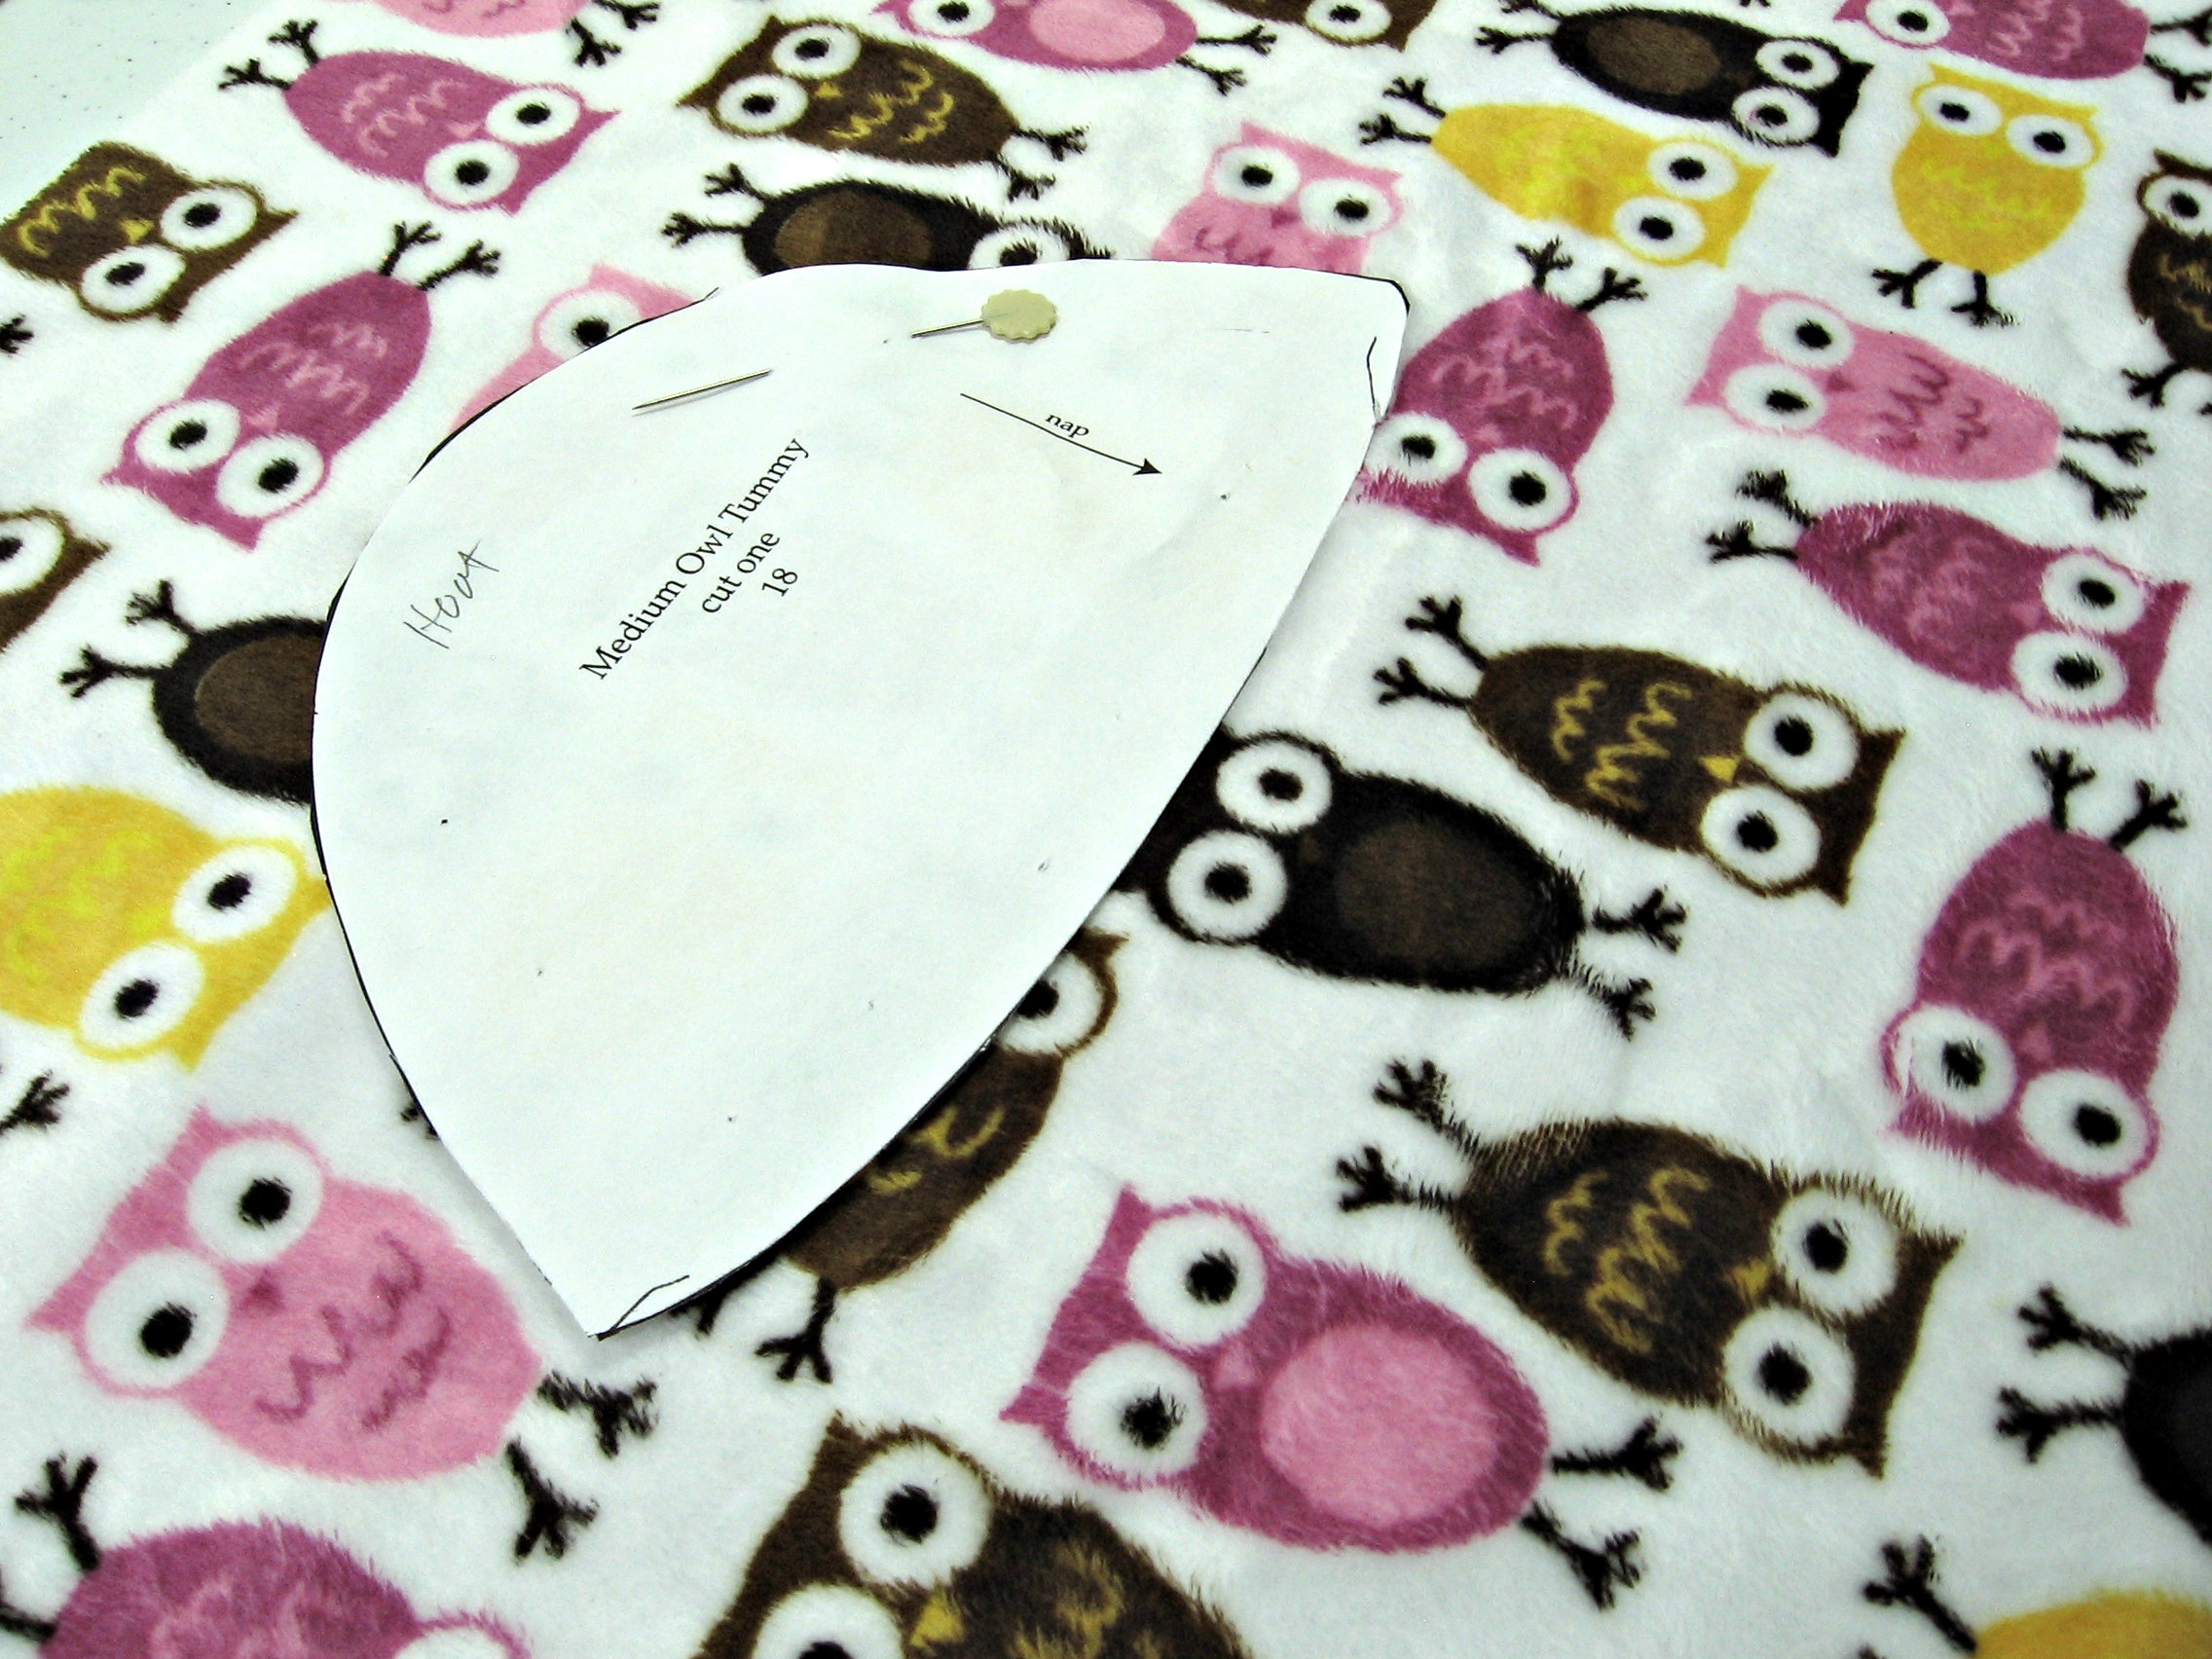
After cutting out the paper pattern pieces, pin them to the appropriate fabrics. Be sure to check the pattern for nap directions. The nap is the direction the fabric likes to stay. If you push the nap in the wrong direction, the fabric looks like cat fur when it is rubbed the wrong way. And nobody wants that, especially the cat!
Also, I "fussy-cut" (positioned the pattern on the fabric so I could get the look I liked) the tummy so the owl print would be just how I wanted it. Cut out all the pieces.
*Great Tip - I am sure you have noticed lots of fluff! I have an excellent two-part solution. Part 1, remove the pattern paper and gather up all the cut pieces. Set the dryer on LOW, throw in the cut fabric and a damp washcloth. Run the dryer for about 10 minutes. All the fluff will gather in the lint trap and can be easily thrown away. Part 2, while the dryer is running, vacuum the rest up using the hose attachment.
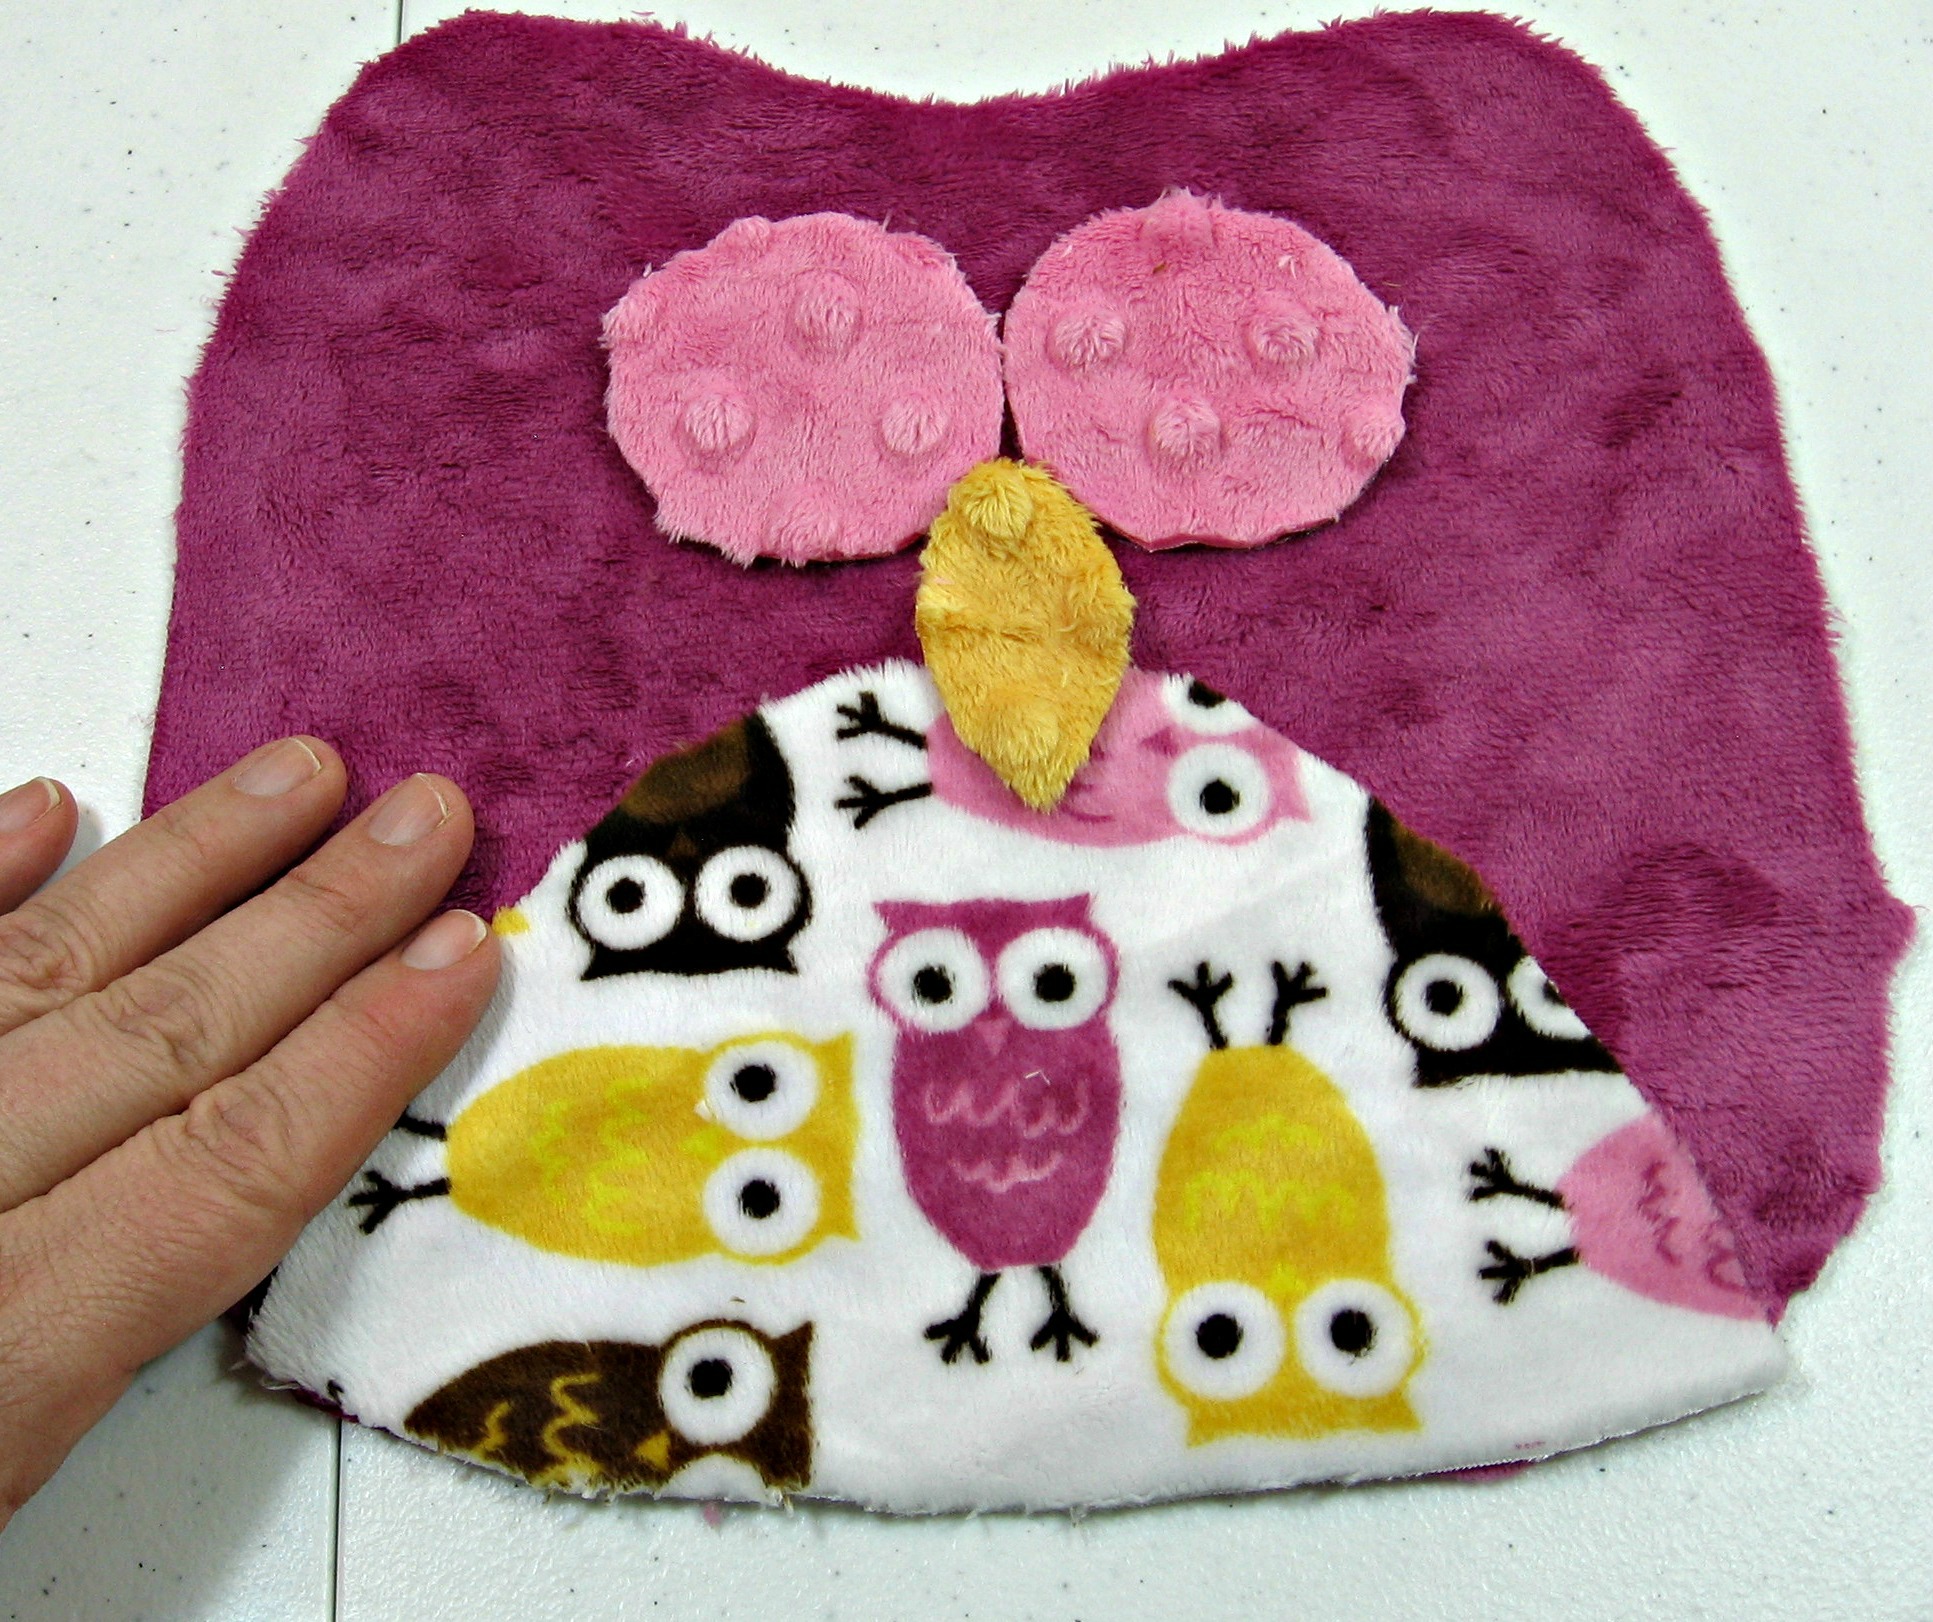
Now, lay out all the front pieces and position them where you want.
There are two options for the nose, diamond and triangle. Be sure to choose which way you want now so you sew in the right order!
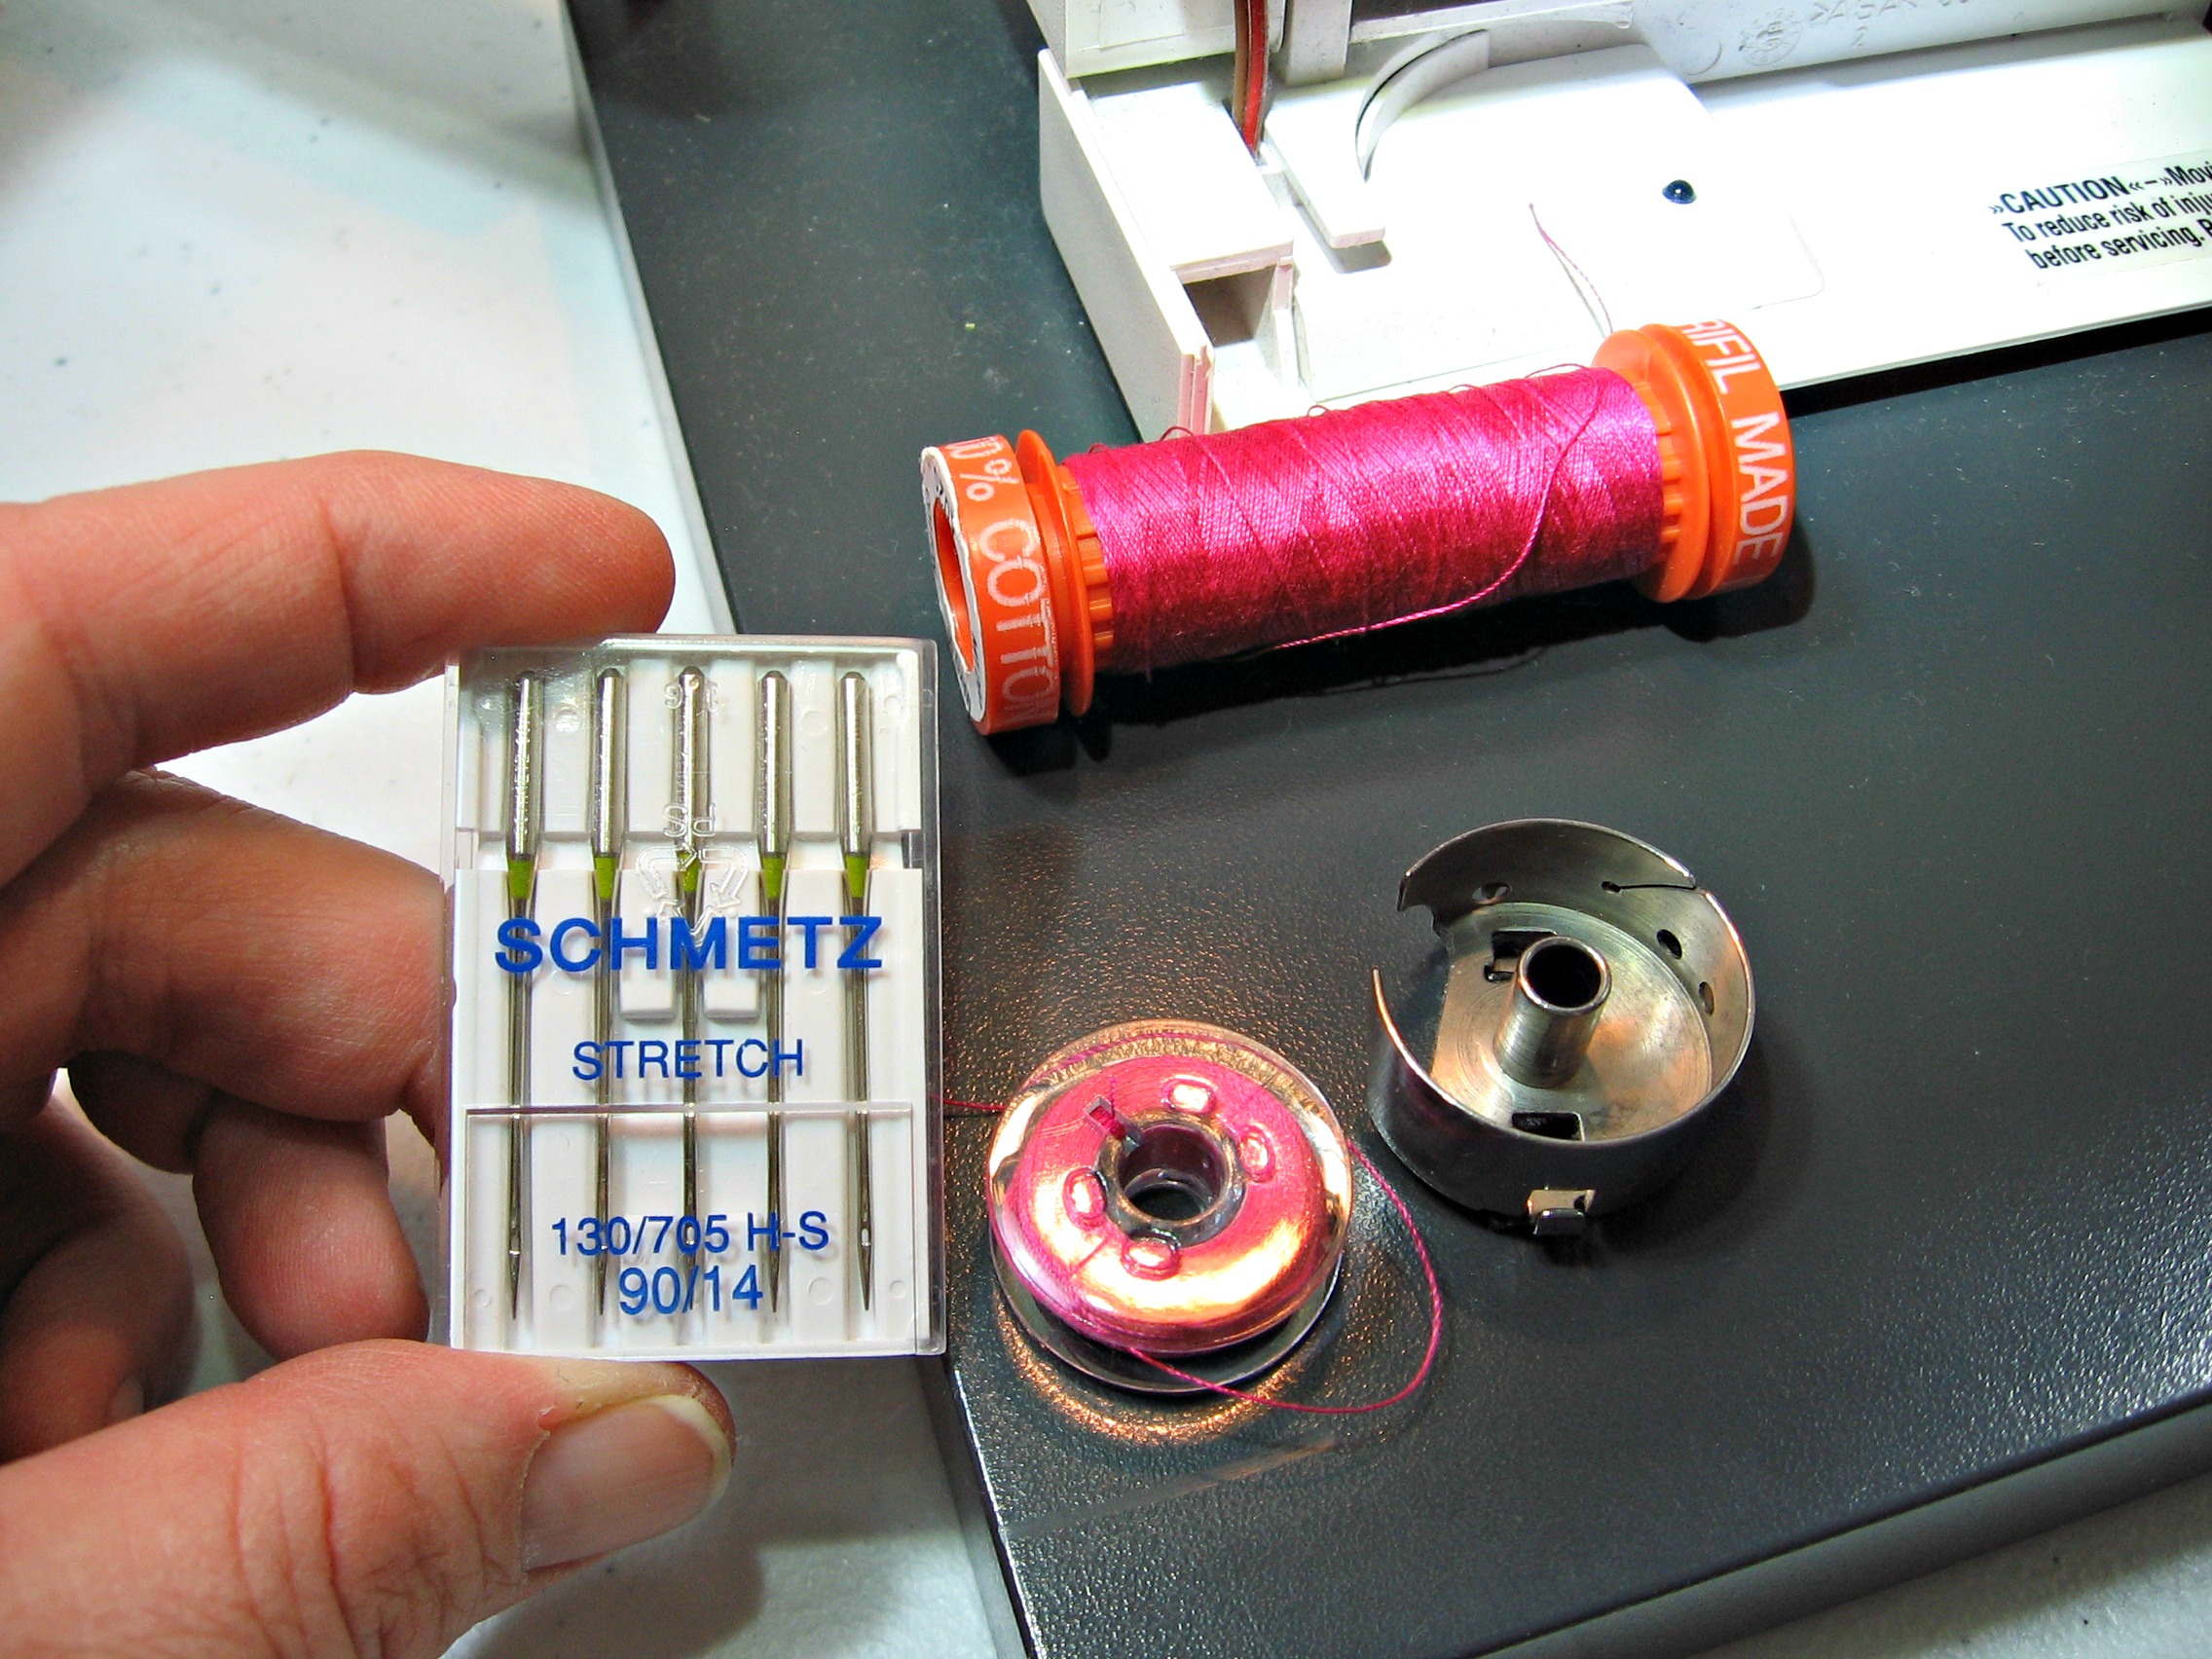
Prep the sewing machine. I use 90/14 stretch needles and a larger stitch length on my machine, like a 3.0 instead of 2.5. For this applique, I use a blanket or buttonhole stitch. A zig-zag will also work. For thread, I used Aurifil. It is my favorite thread.
Lets get those eyes appliqued! But wait, if you chose the diamond nose, applique that first! Now, use glue stick on the wrong side of the eyes and press into place.
Applique the eyes onto the front. I use an open-toe foot so I can see everything. Turn the fabric often to get a nice circle, but turn only when the needle is in the "start" position, (see below), this will give you a neater look.
* Great Tip - A tiny crochet hook has so many uses. Again, a tool every sewing basket should have!
Continue the process with the middle and small eyes.
Use the same method to applique the tummy and finish with the triangle nose.
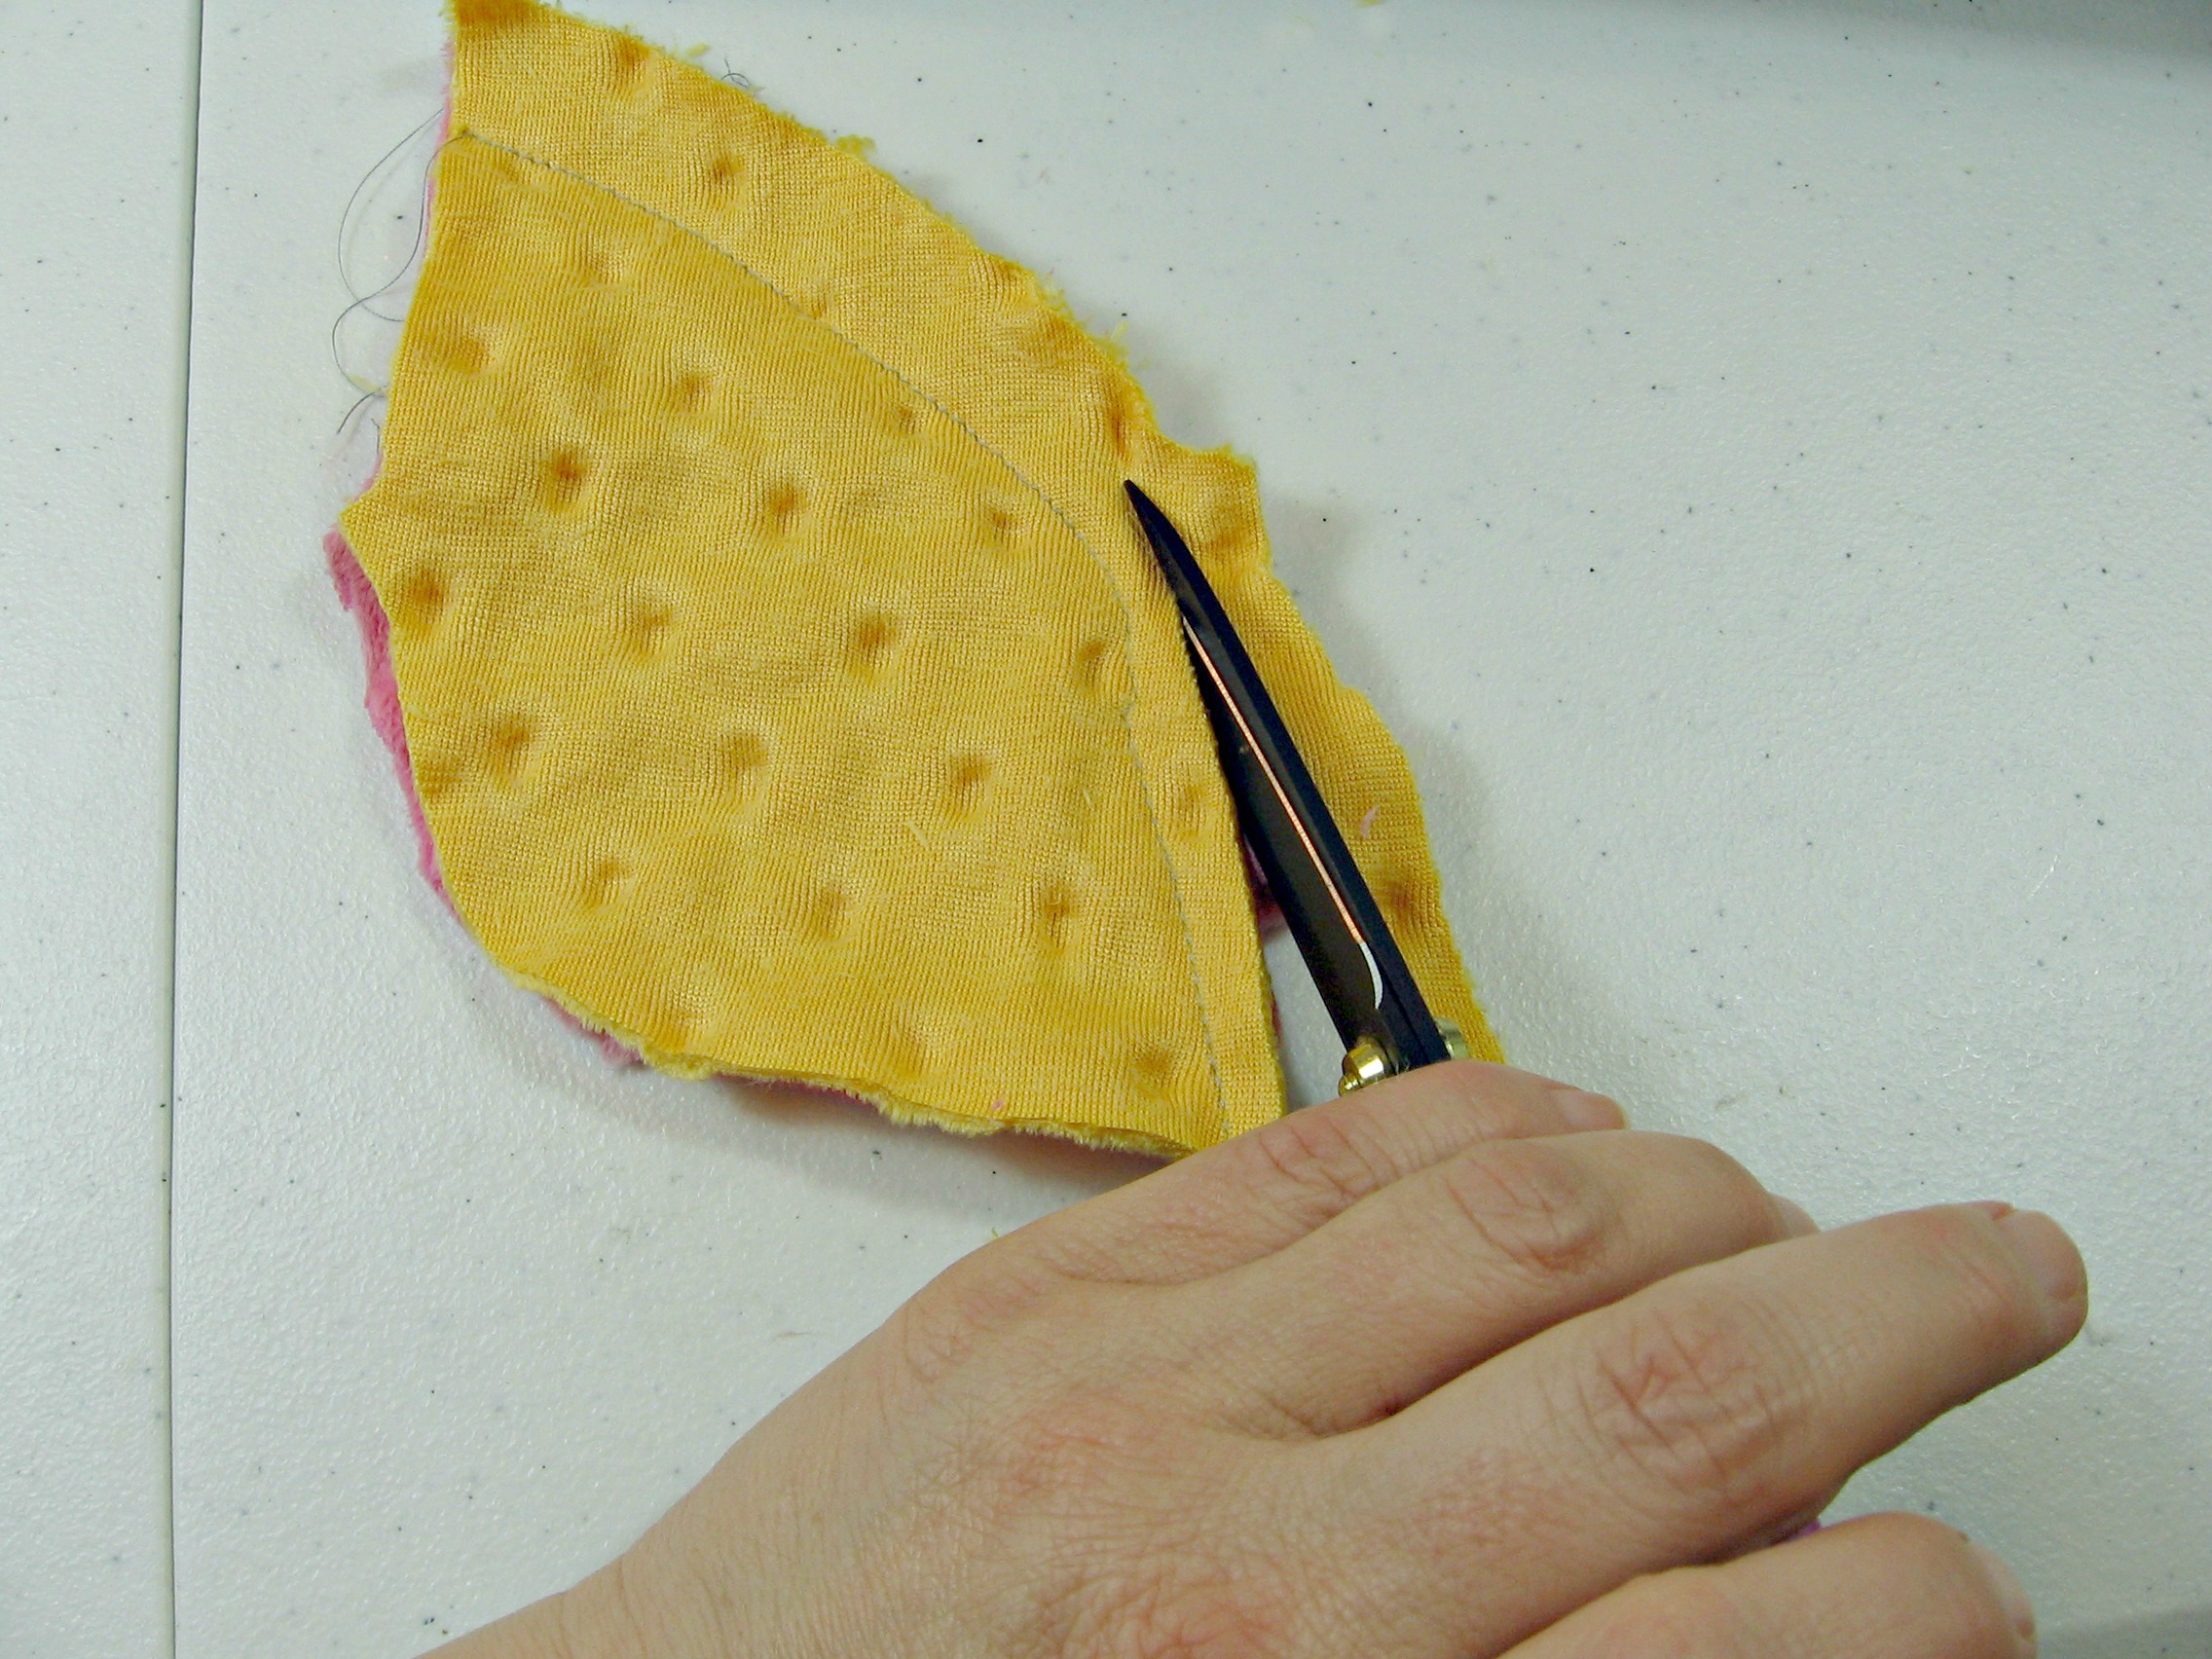
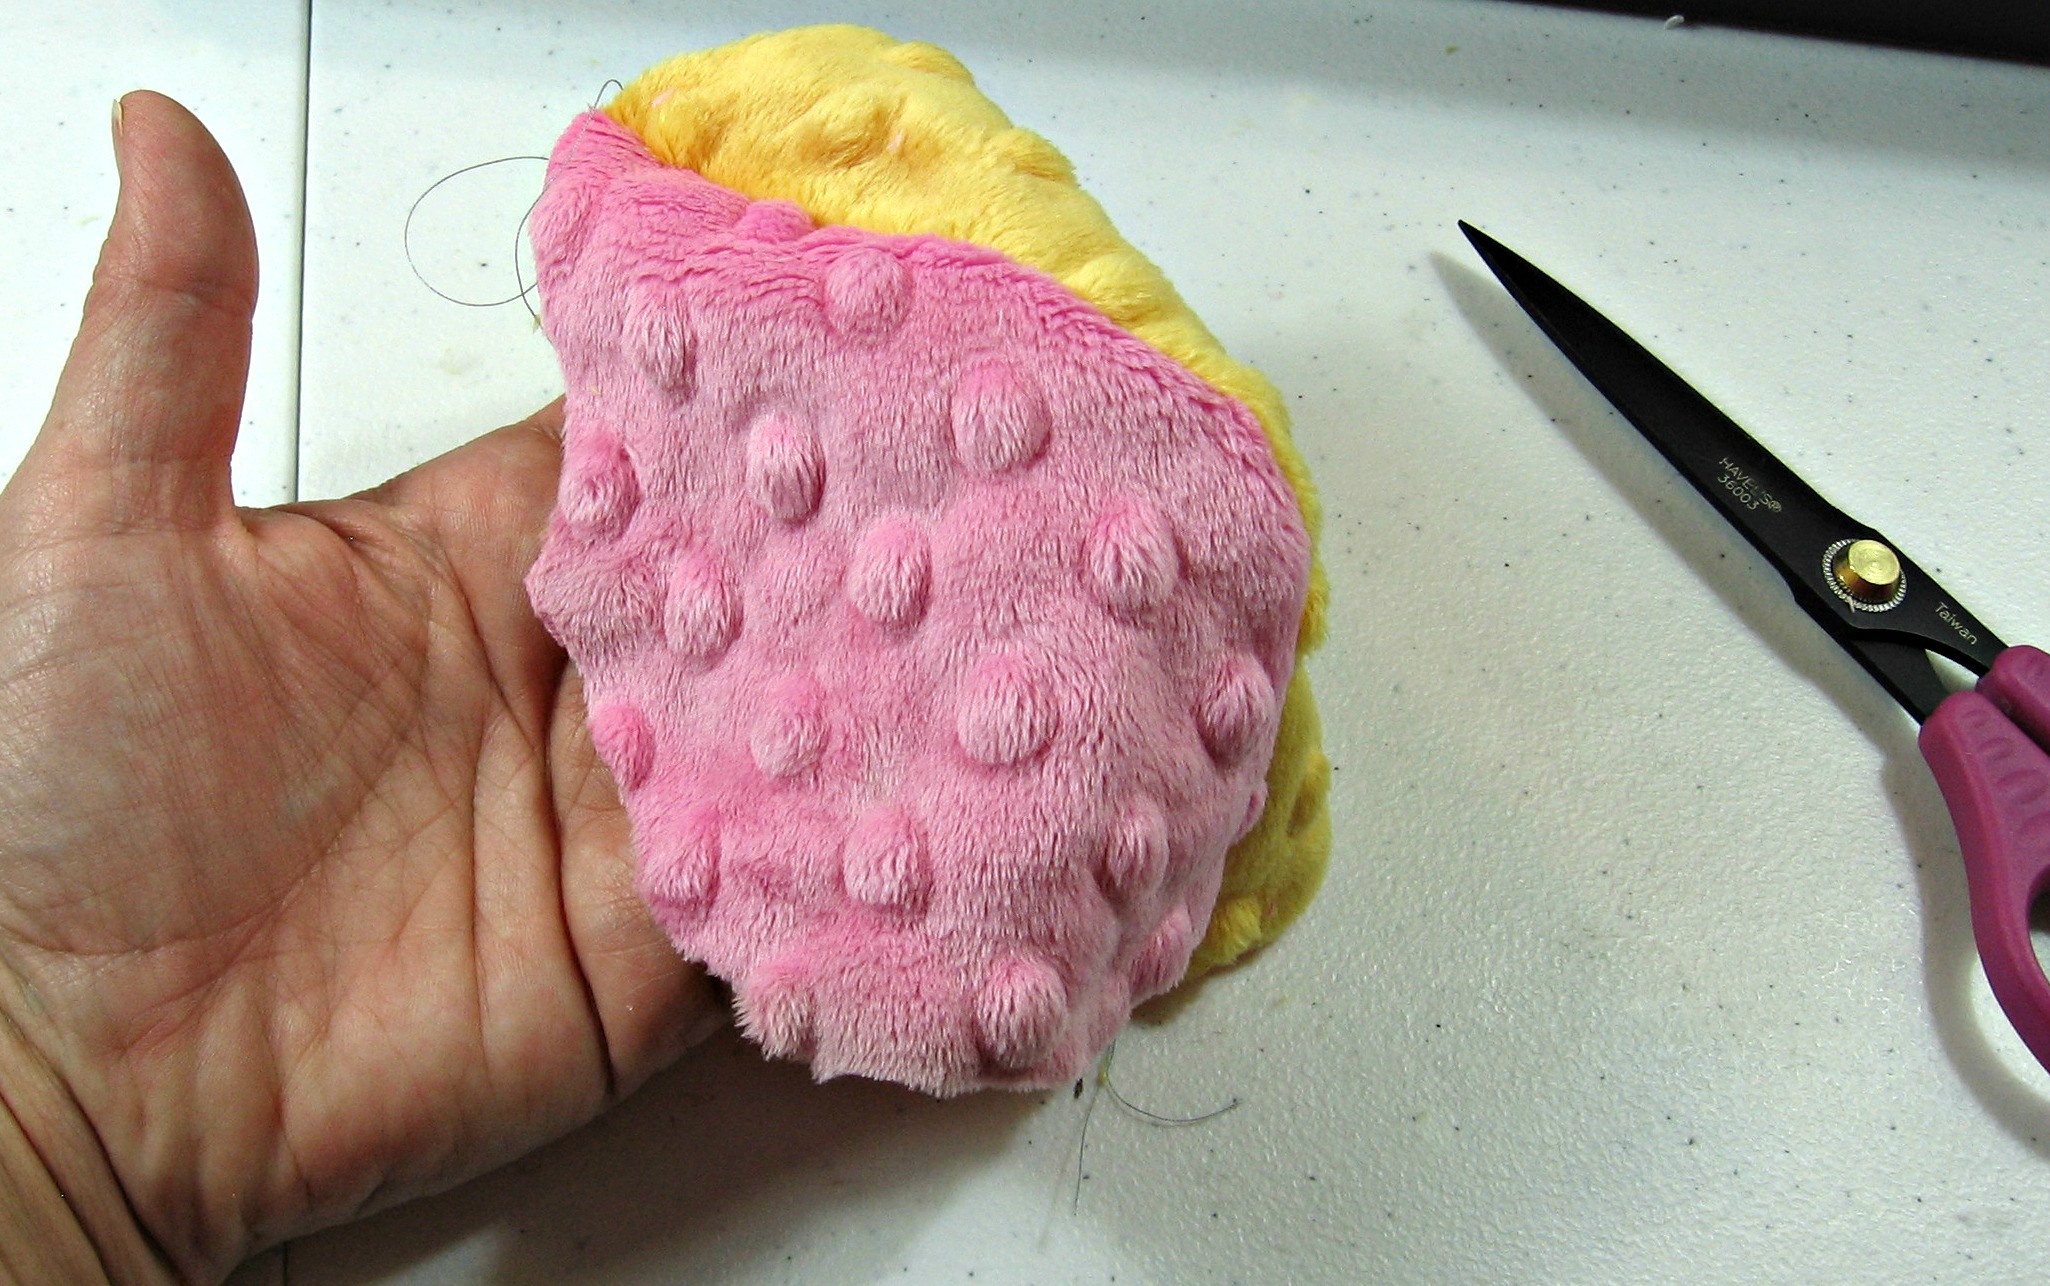
On to the wings! Although the pattern calls for a 5/8 inch seam allowance, I decided I wanted more of the tummy fabric to show so I used almost an inch. Baste the wings and see how big you want them then trim the extra allowance.
I love how the yellow and pink look so I made the wings from both colors. Turn the wings right-side out.
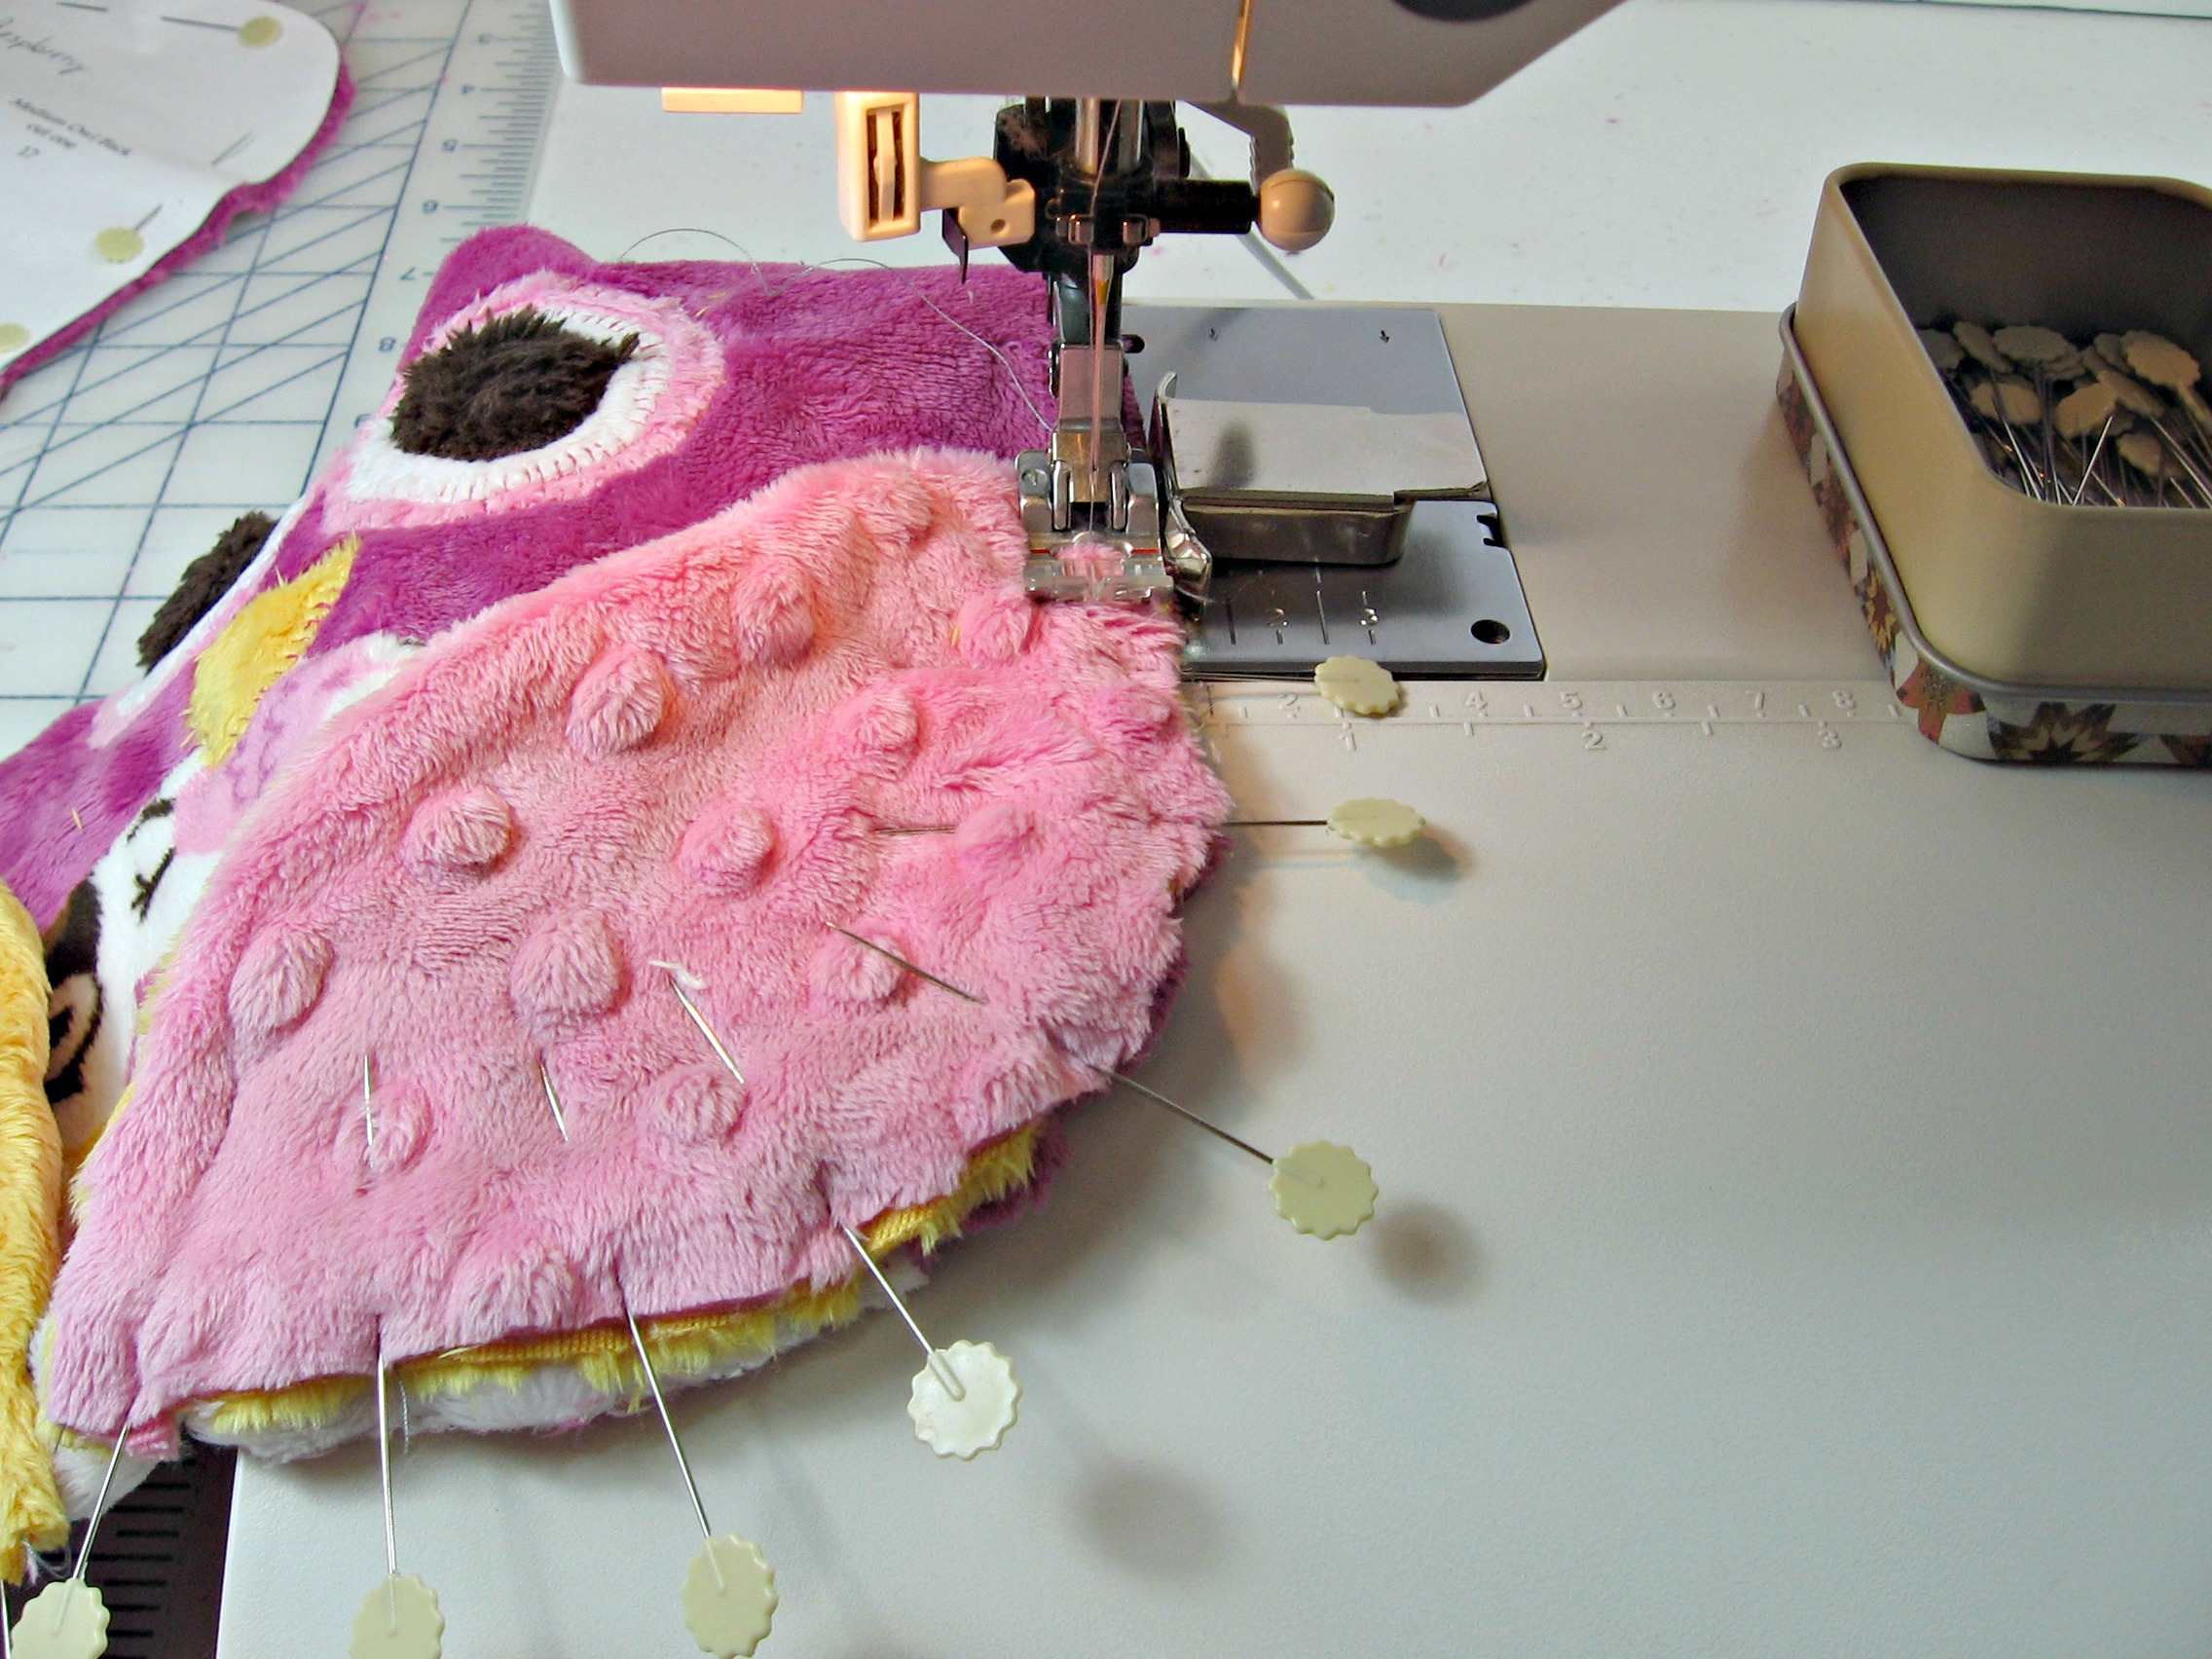
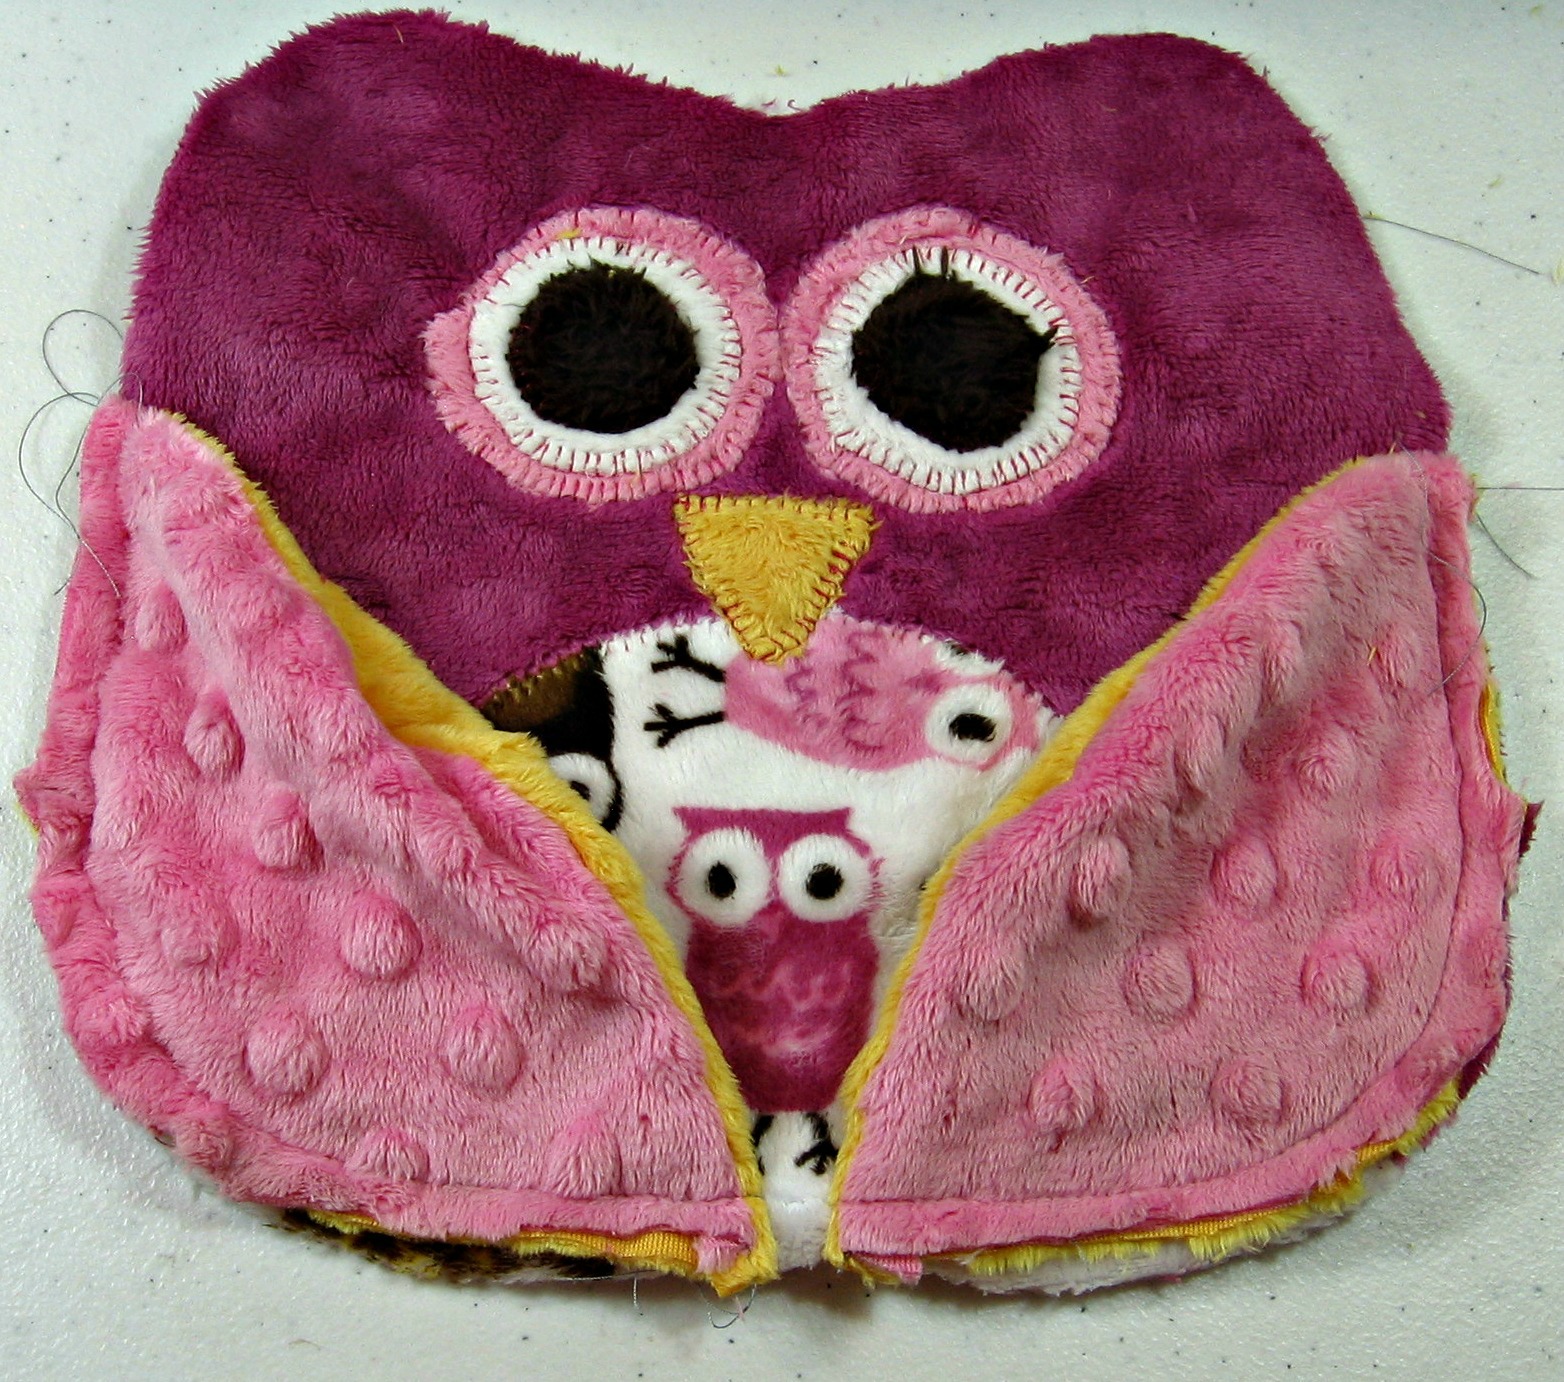
Next, with right-sides together, pin the wings onto the front. Use a LOT of pins, a LOT. Pin the key marking places, the beginning and the end. Then pin the rest of the pieces. Be sure to pin thru all layers.
Check that the stitch length is increased to where you want it. Change the foot so it helps keep the fabric flat and in place. I also use a magnetic seam guide to help with an accurate seam allowance. I have been warned to not use a magnetic gauge with a computerized machine, however, the computer stuff is usually not near the needle plate and should not be an issue. I have had no problems but just be aware.
Look! The front is done, how cute is that?
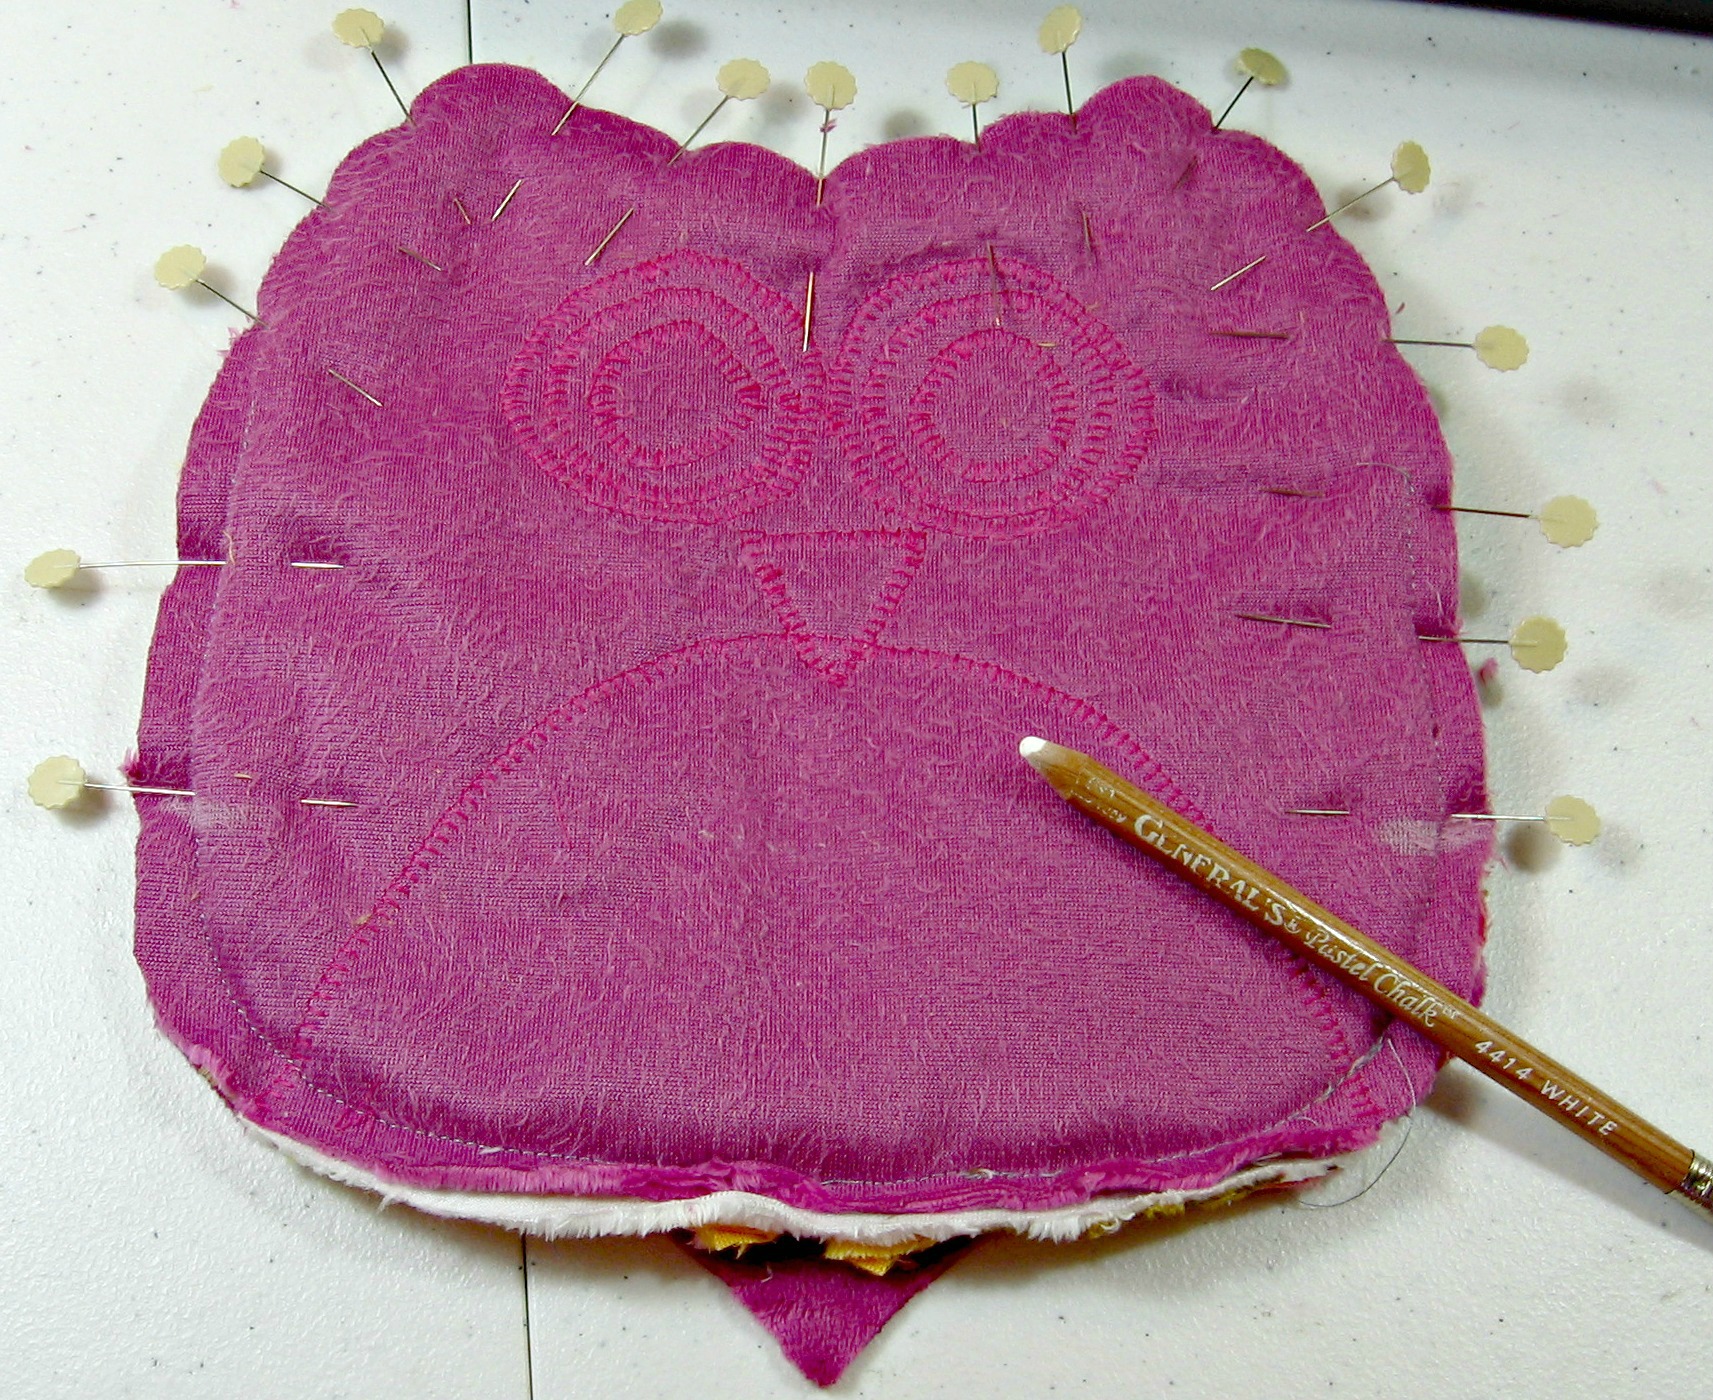
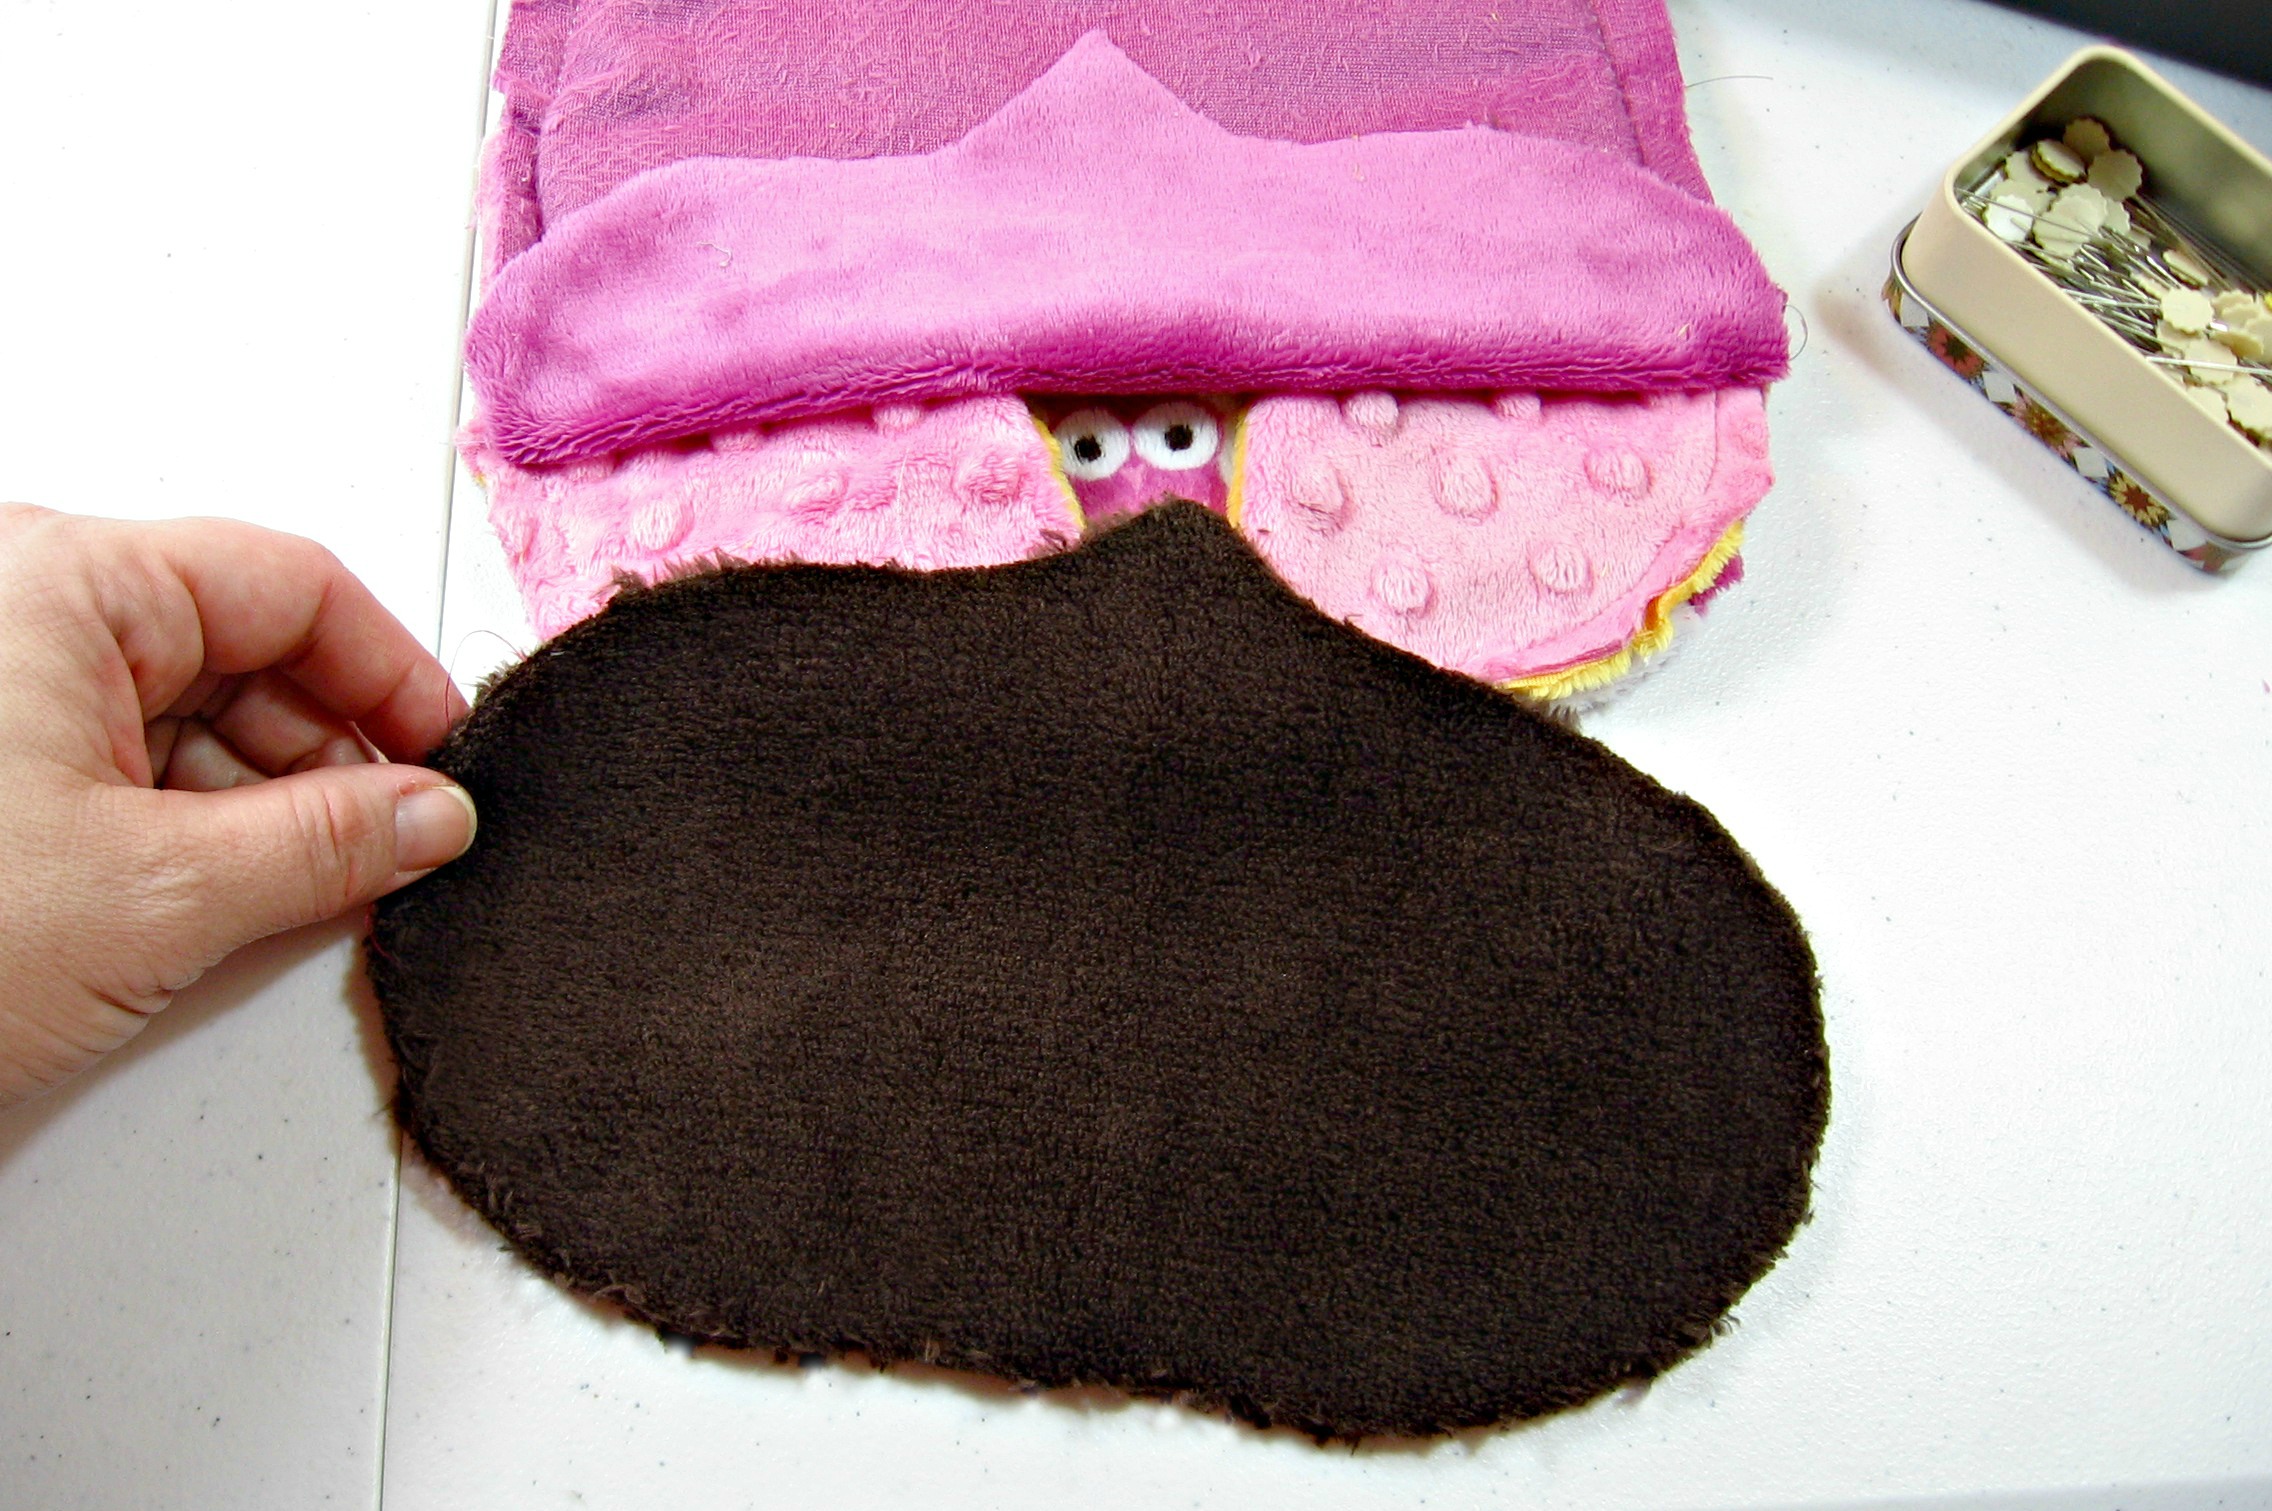
Ready to attach the back? Yes, you are! Pin the key markings, curves and points and then pin till it begs for mercy! Mark the stitching start and stop points indicated on the pattern, I like to use chalk. I used a 3/8 inch seam allowance.
The bottom is attached in two steps. First, attach the round side, then the pointed side.
Remember to leave a hole about 2 1/2 inches wide so you can turn the right side out. I centered the hole in the round side, avoiding seams and points. Pin to porcupine proportions. Sew bottom and body together.
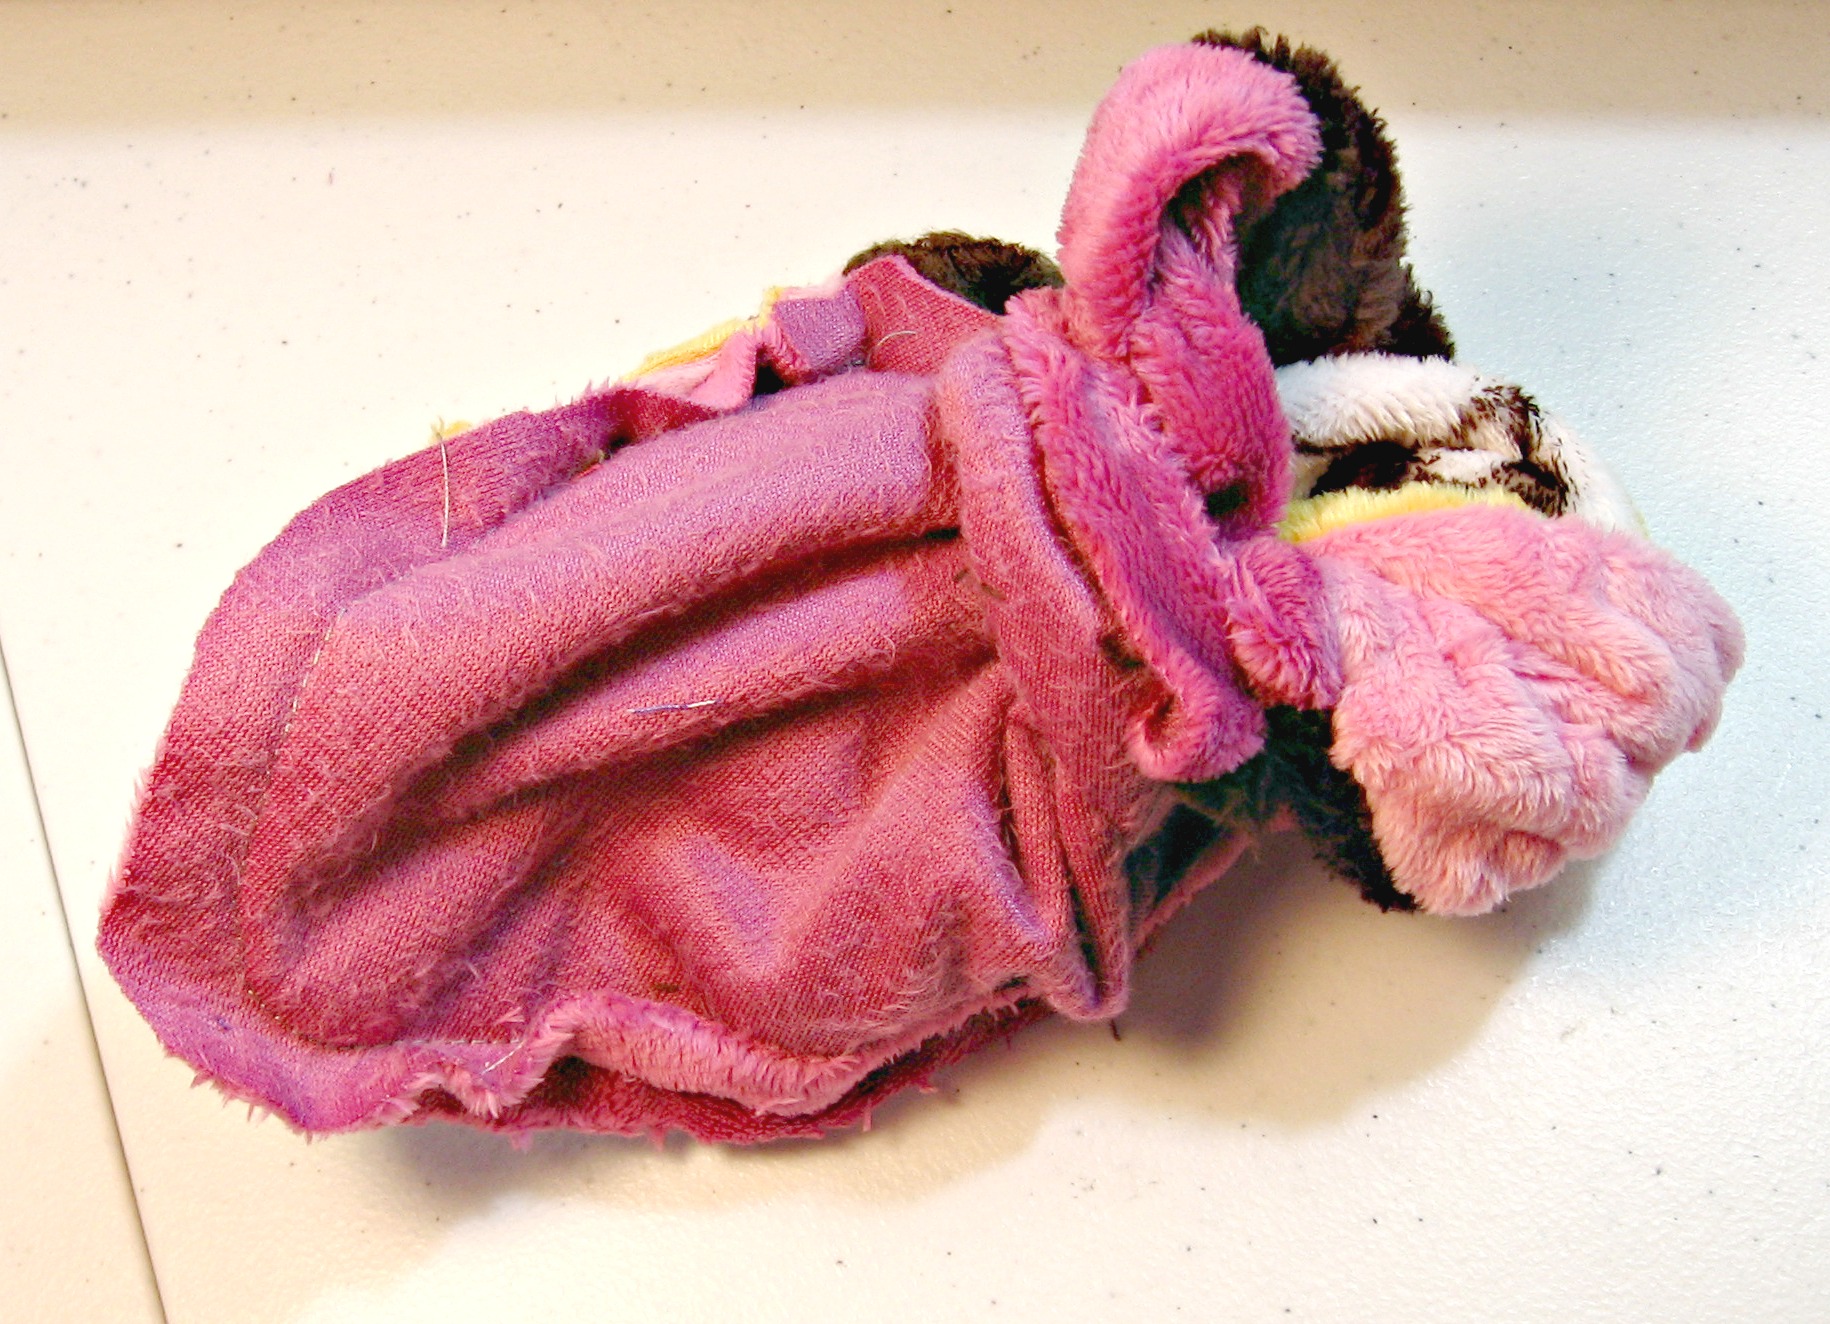
Clip any seams that are too bulky. Turn right-side out.
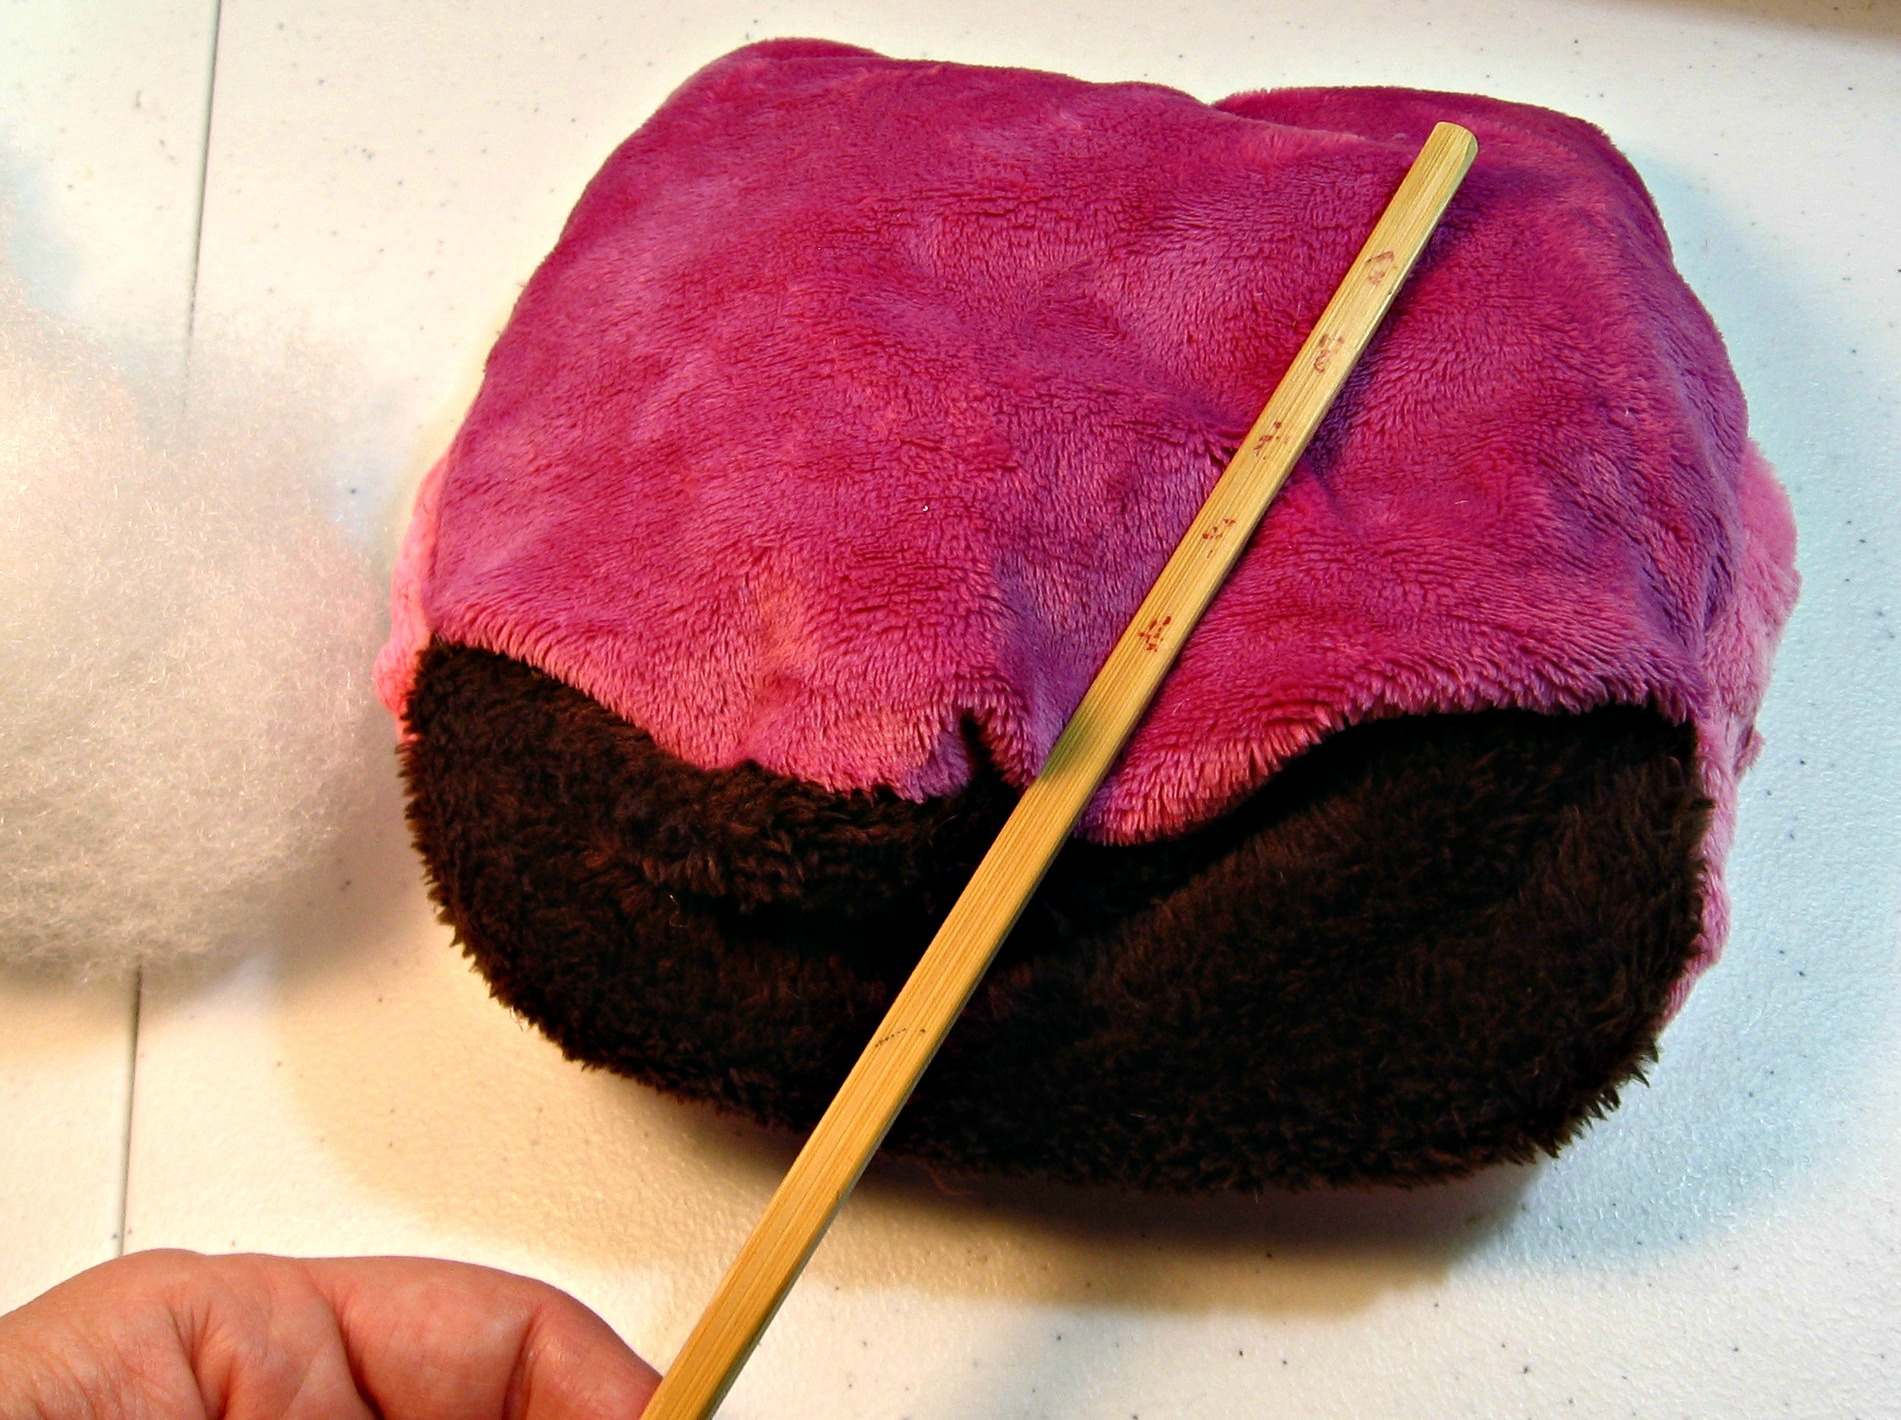
This is how you stuff an owl. I used Poly-fil and a chopstick to get into the edges. Stuff the owl till it reaches your perfect firmness-to-Cuddle ratio.
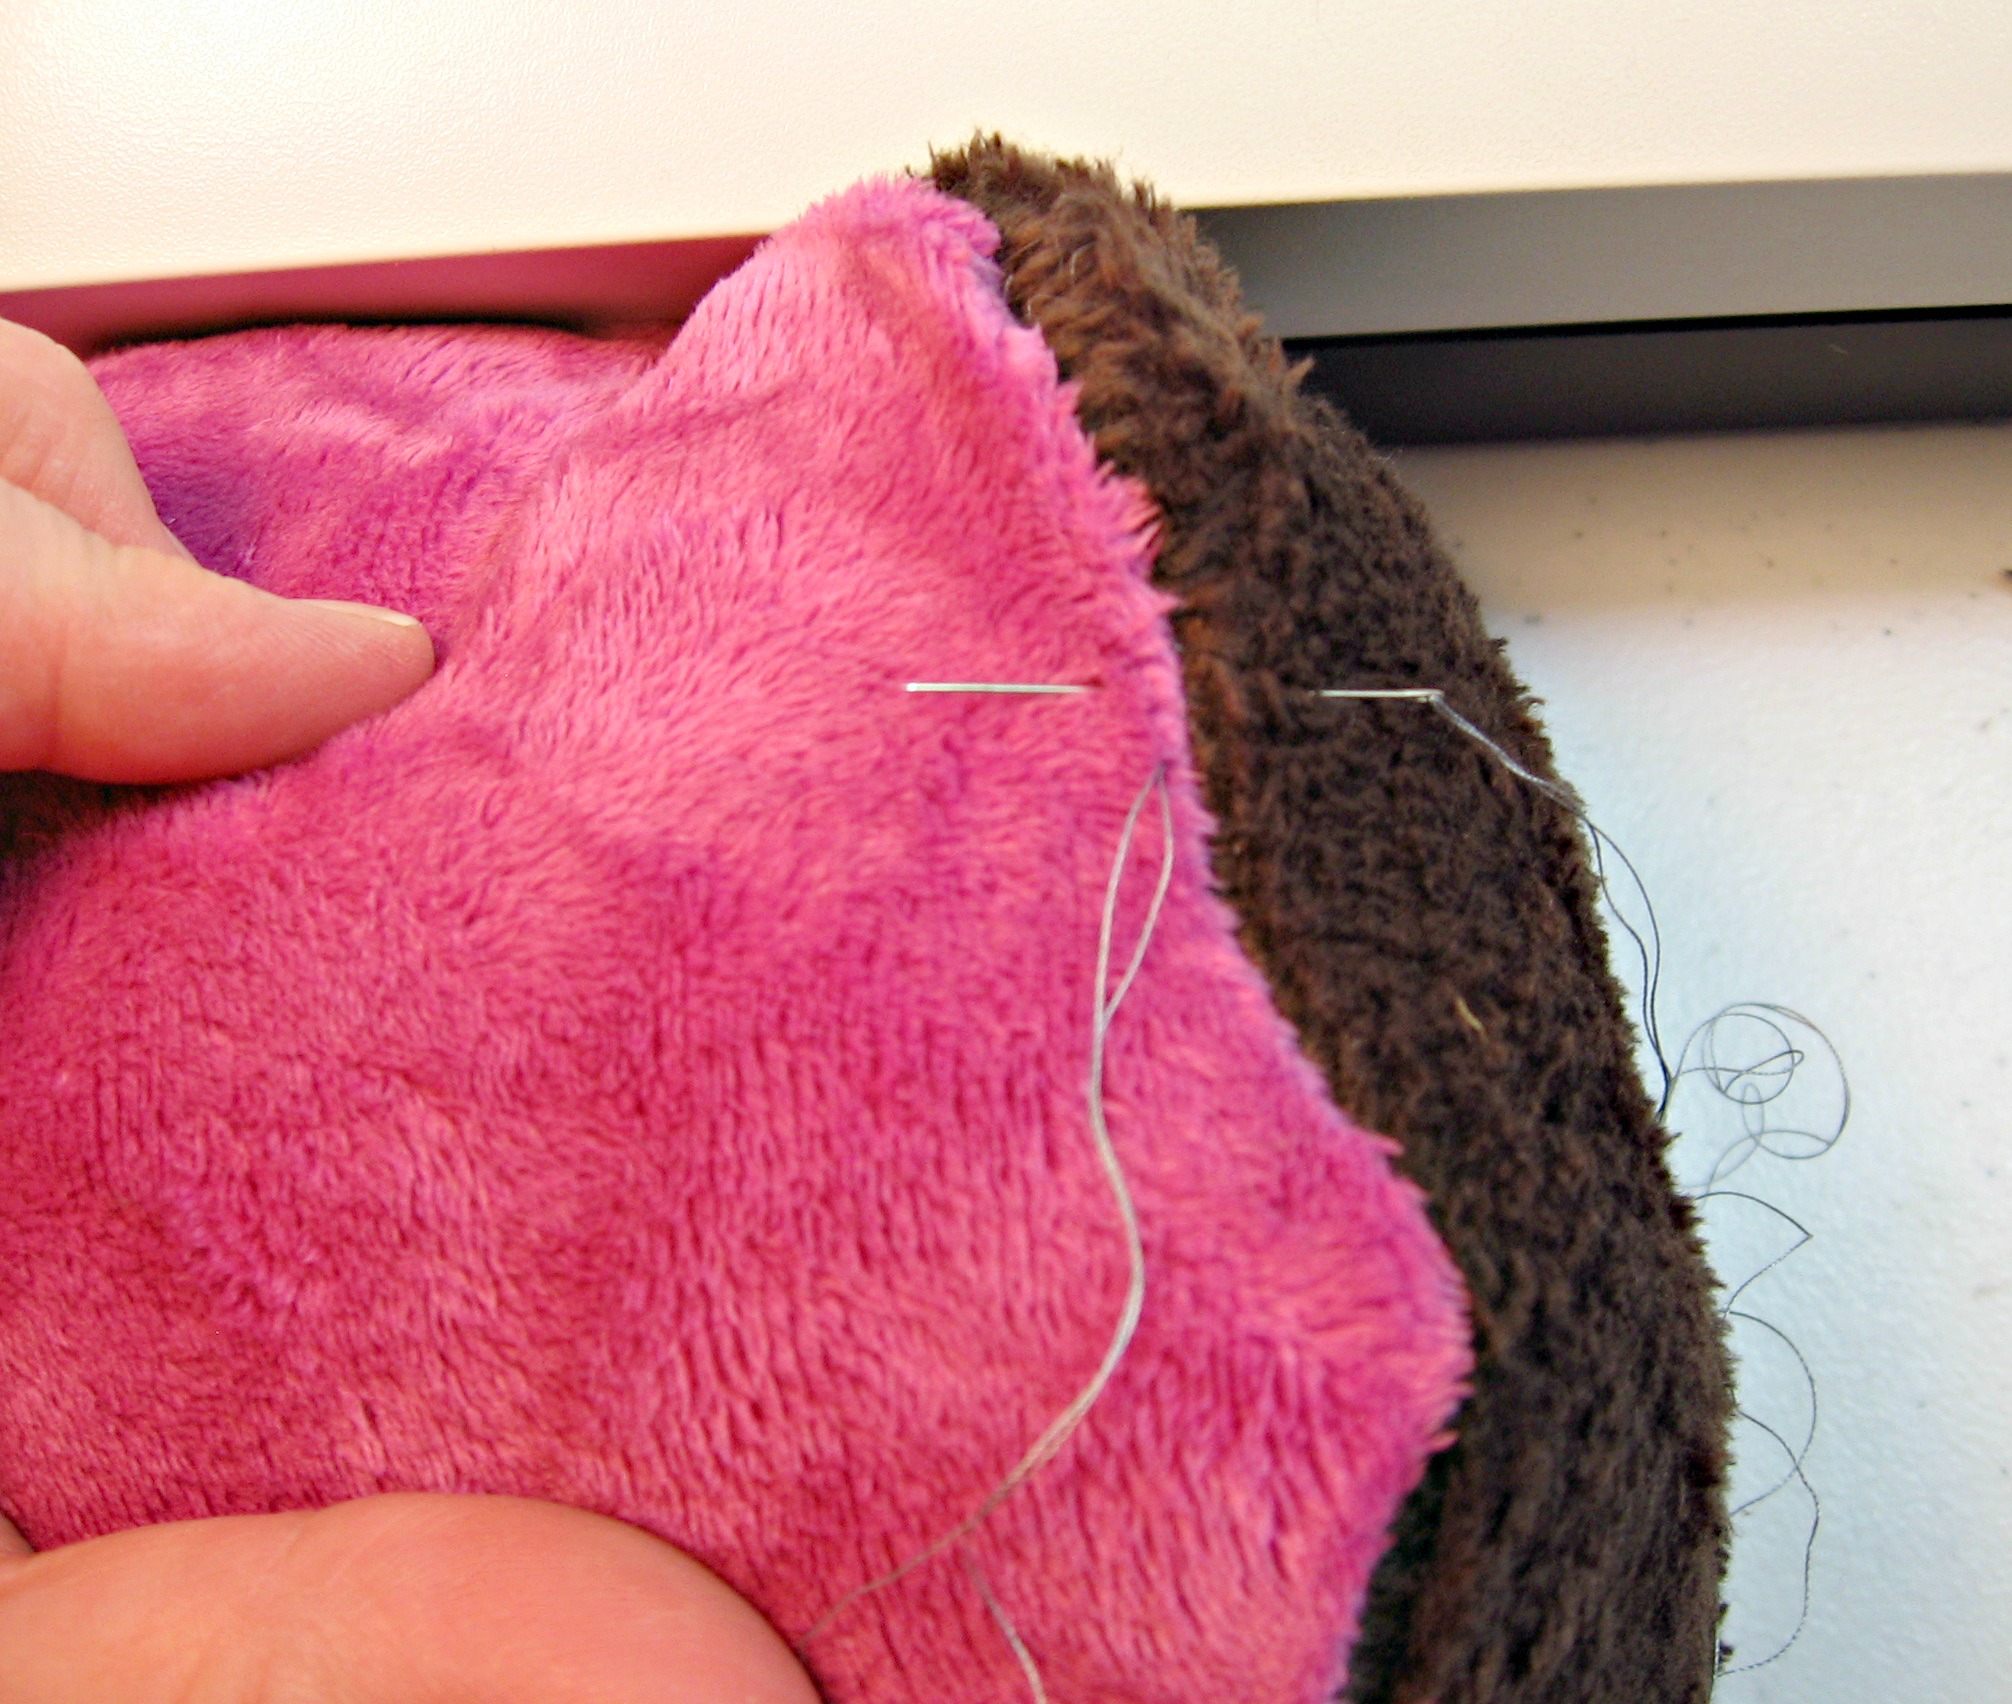
Oh boy, we are almost done. Can you feel it? Ok, I used glue stick to baste the stuffing hole. Then I hand-stitched the hole closed.
And voila! You did it. Go ahead and give that cutie a hug.
Thanks for reading my post. I hope you learned plenty and are happy with your finished project!
By the way, if you are planning to give the owl away, good luck. I have made two and still can't quite part with them.
For more about me, you can go to my Facebook page, Jenny Kae Quilts.
https://www.facebook.com/JennyKaeQuilts
For more information about working with Cuddle Fabric, check out my demos on Daily Craft TV.
http://www.dailycrafttv.com/?s=Jennifer+Parks&x=0&y=0
All fabrics are Cuddle Fabrics from Shannon Fabrics.
http://www.shannonfabrics.com/
Machine needles are from Schmetz Needles.
http://www.schmetzneedles.com/
Flat-head pins are from Fons and Porter
http://www.shopfonsandporter.com
My new favorite piecing thread is Aurifil.
http://www.aurifil.com/SiteAurifil/COTTON.html
For stuffing, I used Poly-fil by Fairfield.
http://www.fairfieldworld.com/
Graphics are by Jessica Kenenske.
Photos by Jessica Kenenske and Jennifer Parks.