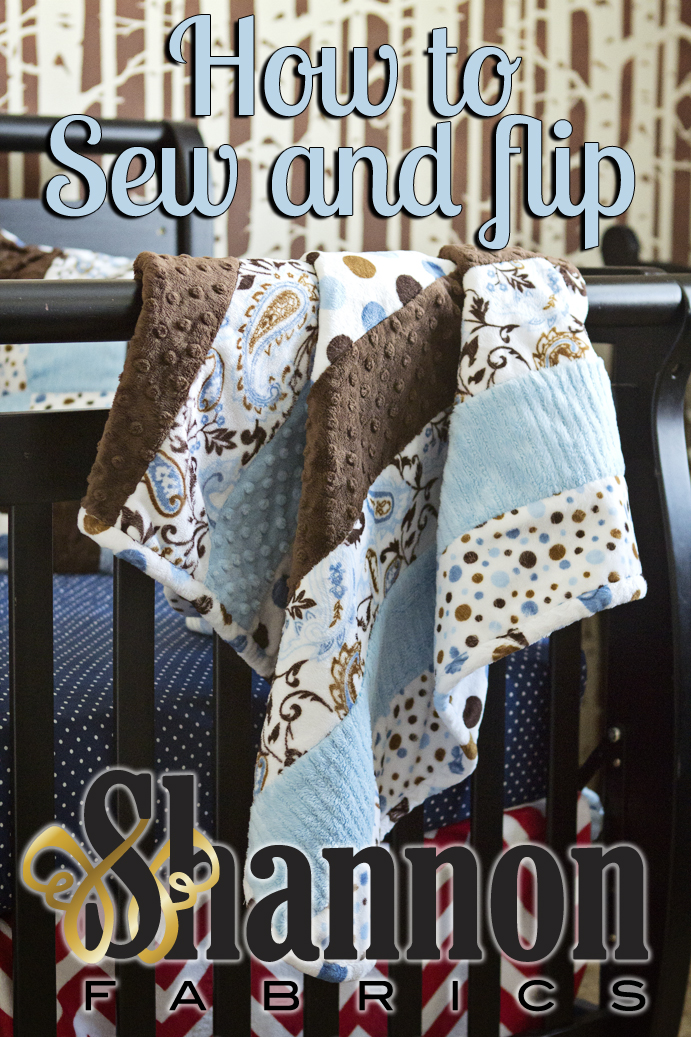
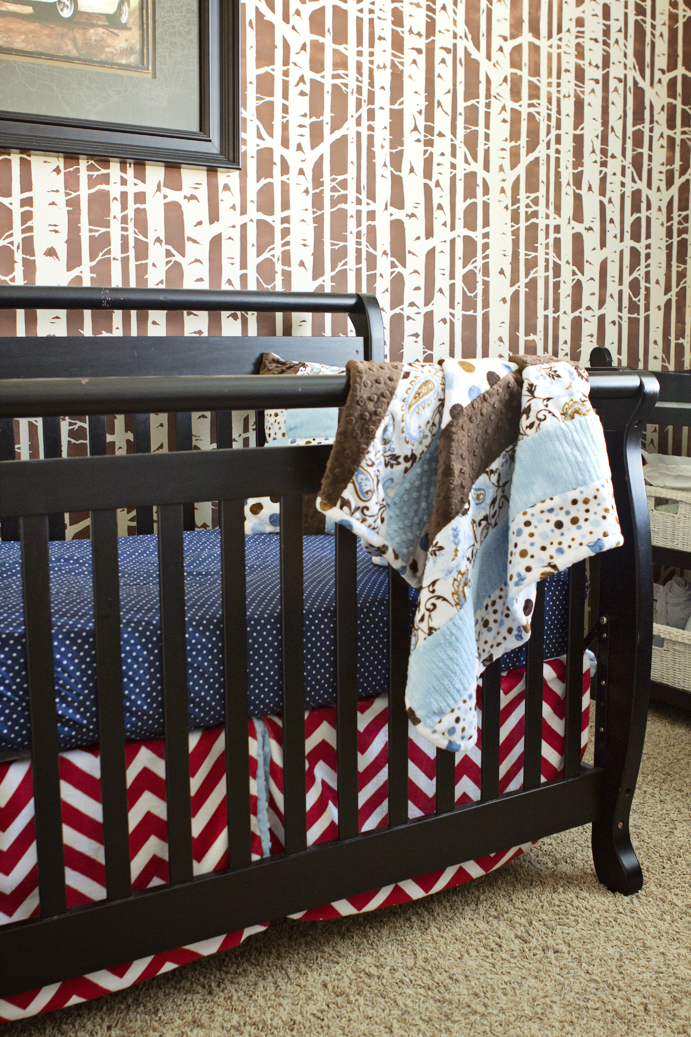
Hi - I'm Angel with FleeceFun.com, a website that features free sewing patterns and tutorials. For this tutorial I'm showing you how to make a sew and flip receiving quilt. This step by step tutorial is perfect for beginners. Be sure to watch the video to fully understand the process! You can find a full video tutorial on Shannon's YouTube channel here. While you're there, be sure to subscribe so you don't miss any of their free tutorials!
You Will Need:
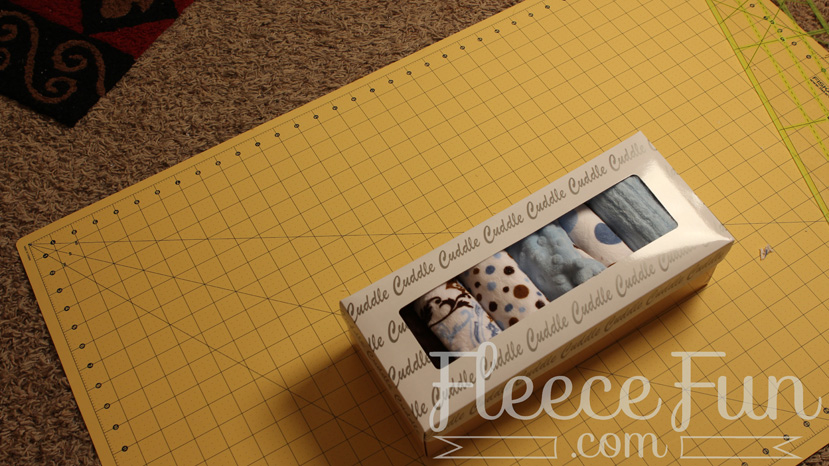
1 Cuddle Strip Kit
1 Yard of Cuddle Fabric (for Backing)
1 yard and 1/8 Low Loft Batting
Marker
Temporary Spray Adhesive
Walking Foot
#90/14 Stretch needle
Rotary Cutter, Ruler and Mat
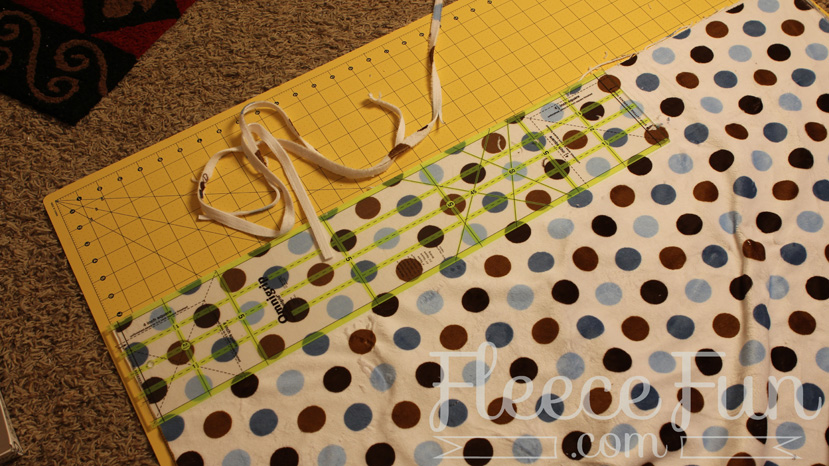
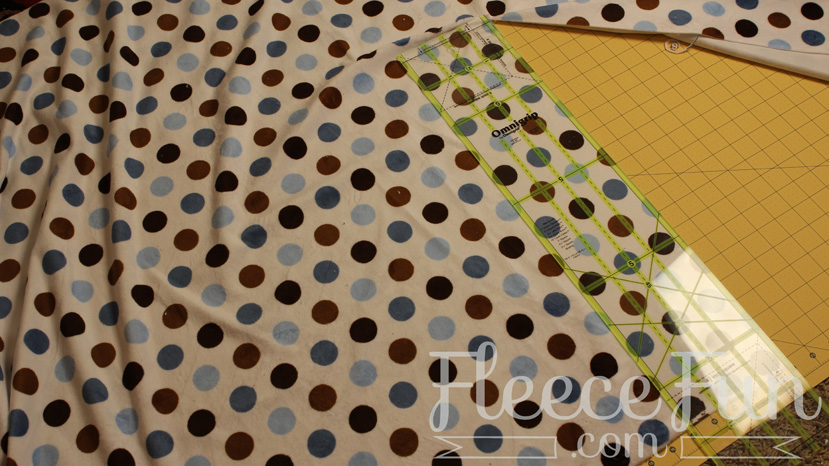
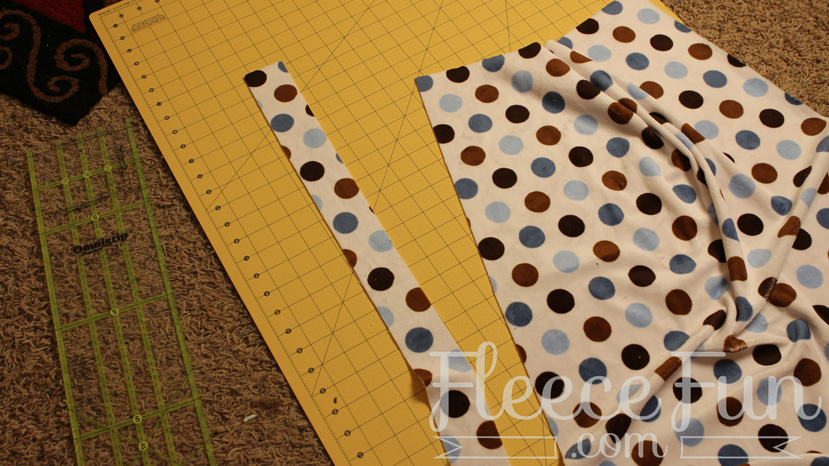
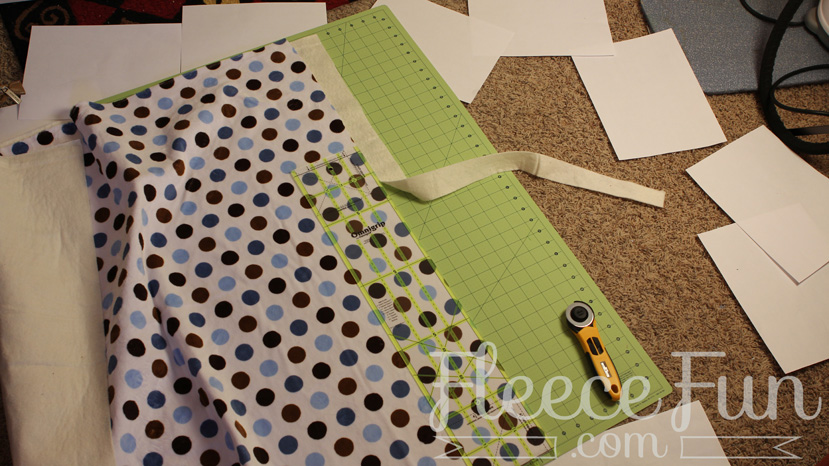
1 – Cut out the pieces
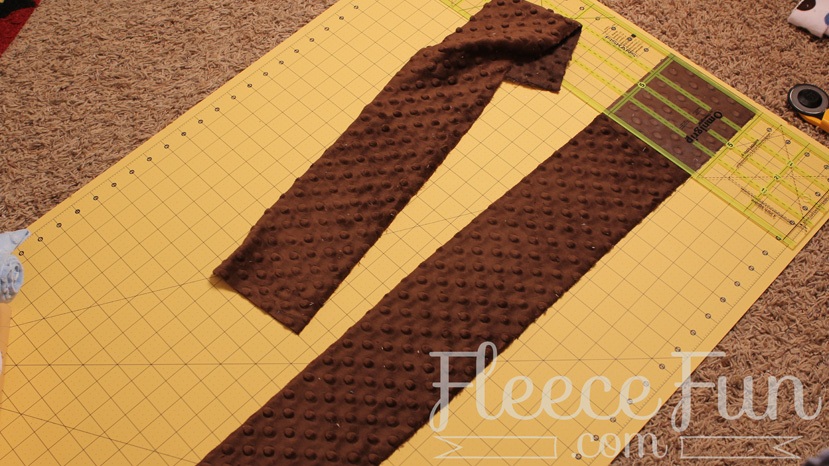
Cut off the selvage of the strips and the backing.
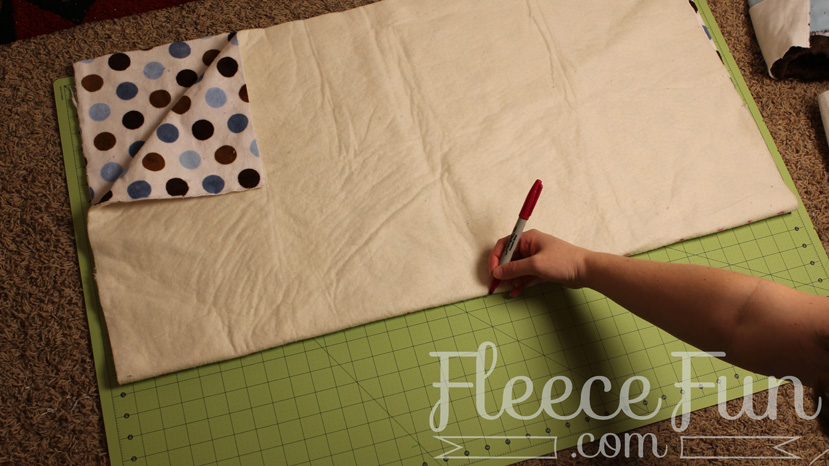
Cut fabric backing to 36” by 36” inches. Be sure to save the excess fabric for binding and other projects.
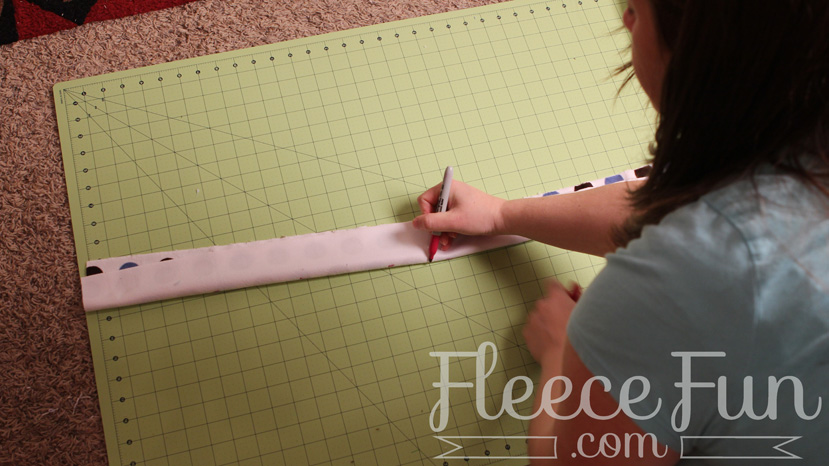
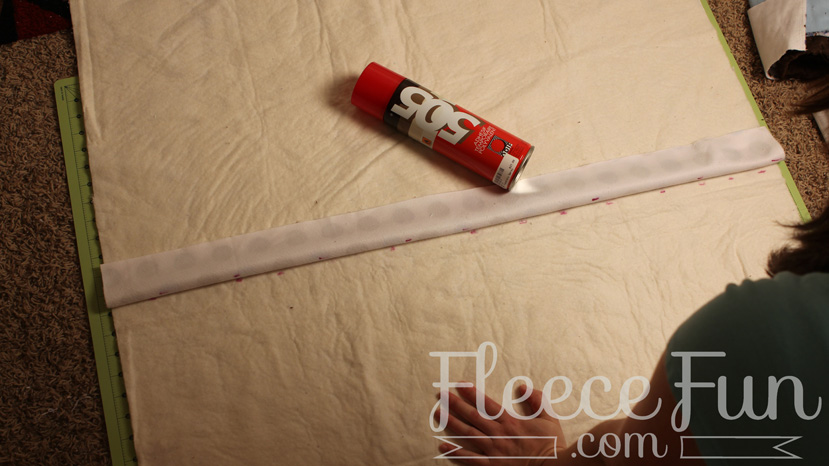
Out of the excess backing fabric cut 4 2 inch wide stripes that are 36 inches in length.
Cut 9 Cuddle strip to 36 inches in length ( be sure to trim off the selvage).
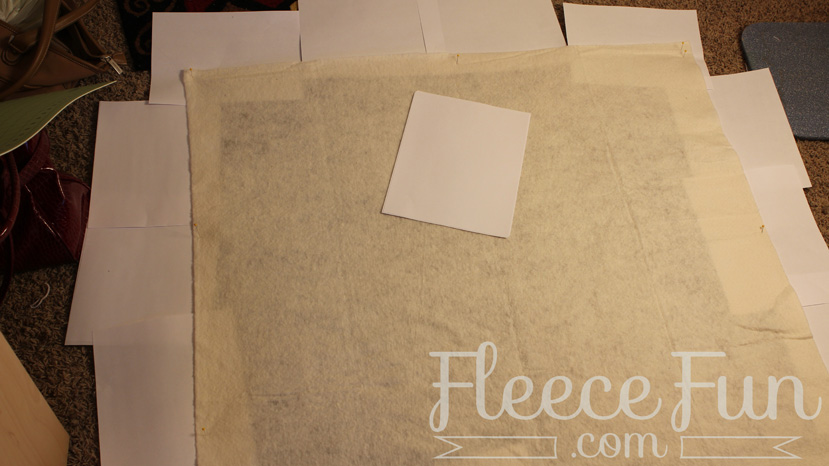
Cut the Batting so it’s a few inches bigger than 36” by 36” ( about 40” by 40”).
Tip: you can skip the batting to make a lighter blanket – but for a beginner it’s easier to sew with the batting as the Cuddle can shift due to the stretch.
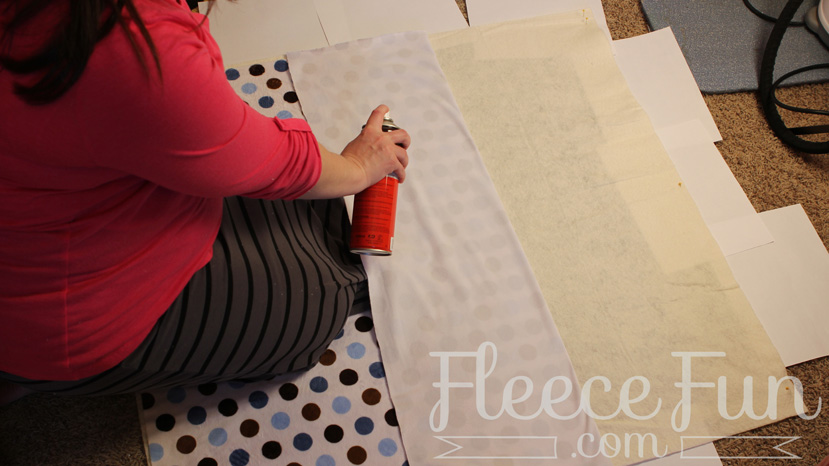
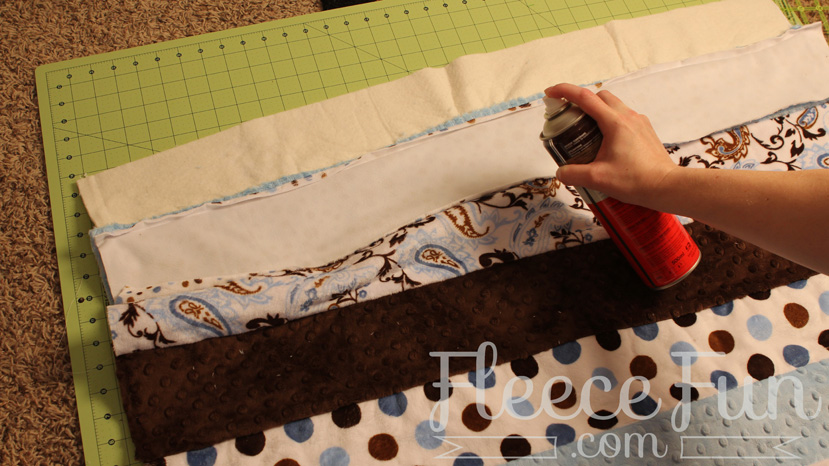
2 – Adhere backing to the batting
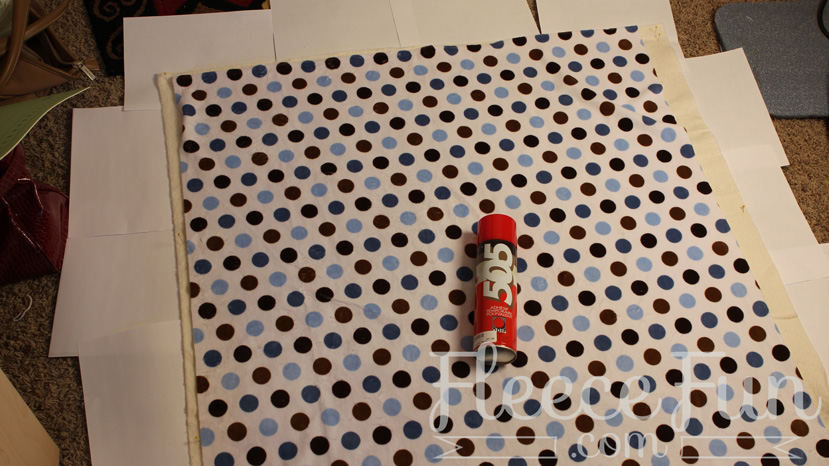
Adhere the batting to the backing. Using a large space on the floor, either pin or tape the edges of the batting down, lightly stretching it to make it taught. Place paper underneath the edges to protect your floor from the temporary adhesive spray. Center the fabric on the batting with wrong side facing down. Spray fabric on the wrong side and slowly begin to adhere fabric to batting, working out wrinkles as you go. If you mess up, quickly but gently lift the fabric and try again. Once fabric is attached to batting, remove from floor and trim off excess so batting is square with backing.
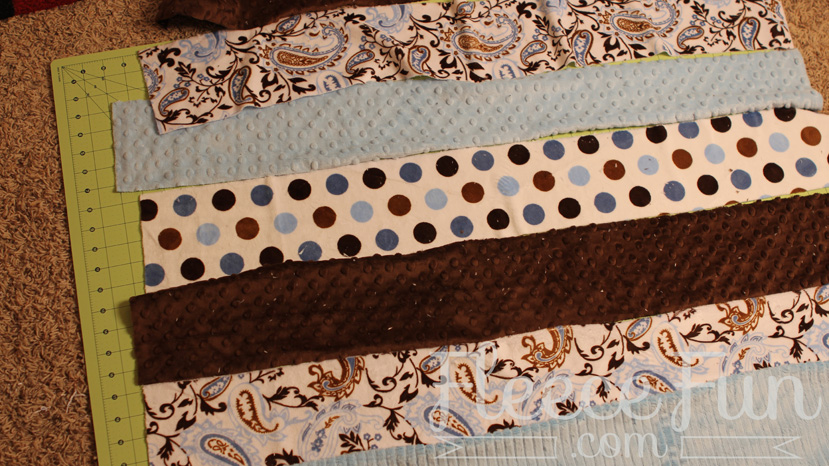
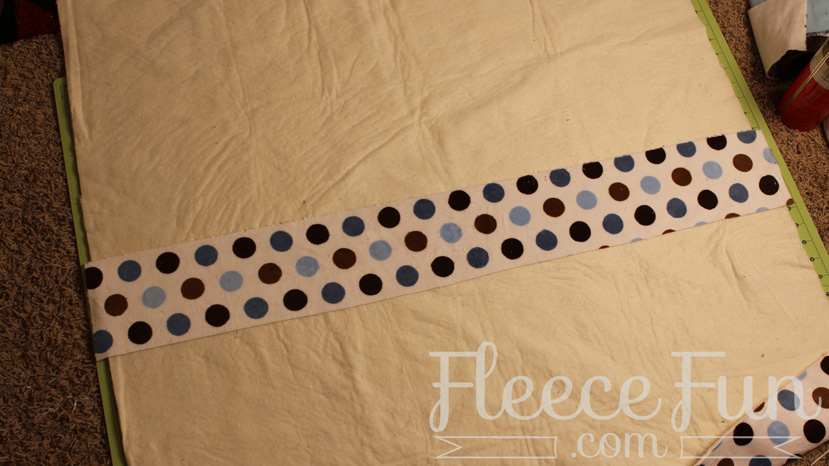
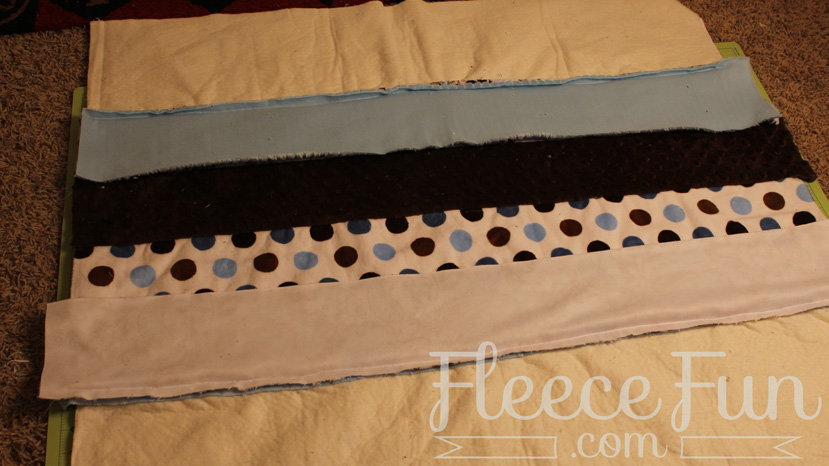
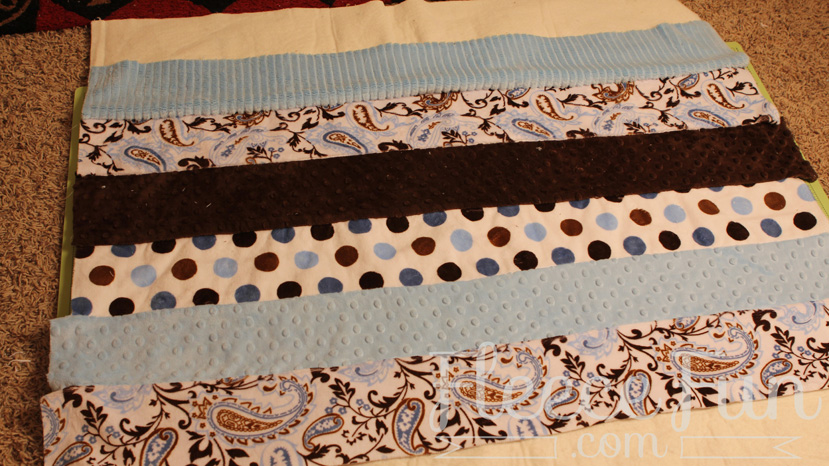
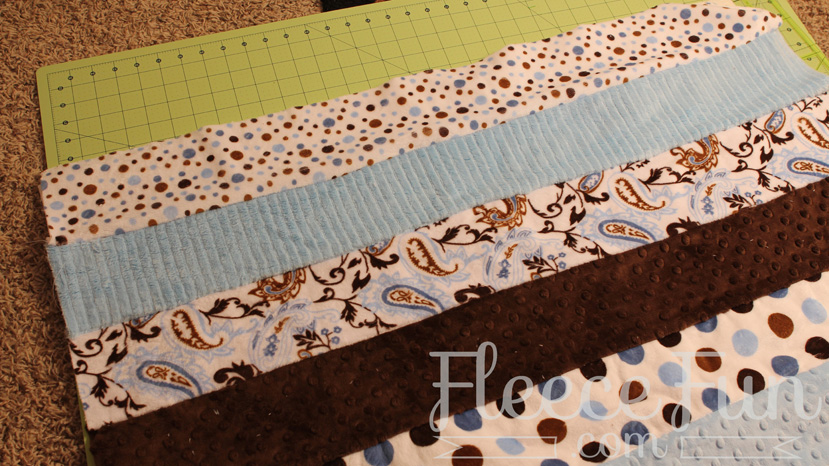
3 – Lay out blanket
Lay out strips in desired order, be sure to check the nap as you go. The nap will either lay smooth or go “rough”. Keep petting your fabric to make sure it all lays the same direction.
Once you have your pattern figured out, take the center strip, and fold it in half length wise. Mark fabric along the fold to establish the “center line”.
Take the backing and fold in half with the batting side out. Mark on the batting along the fold the establish a center line.
Unfold the backing and lay out. With the Cuddle strip still folded in half, line up the markings and use adhesive spray to lay into place.
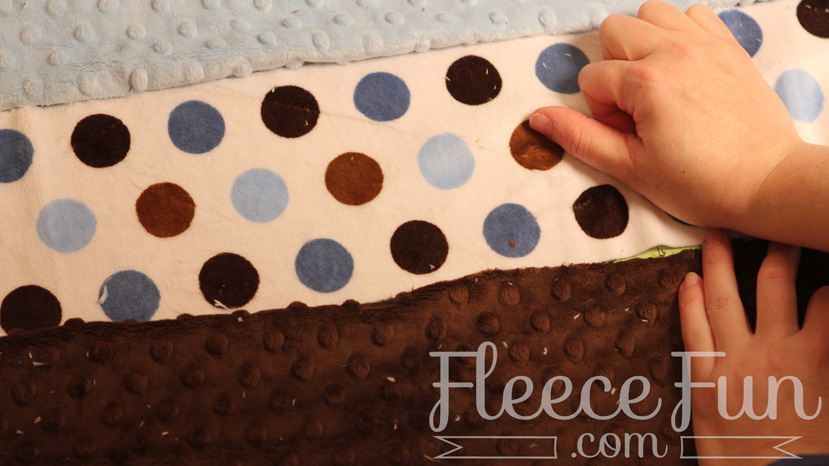
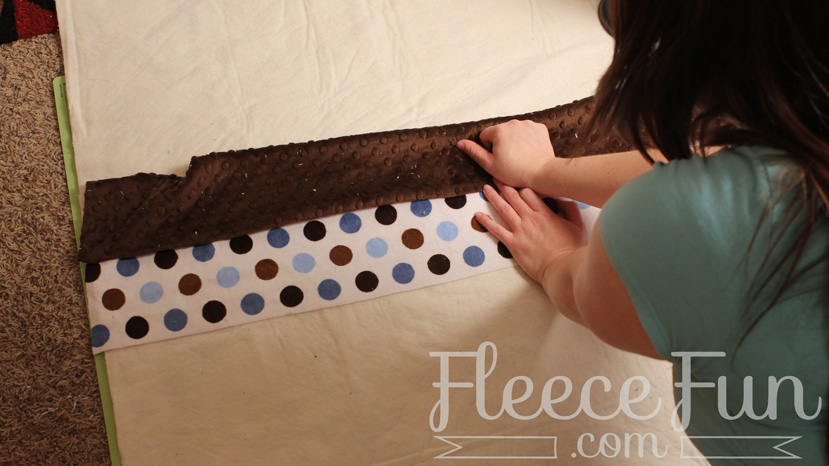
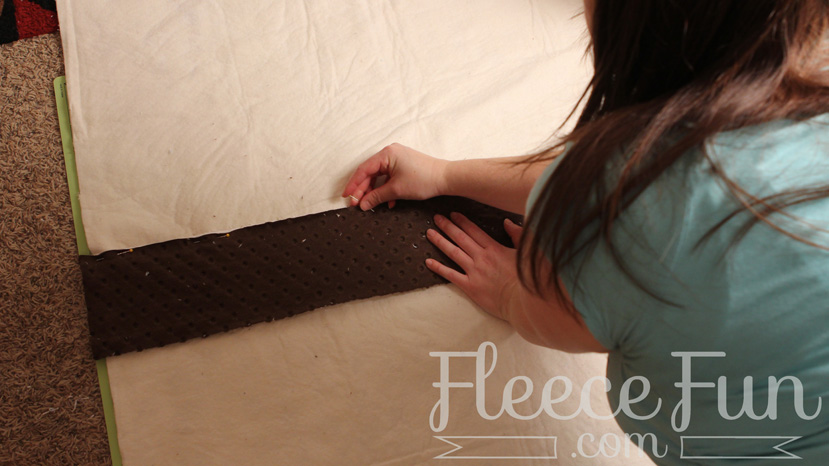
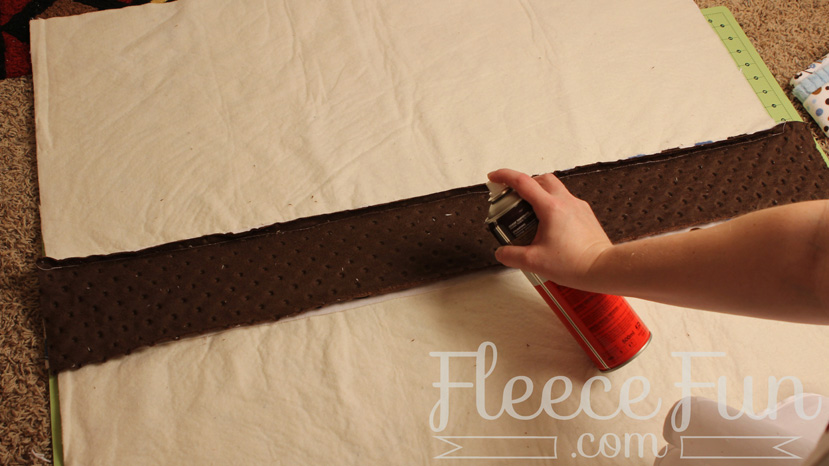
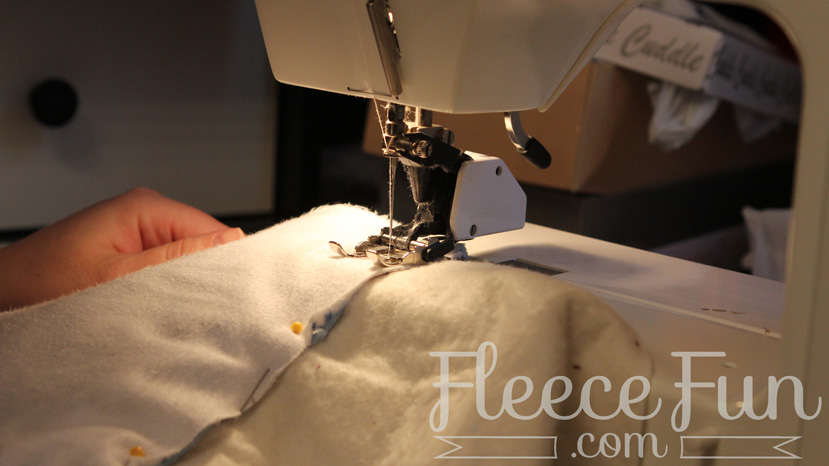
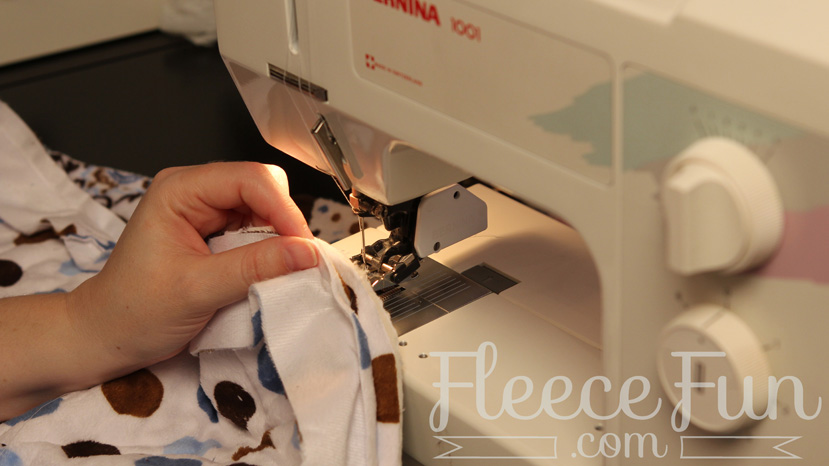
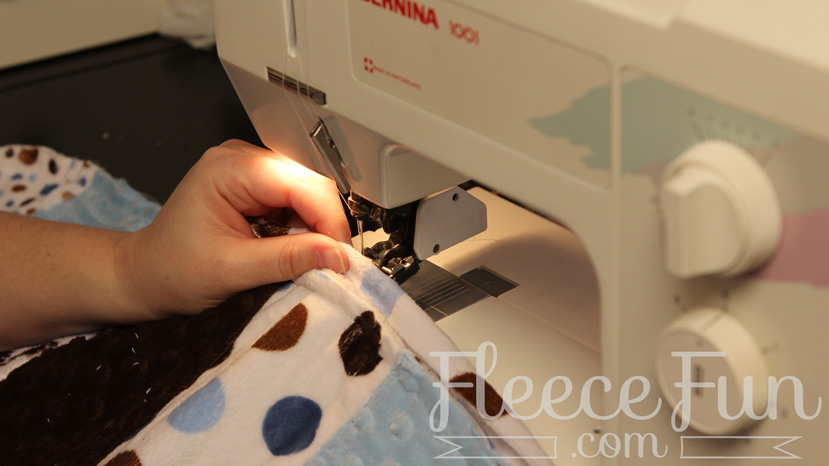
4 – Sew and Flip!
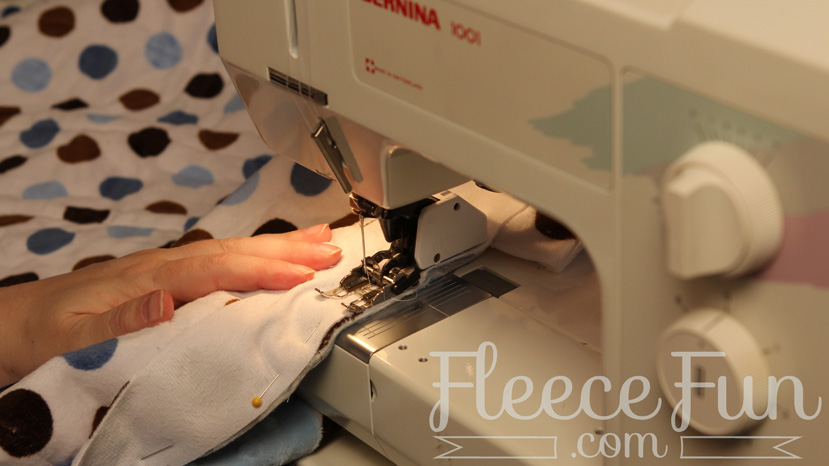
Now it’s time to sew and flip! Making sure the nap is correct place the next Cuddle strip down (with right sides together on the center strip. ) Pin into place. Sew through all the layers of fabric using a walking foot. Use a straight stitch with a half inch seam allowance. Once seam is complete spray wrong side of the strip that was sewn with adhesive and “flip” into place, working out wrinkles as you go. Keep alternating sides from the center strip. Sewing the flipping until you reach the edge. With the final outer strips be sure to spray into place.
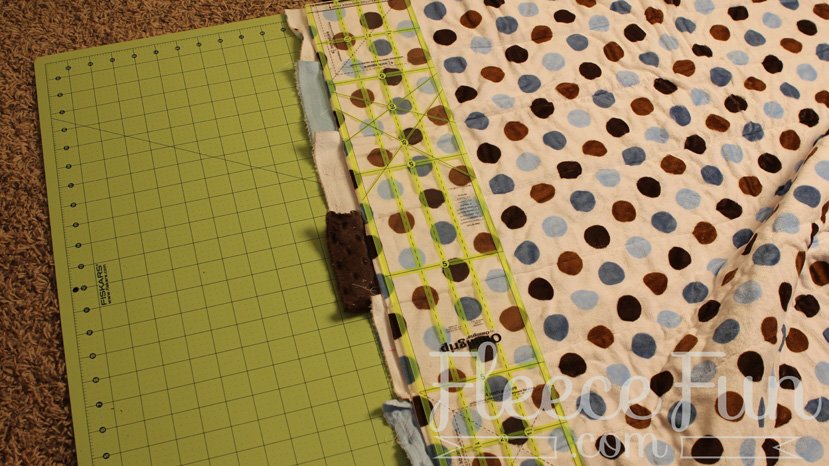
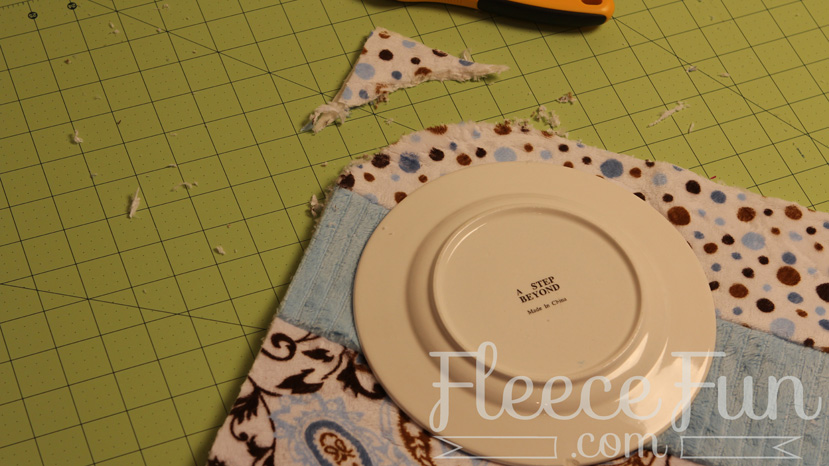
5 – Trim
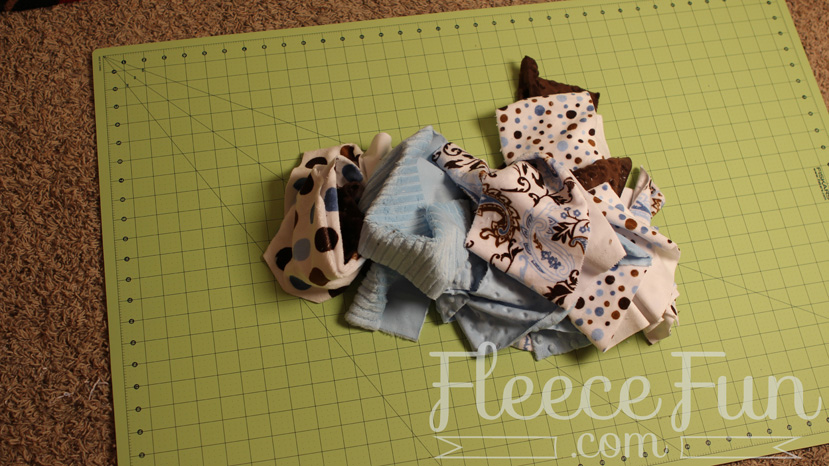
Since Cuddle has a stretch to it there will be excess on the sides. Trim down the excess so it matches the backing. We’re going to be cutting corners on this quilt (literally). Take a plate and round off the corners of the blanket.
6 – Bind
For detailed instructions on binding please see the video here. Sew the two inch strips together. Then sew on the backing with a straight stitch and a half inch seam allowance. Fold over and sew down to the front using a serpentine stitch. You’re finished! Be sure to subscribe to this blog for more tutorials like this one!